 EveryGen AI
EveryGen AI · AI image enhancer for cleaner, more readable image concepts
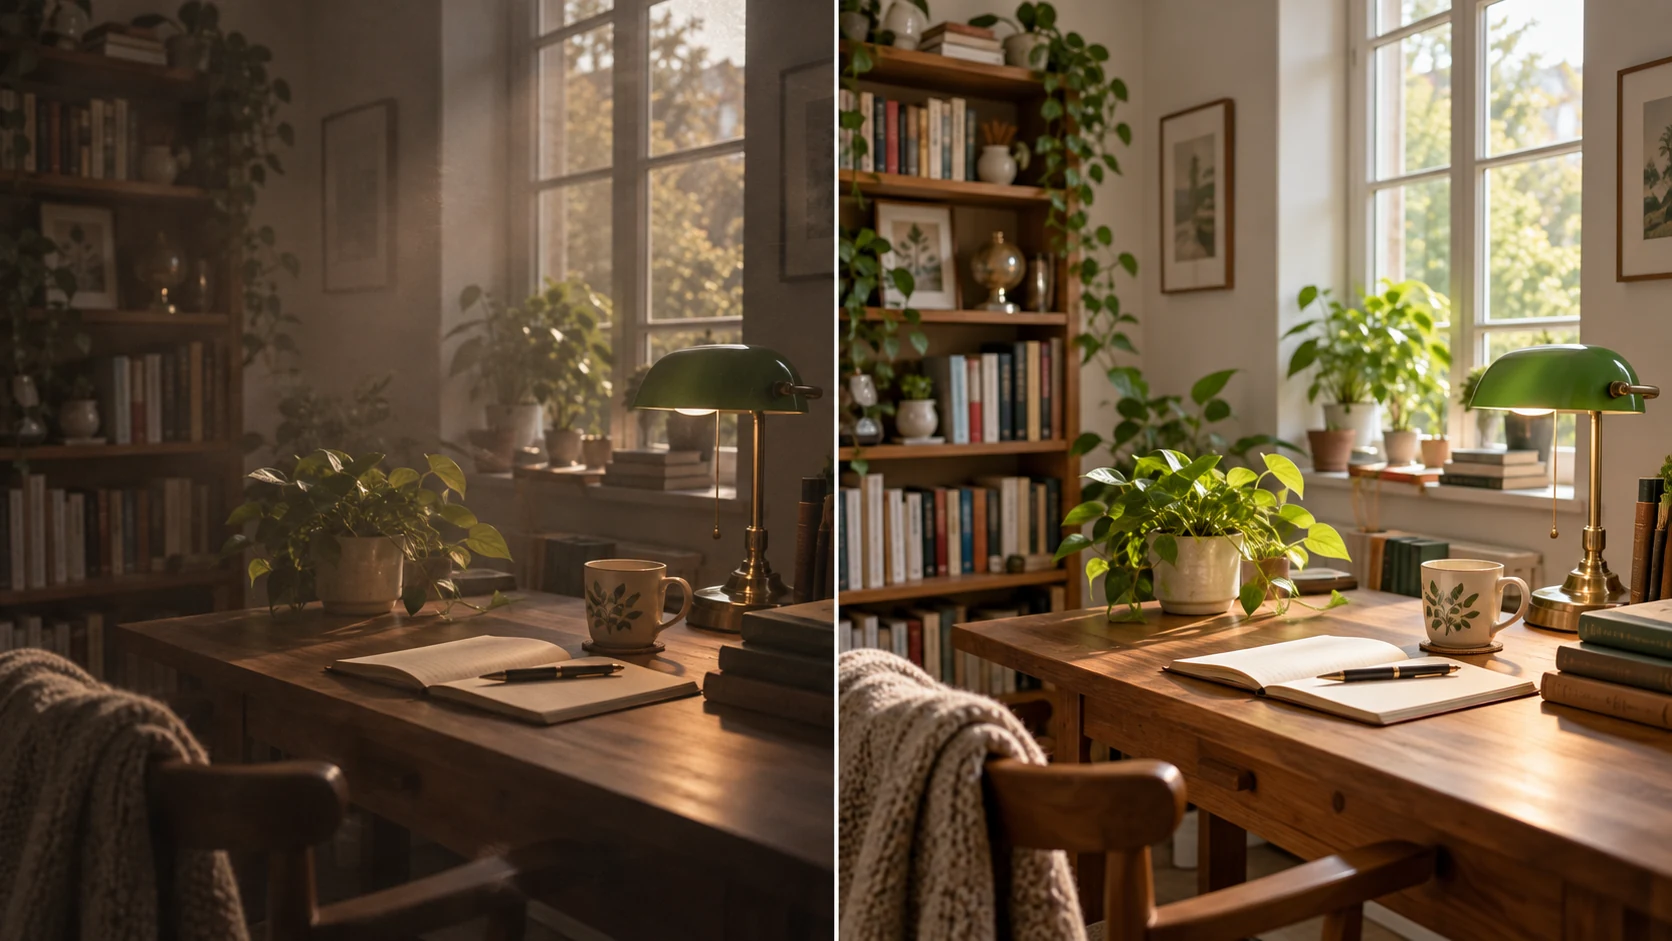
Start by identifying what makes your picture difficult to use: murky light, distracting noise, weak edges, or uneven color. The EveryGen AI AI image enhancer uses GPT Image 2 reference editing to explore a cleaner interpretation. Begin with Auto ratio and 1K. Use the AI image enhancer for deliberate visual improvement, then compare the result with the source rather than assuming every newly visible detail is authentic.
Image workspace
Sample Image
 12 / 17
AI editing concept illustration; not an EveryGen AI test.
Introduction
Give the AI image enhancer a specific problem
Different image problems need different instructions. Identify the main weakness before using the AI image enhancer so that noise cleanup does not accidentally become a request for stronger contrast or a new visual style.
Separate blur from distracting texture
A blurred edge and a noisy wall can look equally untidy at first glance, but they need different treatment. Tell the AI image enhancer whether you want clearer boundaries or quieter flat areas. Compare the source closely enough to name the actual problem.
- Inspect a face, an edge, and a flat background separately.
- Give the AI image enhancer one priority for the first attempt.
Choose the strongest available source
Use the original file rather than a screenshot of an already compressed preview. A better source gives the AI image enhancer more visible information to work from. Keep that source unchanged so you can distinguish genuine structure from detail introduced by the revision.
Decide where the image will be viewed
A small newsletter picture may need simpler cleanup than a large display image. Define the destination before starting the AI image enhancer. Review improvements at that size, not only magnified, or you may favor aggressive texture that looks unnatural in the finished layout.
How to use
How to use the AI image enhancer
- Input
 Reference image 1STEP 1
Choose the source
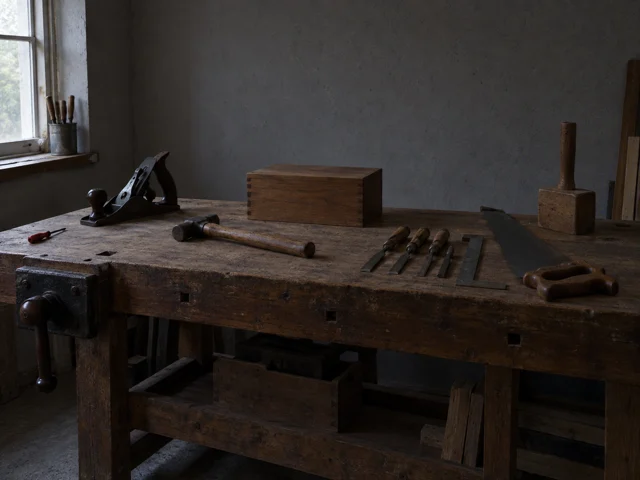
Open your strongest available photograph in the AI image enhancer and select GPT Image 2 reference editing for a controlled revision.
- ModelGPT Image 21KPromptOutputSTEP 2
Name the problem
Ask the AI image enhancer to reduce distracting noise, improve shadow readability, or correct a color cast without requesting excessive sharpening.
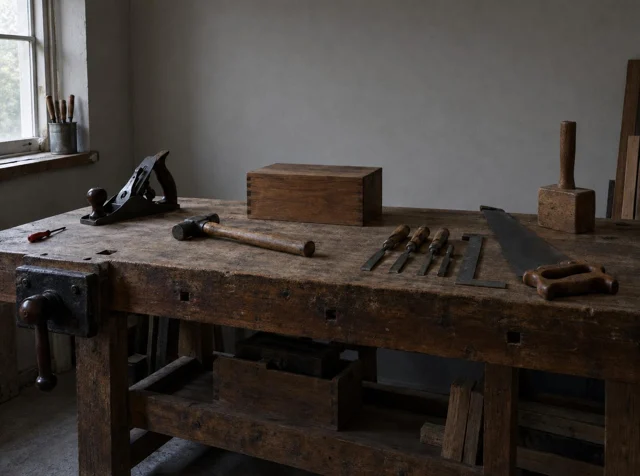 BeforeAfterSTEP 3
Generate a revision
Choose a resolution such as 1K in the AI image enhancer, review the displayed credits, and generate one restrained enhancement candidate.
- STEP 4
Check meaningful detail
Inspect AI image enhancer output for invented texture, altered faces, and changed lettering; keep improvements without treating reconstructed detail as evidence.
Features
Ask the AI image enhancer for restrained cleanup
Aim for a cleaner picture without wiping away its character. Tell the AI image enhancer which artifacts distract you and which textures should remain visible after the edit.
Quiet flat regions first
In a dim interior, blotchy walls can draw attention away from the subject. Ask the AI image enhancer for smoother tonal transitions in those regions while retaining furniture edges. Do not request uniform smoothing across faces, fabric, wood, and background alike.
- Look for patchiness in walls, skies, and soft background areas.
- Check AI image enhancer results for waxy skin or erased fabric weave.
Inspect compression around contrast edges
Small blocks and ragged patterns around dark lettering or rooflines may come from a heavily compressed source. Describe those distractions to the AI image enhancer. Check whether the revision removes the artifact or merely draws a different-looking edge in its place.
Retain intentional grain and texture
A film-like portrait or a textured illustration may lose its appeal when every irregularity disappears. Tell the AI image enhancer to retain subtle grain or paper character. Distinguish deliberate texture from digital clutter rather than asking for the smoothest possible surface everywhere.
Use the AI image enhancer to improve tonal readability
Sometimes the image needs better light rather than more apparent sharpness. Direct the AI image enhancer toward the dark subject, clipped-looking highlight, or color imbalance that prevents the scene from reading clearly.
Open shadows without flattening form
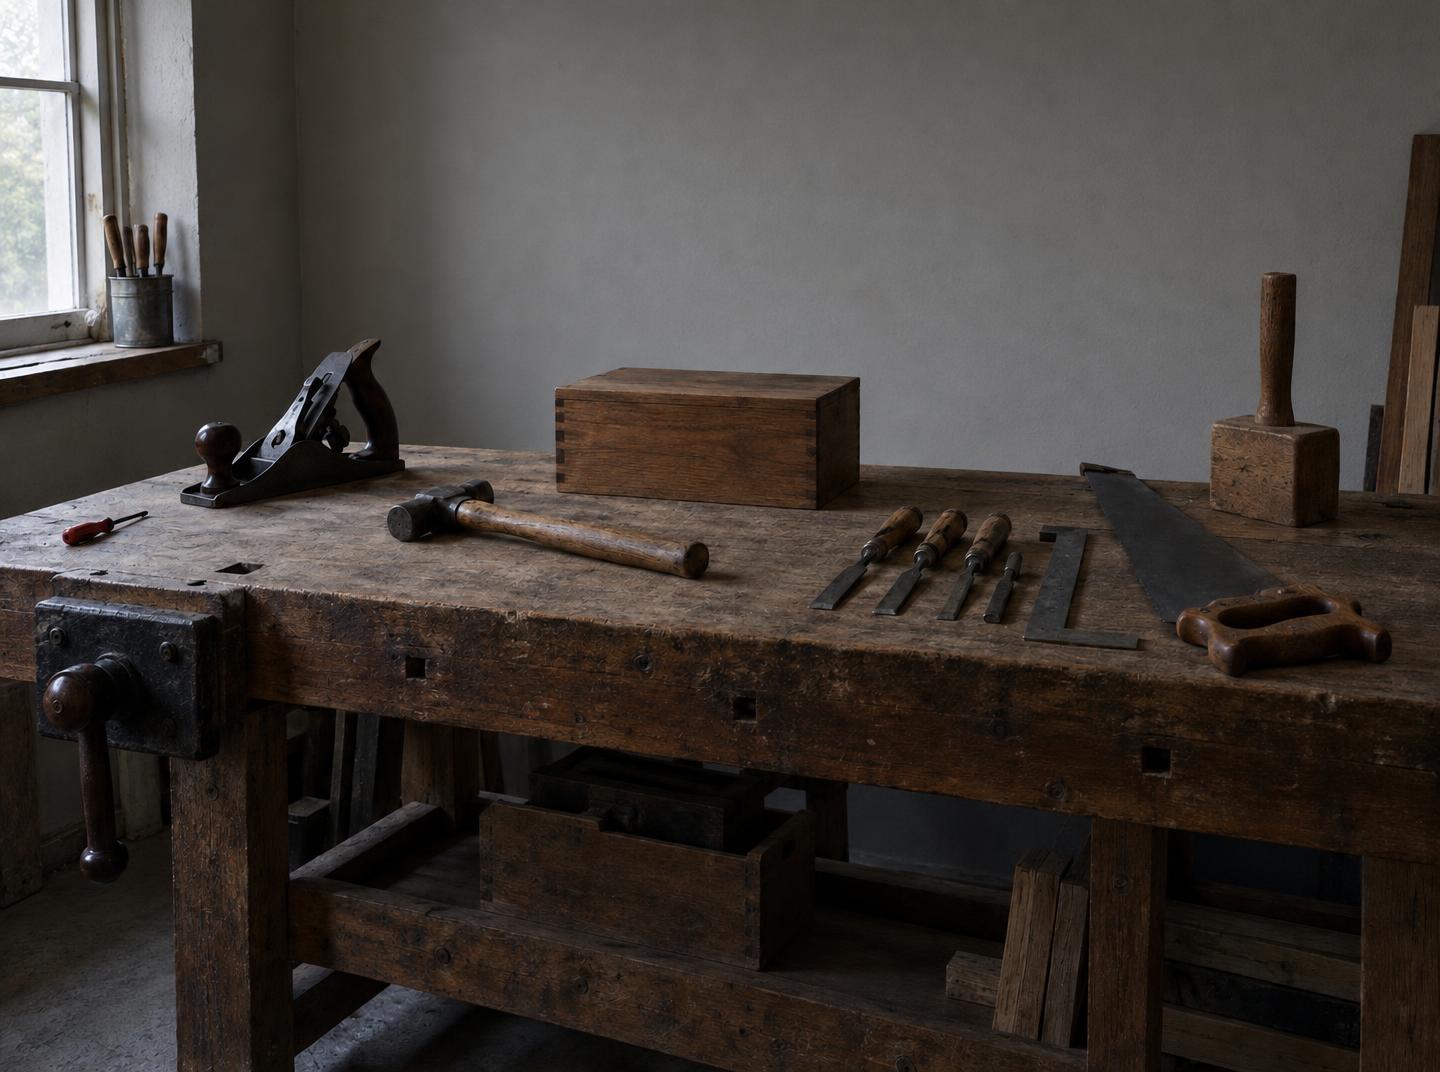
For a dim workshop, ask for more readable tools and work surfaces while keeping the room's soft shadow structure. The AI image enhancer should receive a relative goal, not simply make everything bright. Check that objects still feel rounded and separate from the background.
- Name the important shadow area and its visible subject.
- Compare the AI image enhancer version with the source's overall atmosphere.
Treat bright areas cautiously
A nearly white window may contain little useful visible information. The AI image enhancer can invent a plausible appearance there, but cannot verify a hidden view. Ask for a gentler transition when needed, and avoid treating generated scenery or lettering as recovered evidence.
Correct the cast before adding drama
A greenish indoor photograph may look cleaner after a restrained color correction alone. Ask the AI image enhancer for more neutral light while retaining meaningful object colors. Evaluate that result before adding a stronger grade that could obscure whether the source was actually improved.
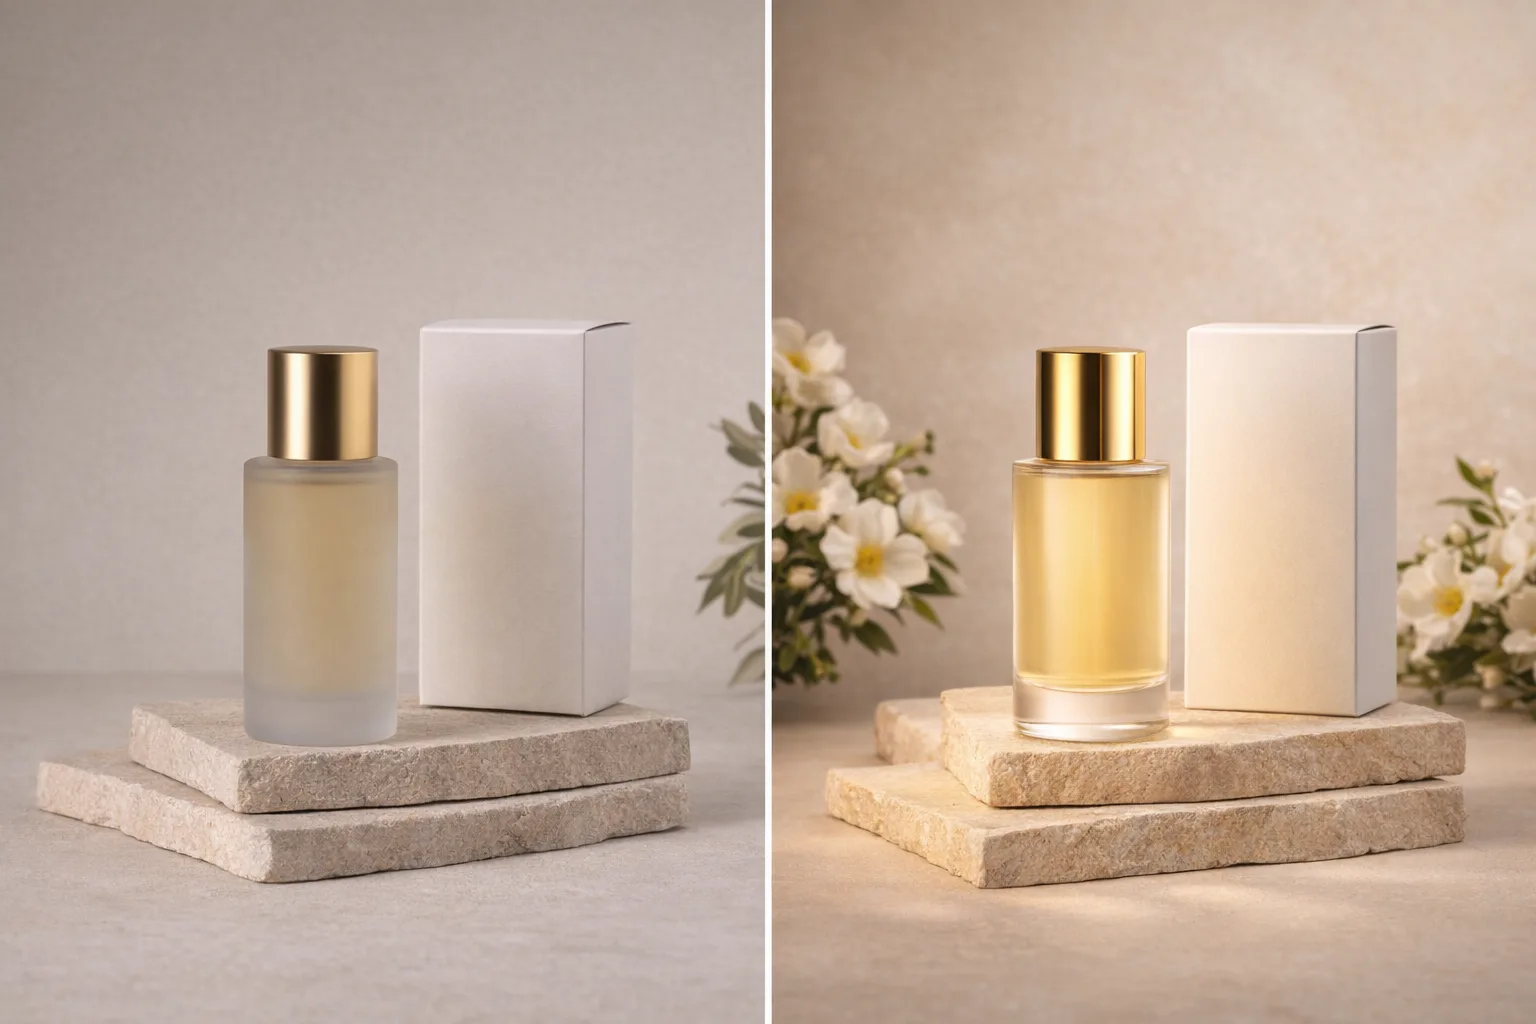
Understand AI image enhancer detail and resolution
More pixels and more reliable information are not the same thing. Use the AI image enhancer to explore a clearer rendering, but review meaningful details independently of the selected output resolution.
Look for believable rather than excessive detail
Hair, foliage, and woven surfaces can become busy patterns after a strong enhancement request. Ask the AI image enhancer for restrained detail instead of maximum sharpness. Compare repeated structures and edge transitions; extra lines do not automatically make an image more accurate.
- Look for halos, repeated texture, and unusually hard outlines.
- Keep AI image enhancer revisions moderate when the source is already clear.
Choose a resolution, not an enlargement factor
The available output choices are 1K, 2K, and 4K. This AI image enhancer does not provide an exact 2x or 4x enlargement option. Select the resolution for your intended use and inspect the returned dimensions rather than calculating a guaranteed multiple of the source.
Do not invent legibility for important text
Tiny labels and signs may turn into convincing but incorrect characters. Do not ask the AI image enhancer to establish what unreadable text truly said. Use a clearer original or another reliable record when the wording matters, and check generated lettering before publishing it.
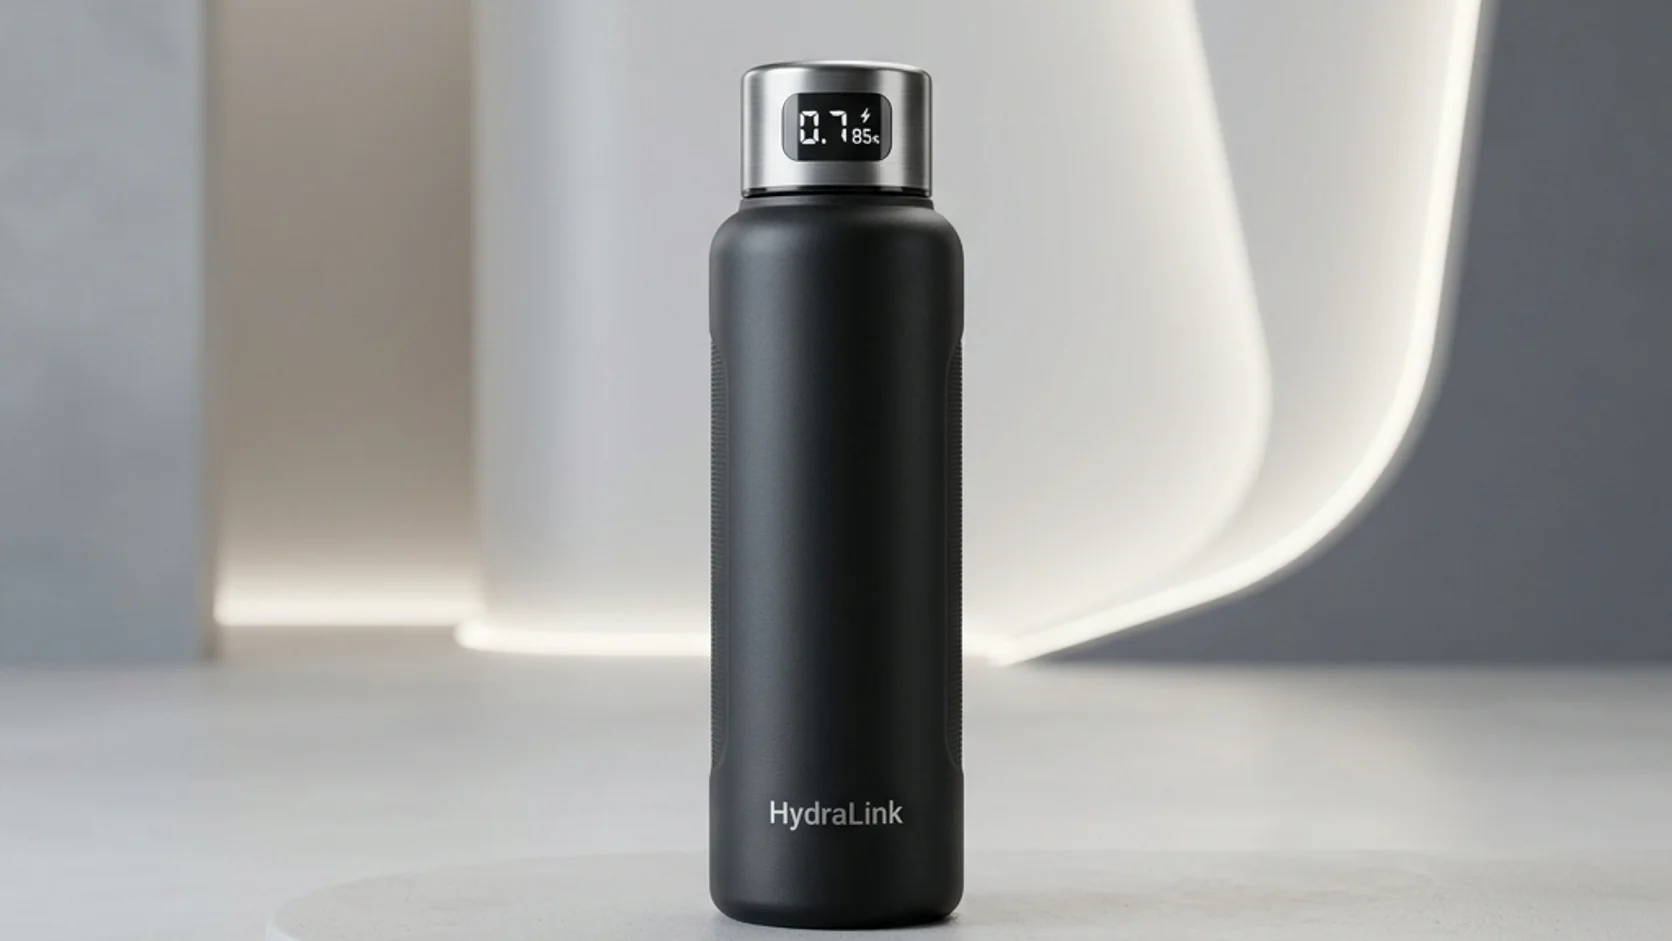
Run a controlled AI image enhancer pass
Keep the first instruction narrow enough to evaluate. An AI image enhancer workflow should make it clear whether lighting, cleanup, or detail treatment caused the improvement you prefer.
Upload and name the problem
Name the weakness and texture worth retaining. Keep the first change narrow enough to evaluate.
Select only useful references and settings
Most enhancement tasks need one source. Add references only for a clear purpose, then review resolution, output count, and displayed credits.
Compare before asking for more
Compare the improved region, then check the rest of the image. Stronger AI image enhancer instructions can introduce new texture or alter features. Keep a restrained version when it solves the viewing problem, rather than repeatedly enhancing until the original character disappears.
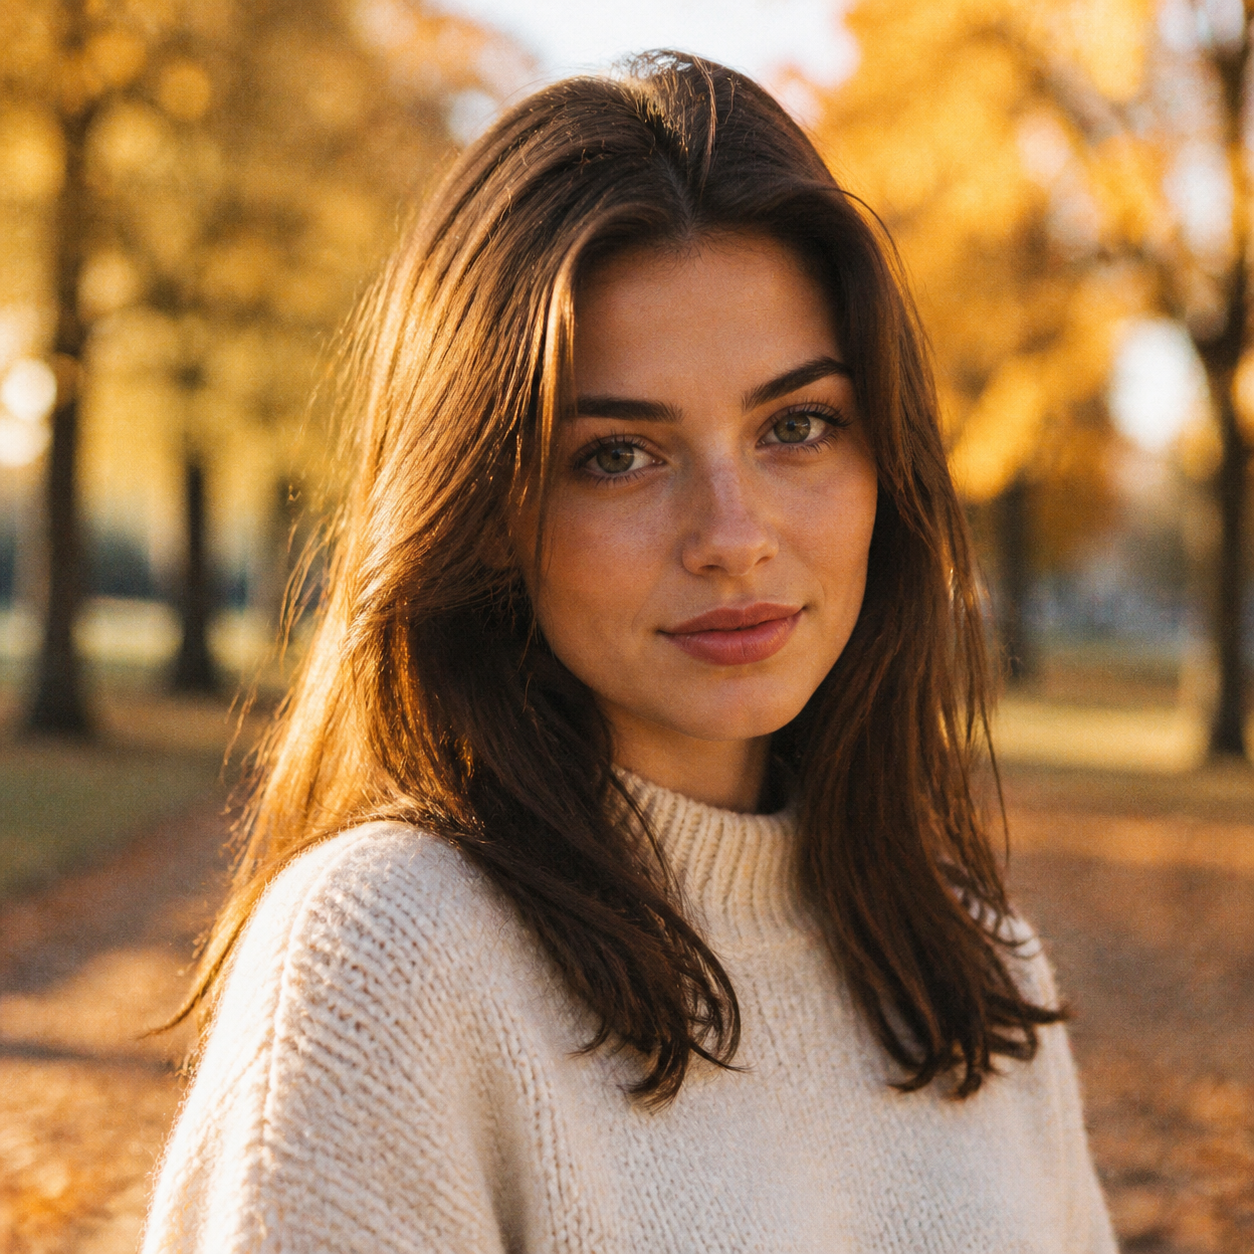
Adjust AI image enhancer review to the subject
The right review depends on what the image represents. Give the AI image enhancer a practical task, then check the features that make accuracy important for that particular picture.
For portraits, check identity before smoothness
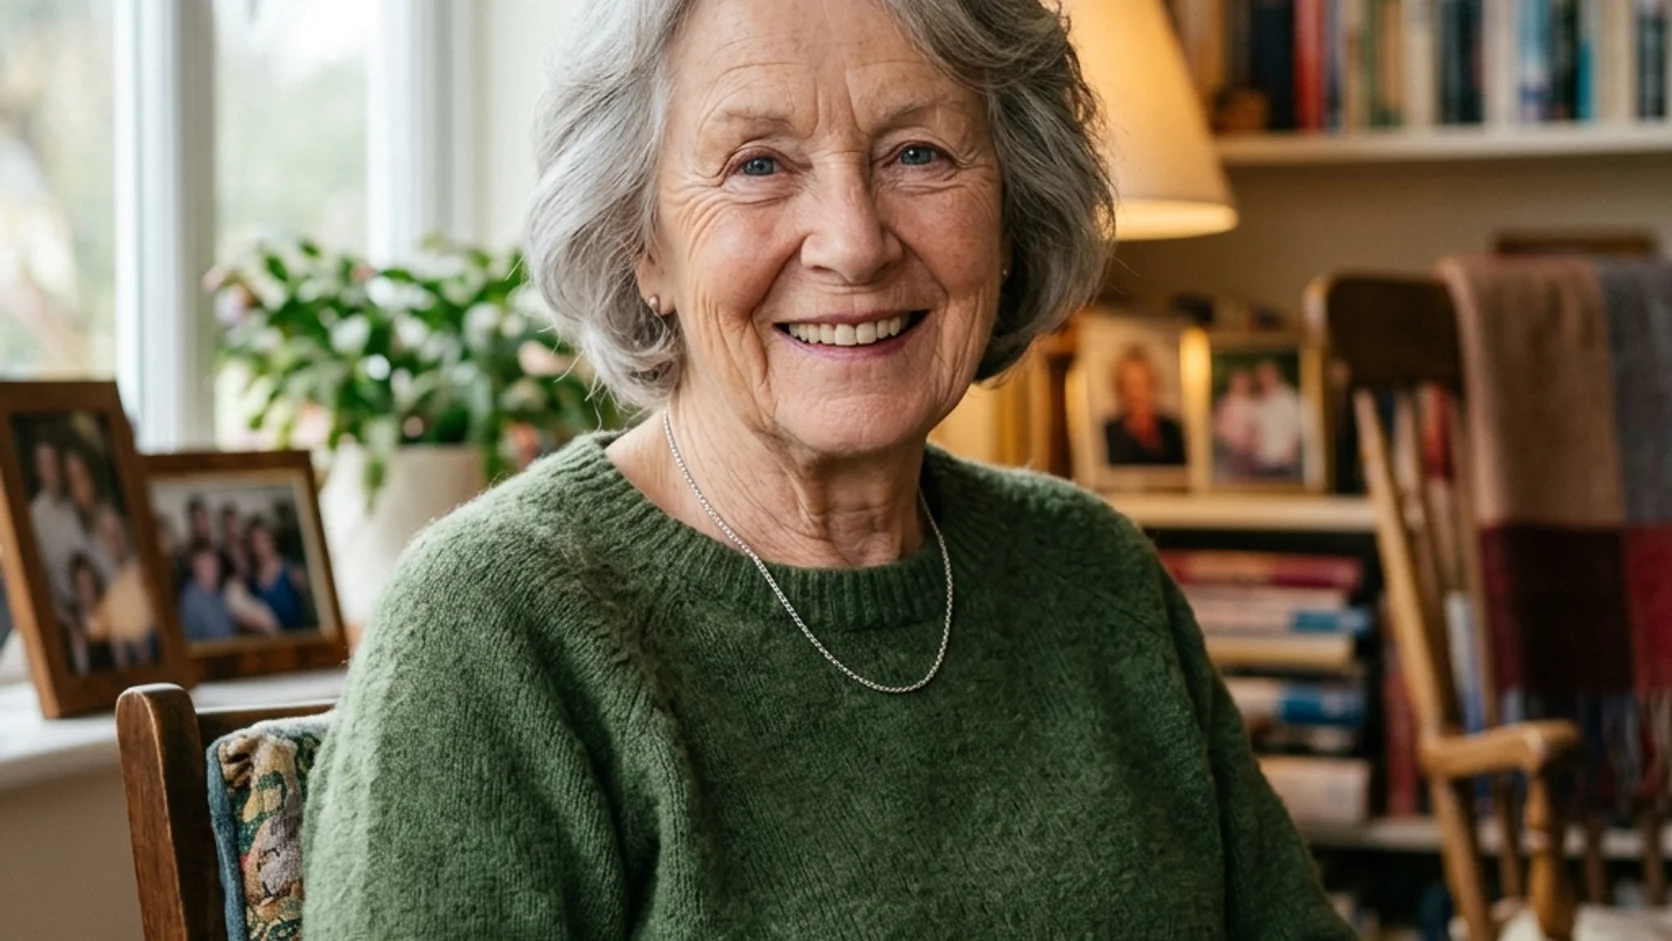
Compare the eyes, mouth, hairline, and small distinctive features with the source. An AI image enhancer result may look polished while subtly changing the person. Keep natural skin variation and reject new facial detail that makes the portrait less recognizable.
For products, check construction before shine
Inspect labels, seams, handles, and material finishes. A glossy AI image enhancer result is not useful when a matte surface becomes reflective or a fastening changes shape. Ask for better readability of the photographed item, not an imagined upgraded version of it.
For illustrations, protect the drawing language
Soft watercolor, rough pencil, and clean ink require different treatment. Tell the AI image enhancer which quality belongs to the artwork. Check whether the result preserves intentional edges and empty spaces instead of adding photographic texture to every painted or drawn surface.

Example prompts
Clean a dim workshop photograph
Use the uploaded photograph as the source. Reduce distracting blotchy noise in the plain walls and improve the readability of the workbench in shadow. Retain the photographed tools, their arrangement, the camera viewpoint, and the soft direction of the existing light as closely as possible. Preserve natural wood and metal texture. Avoid strong sharpening halos, invented labels, new objects, or an overly bright background.
Refine a compressed illustrated scene
Use the uploaded illustration as the source. Reduce visible compression blocks and ragged digital artifacts around the main outlines while retaining the original character design, composition, flat colors, and intentionally simple shading. Keep the drawing treatment consistent. Do not add photorealistic texture, new accessories, lettering, or decorative details. Aim for a cleaner interpretation rather than a redesign.
User reviews
EveryGen AI video creator feedback.
EveryGen AI creator reviews
I made a full character PV for my game with MiniMax H3 in one afternoon. The menu UI stayed readable in every frame and the character never went off-model. That used to cost me a contractor and three weeks.

We tested every AI video generator on the market for stylized work. H3 is the only one that held our anime style across cuts. We now use it for pitch reels and animatics on every project.

I uploaded four product photos and got a listing video with music and a voiceover the same day. My click-through rate on the new listings is up 38%. H3 even got the label text on my packaging right.

I ship five vertical videos a week for three brands. MiniMax H3 gets me from brief to draft in under an hour, with sound already synced. My old workflow needed a videographer and two review rounds.

The editing side is what sold me. A client wanted the background of an interview changed — I typed one sentence into MiniMax H3 and the lighting on the subject matched the new scene automatically.

I previsualized my entire short film in MiniMax H3 before we shot a single frame. Rack focus, match cuts, even the title cards — it understands director language, not just keywords.
EveryGen AI · MiniMax H3 Max Pricing and Credit Plans
Cancel anytime
Lite
50% off0.025 / credit
Billed $ yearly179· Save $179.8
Video Models


Image Models



- Includes MiniMax H3 and all premium models
- Up to 1 batch generation task
- Standard generation speed
- Standard generation success rate
- Standard customer support
- Commercial Use License
Standard
50% off0.017 / credit
Billed $ yearly299· Save $299.8
Video Models
Image Models
- Includes MiniMax H3 and all premium models
- Up to 4 batch generation tasks
- Priority processing speed
- High generation success rate
- Priority customer support
- Commercial Use License
Pro
50% off0.014 / credit
Billed $ yearly599· Save $599.8
Video Models
Image Models
- Includes MiniMax H3 and all premium models
- Up to 10 batch generation tasks
- Fastest generation speed
- High generation success rate
- Dedicated account manager
- Commercial Use License
Max
50% off0.012 / credit
Billed $ yearly1,199· Save $1,199.8
Video Models
Image Models
- Includes MiniMax H3 and all premium models
- Up to 10 batch generation tasks
- Fastest generation speed
- High generation success rate
- Dedicated account manager
- Commercial Use License
Pay safely and securely with





















FAQ
Frequently asked questions
Does the AI image enhancer recover genuine missing detail?
No guarantee of true recovery is possible here. The AI image enhancer generates an interpretation from visible information and your instructions. New hair, texture, lettering, or background detail may be invented. Keep the original whenever the distinction between appearance and evidence matters.
Does the AI image enhancer have exact 2x or 4x controls?
No. Choose among 1K, 2K, and 4K output resolutions instead. The AI image enhancer starting setting is Auto ratio and 1K. Review the returned dimensions for your layout; those resolution options are not promises to multiply the original width and height exactly.
Can the AI image enhancer improve an already large image?
Yes, the task can be lighting or artifact cleanup rather than size. Describe the specific problem to the AI image enhancer and retain an unchanged original. A larger source is not automatically a reason to request stronger sharpening or more generated texture.
Why did the AI image enhancer make skin look artificial?
The request may favor smoothness and apparent detail over natural variation. Ask the AI image enhancer for restrained cleanup, visible skin texture, and unchanged recognizable features. Compare at ordinary viewing size and choose the source when the revision changes the person too much.
When should I stop using the AI image enhancer?
Stop when the image reads well at its intended size and further edits introduce more changes than benefits. The AI image enhancer does not need to remove every irregularity. A small amount of grain or softness may be preferable to invented texture or unnatural edges.
CTA
Give the AI image enhancer a practical cleanup goal
Choose your strongest source and identify the problem that affects its real use. Try a restrained AI image enhancer pass, compare the details, and keep the version that improves readability without replacing the picture's character.
Upload an image to refine