 EveryGen AI
EveryGen AI · Image to image editing with a clear reference and direction
Keep the useful starting point and explore what could change around it. EveryGen AI image to image combines your uploaded pictures and written instructions using GPT Image 2. Begin with Auto ratio, 1K, and one output. Separate the subject to retain from the setting, style, or arrangement to rethink in your image to image brief.
Image workspace
Sample Image
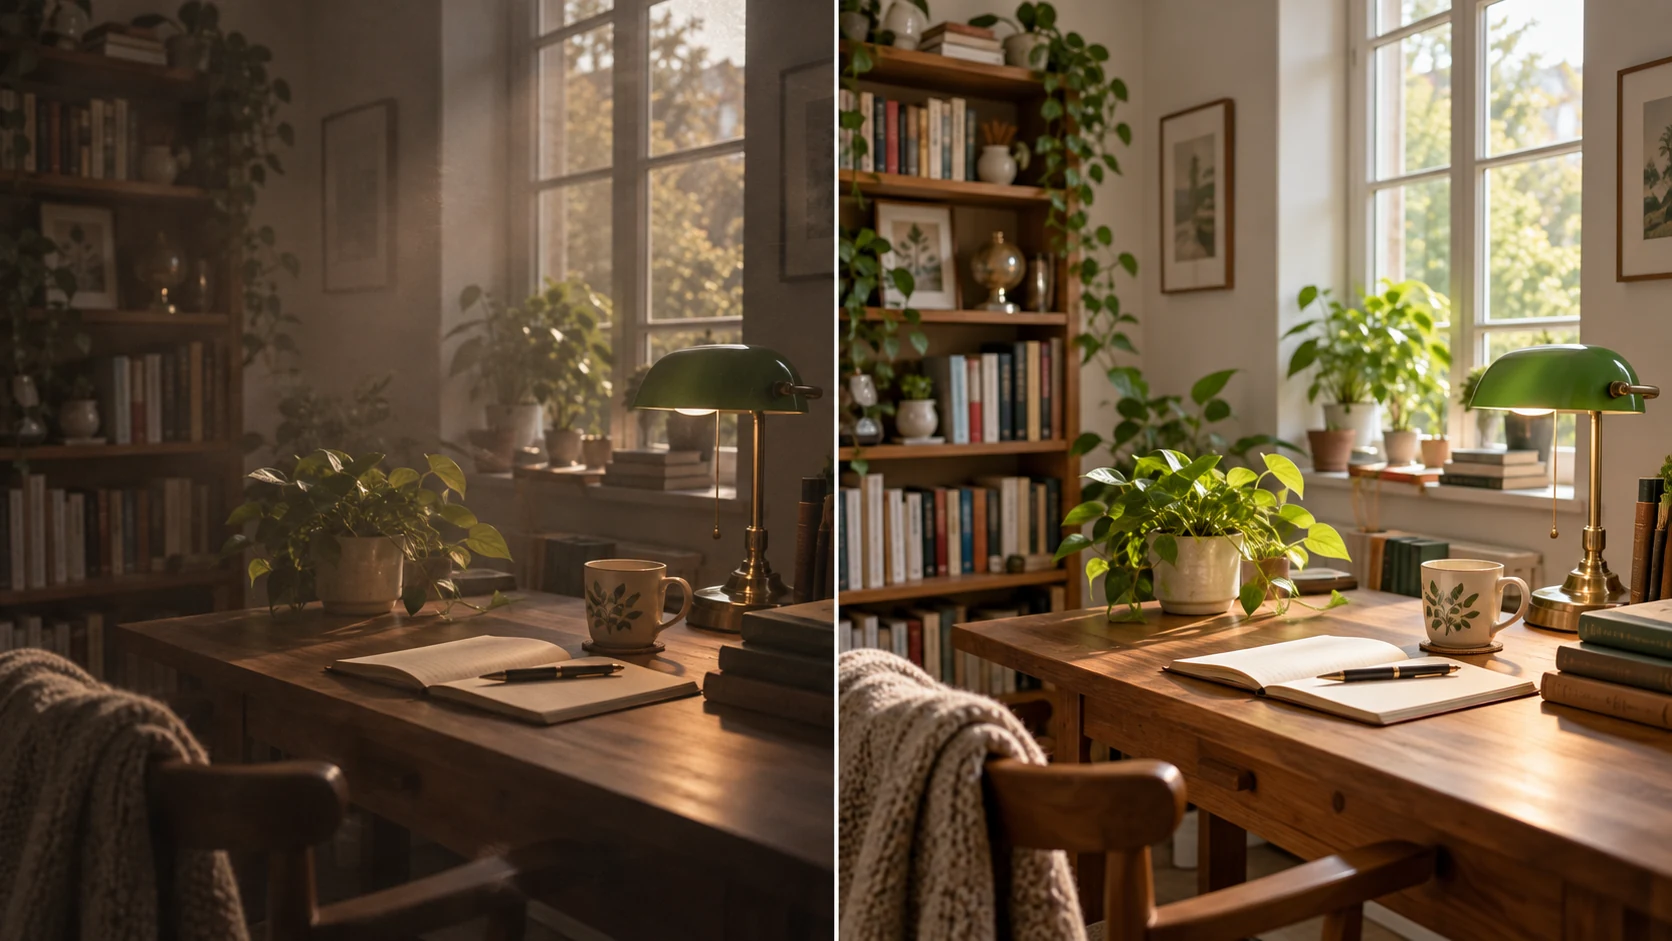 12 / 17
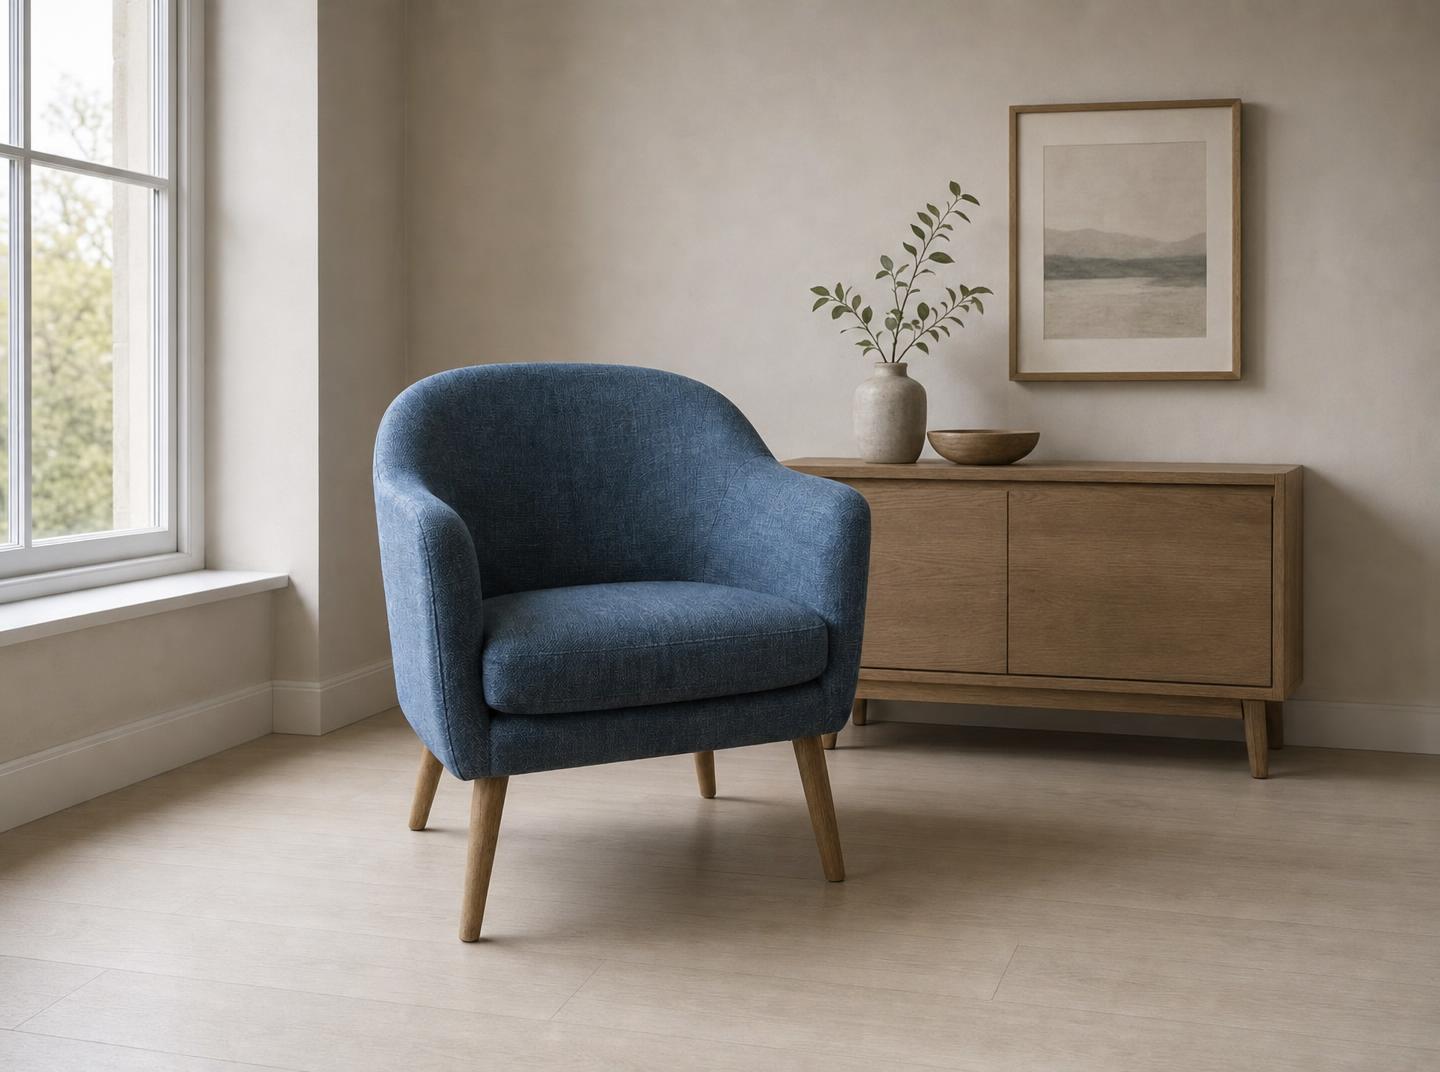
AI editing concept illustration; not an EveryGen AI test.
Introduction
Set the boundaries of your image to image edit
Before uploading, divide the task into three parts: retain, change, and leave undecided. This makes image to image a directed revision rather than an invitation to redesign every visible element.
Name the subject to retain
For a reading chair, identify its curved back, fabric color, wooden legs, and approximate proportions. Tell image to image that these belong to the source object. Keep that list short enough to compare with the result instead of listing every pixel you hope remains unchanged.
- Describe the features that make this particular subject recognizable.
- Keep the original beside your image to image review notes.
Describe the intended transformation
Replace a cluttered room with a quiet studio, turn a sketch into a painted scene, or change an overcast setting to evening. Give image to image one primary transformation. Combining a new location, pose, outfit, and camera angle immediately makes mismatches harder to diagnose.
Leave secondary choices genuinely open
You may care about the chair but not the exact shape of the distant window. Say which background details may vary. This gives image to image room to construct a coherent scene while preserving your attention for the details that actually define the task.
How to use
How to use image to image
- Input
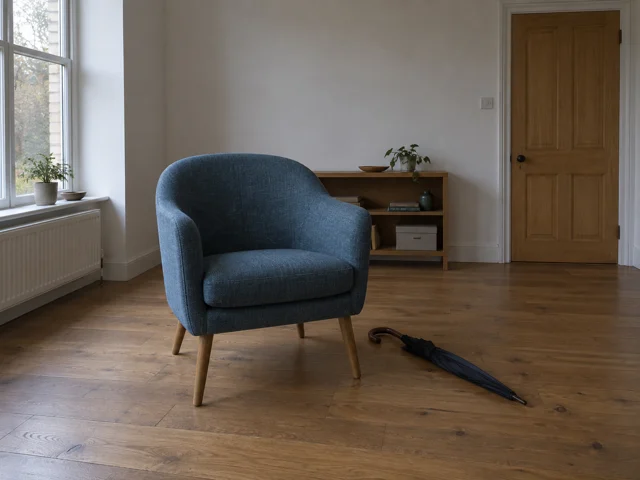 Reference image 1STEP 1
Upload your references
Choose GPT Image 2 reference editing for image to image, uploading your main picture and any additional references with clear roles.
- ModelGPT Image 21KPromptOutputSTEP 2
Define the change
Tell image to image which scene or style should change, which subject matters, and which visible features deserve careful preservation.
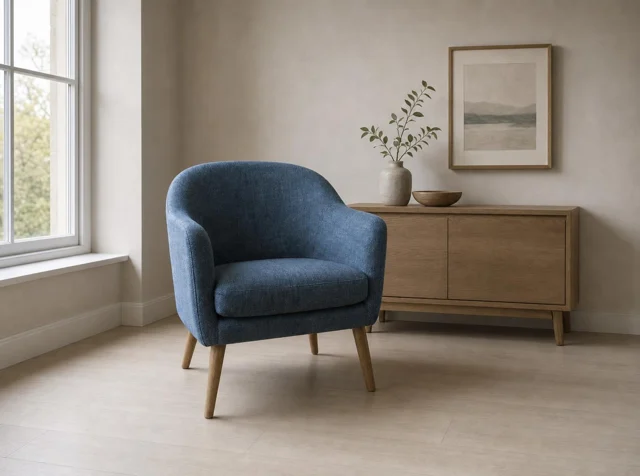 BeforeAfterSTEP 3
Check and generate
Set 1K and your preferred framing for image to image, review the displayed credits, and generate the requested visual transformation.
- STEP 4
Compare the result
Inspect image to image output beside your source, checking both the requested change and unexpected differences before downloading an approved version.
Features
Give each image to image reference a role
Several pictures can be useful when they provide different information. The point of image to image references is not to upload as many files as possible, but to remove ambiguity from the brief.
Choose a clear primary source
Use the clearest picture of the subject as your main reference, with edges and defining details visible. A screenshot with tiny objects and interface clutter is harder to brief for image to image than a clean photograph. Start with the source that best answers your task.
- Check that the chosen file is the intended subject, not just a mood example.
- Use authorized images for your image to image project.
Explain supporting images separately
GPT Image 2 accepts up to sixteen reference images on EveryGen AI. For image to image, describe one as the subject, another as the desired lighting, and another as a palette example. Use clear descriptions and confirm the upload order rather than assuming an unverified weighting control.
Remove conflicting evidence
Two photographs may show different product versions, hairstyles, or room layouts. Decide which one takes priority before starting image to image. Extra references are not automatically helpful when they disagree about the very feature you want to retain, such as a red cushion versus a blue one.
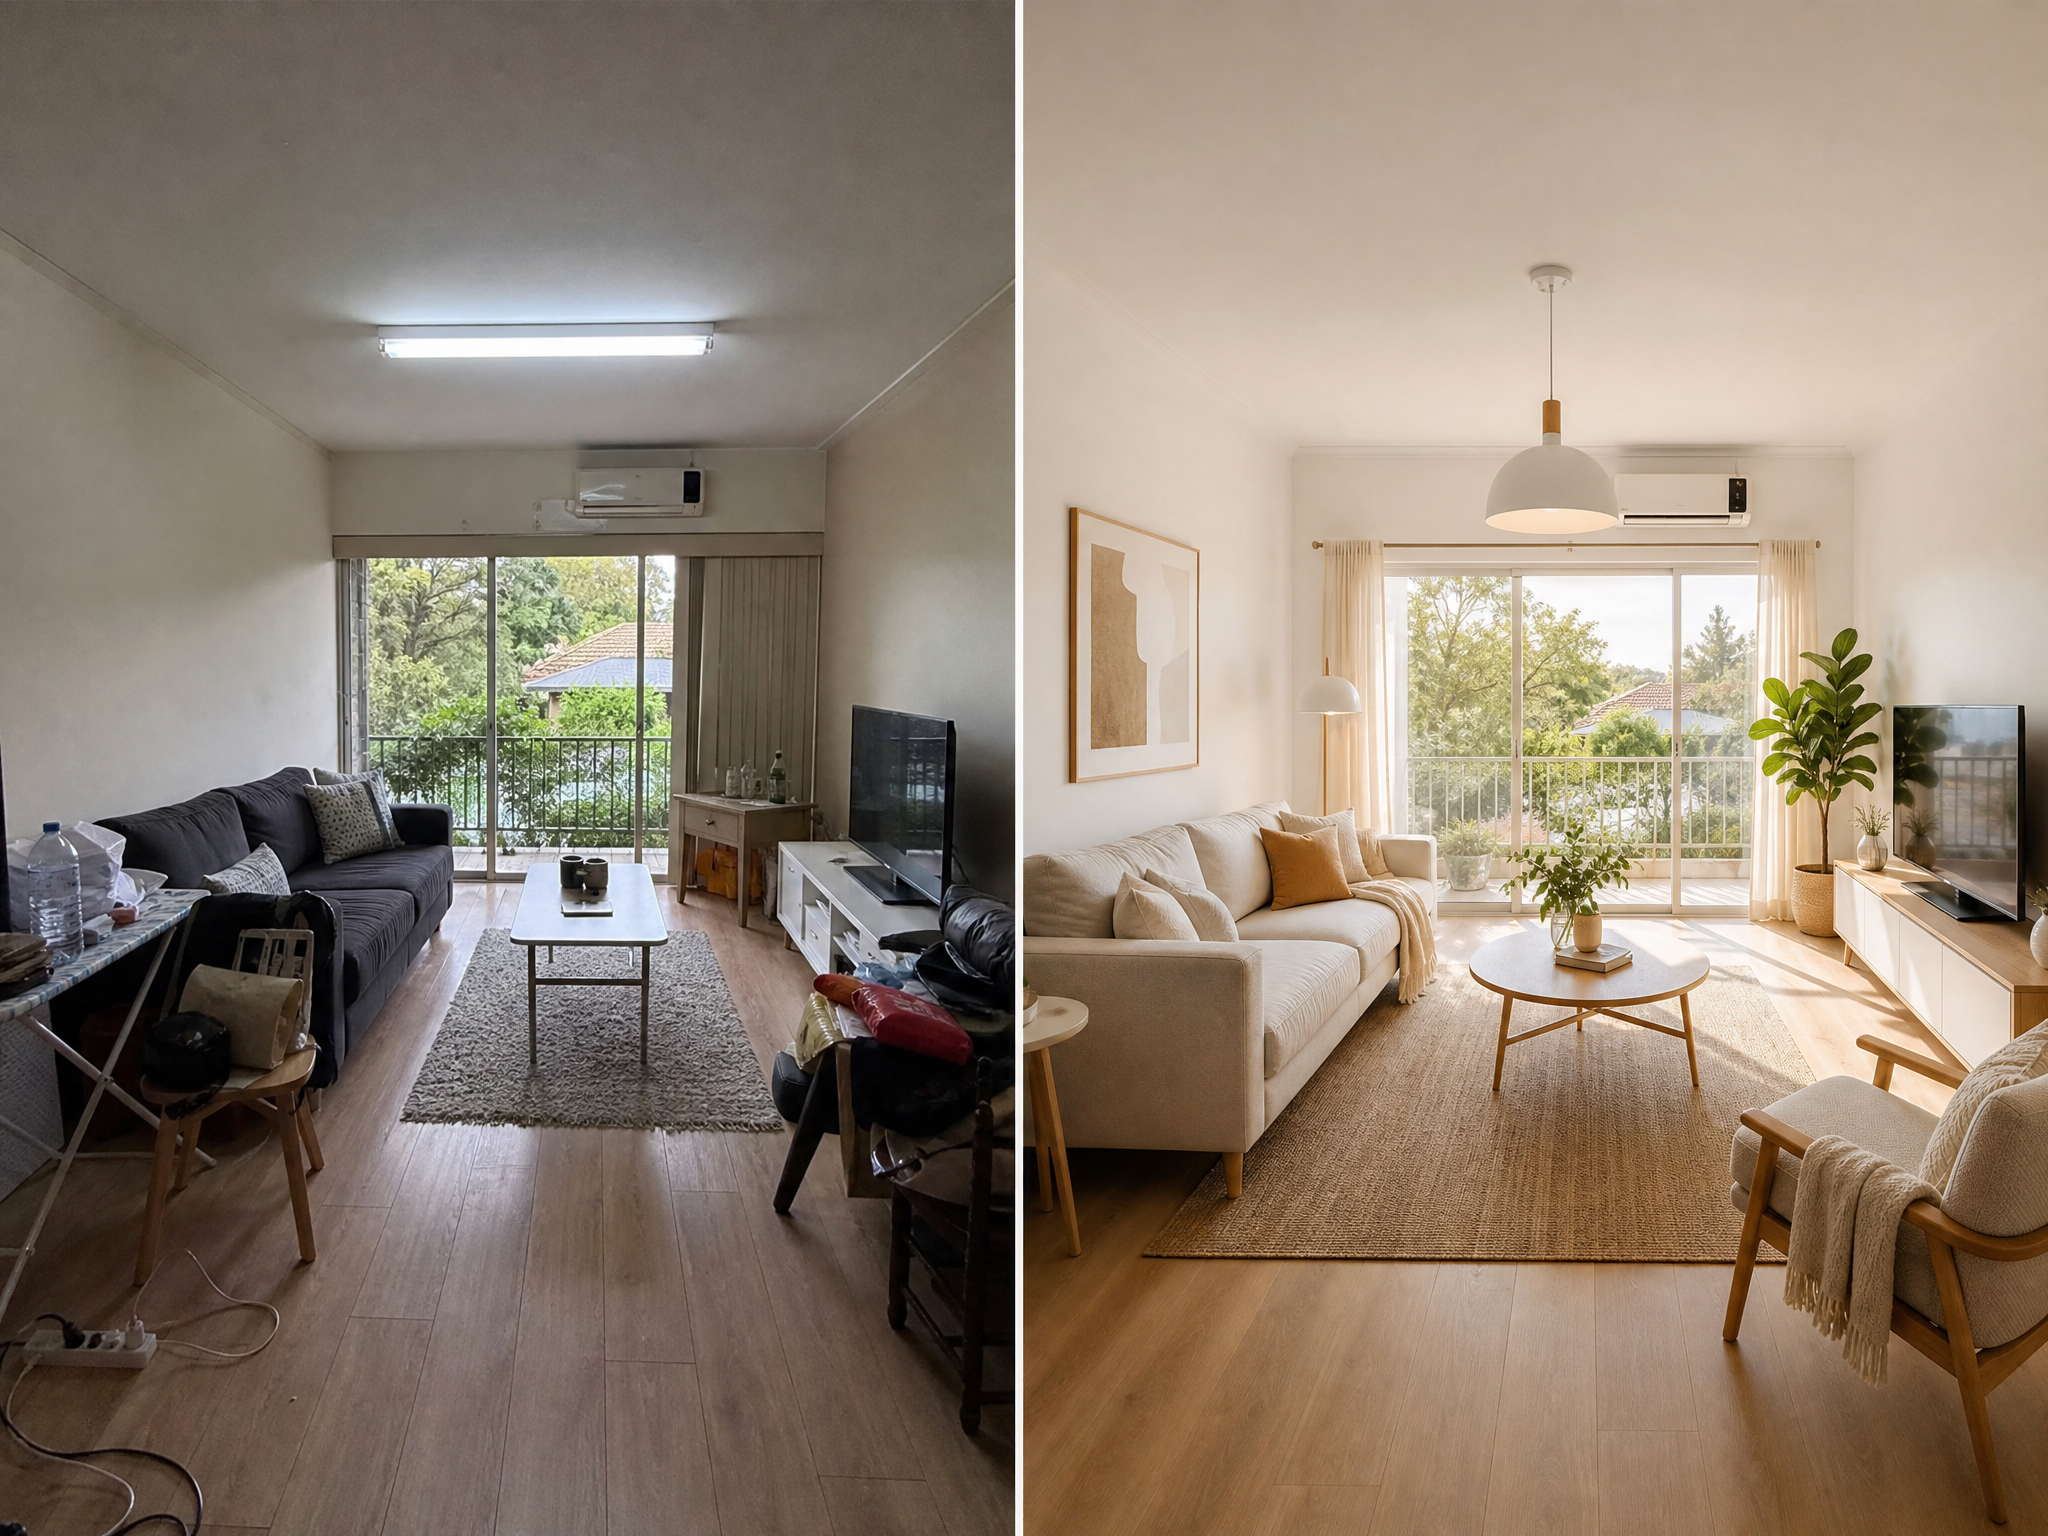
Move a subject into an image to image scene
A new background needs more than a location name. Brief image to image on scale, perspective, contact, and light so the subject and its new surroundings can be reviewed as one composition.
Describe placement and support
For the reading chair, request a position beside a tall window, with all four legs resting on a pale floor. Image to image instructions should explain where the subject sits, not simply ask for a Scandinavian interior. Check whether the new surface supports the object convincingly.
- Keep the camera height compatible with the visible reference angle.
- Inspect image to image results for floating bases and distorted contact points.
Match the direction of illumination
When the source is bright on the left, a new window on the right may create an awkward combination. Ask image to image for a coherent lighting direction across the subject and room. Expect the appearance to change when the new light changes, and inspect important colors afterwards.
Be cautious with unseen angles
Moving the camera around an object requires information that a single photograph may not show. Image to image can invent a plausible hidden side, not verify it. Supply a real view when the back, underside, or fastening details need to correspond to the actual subject.
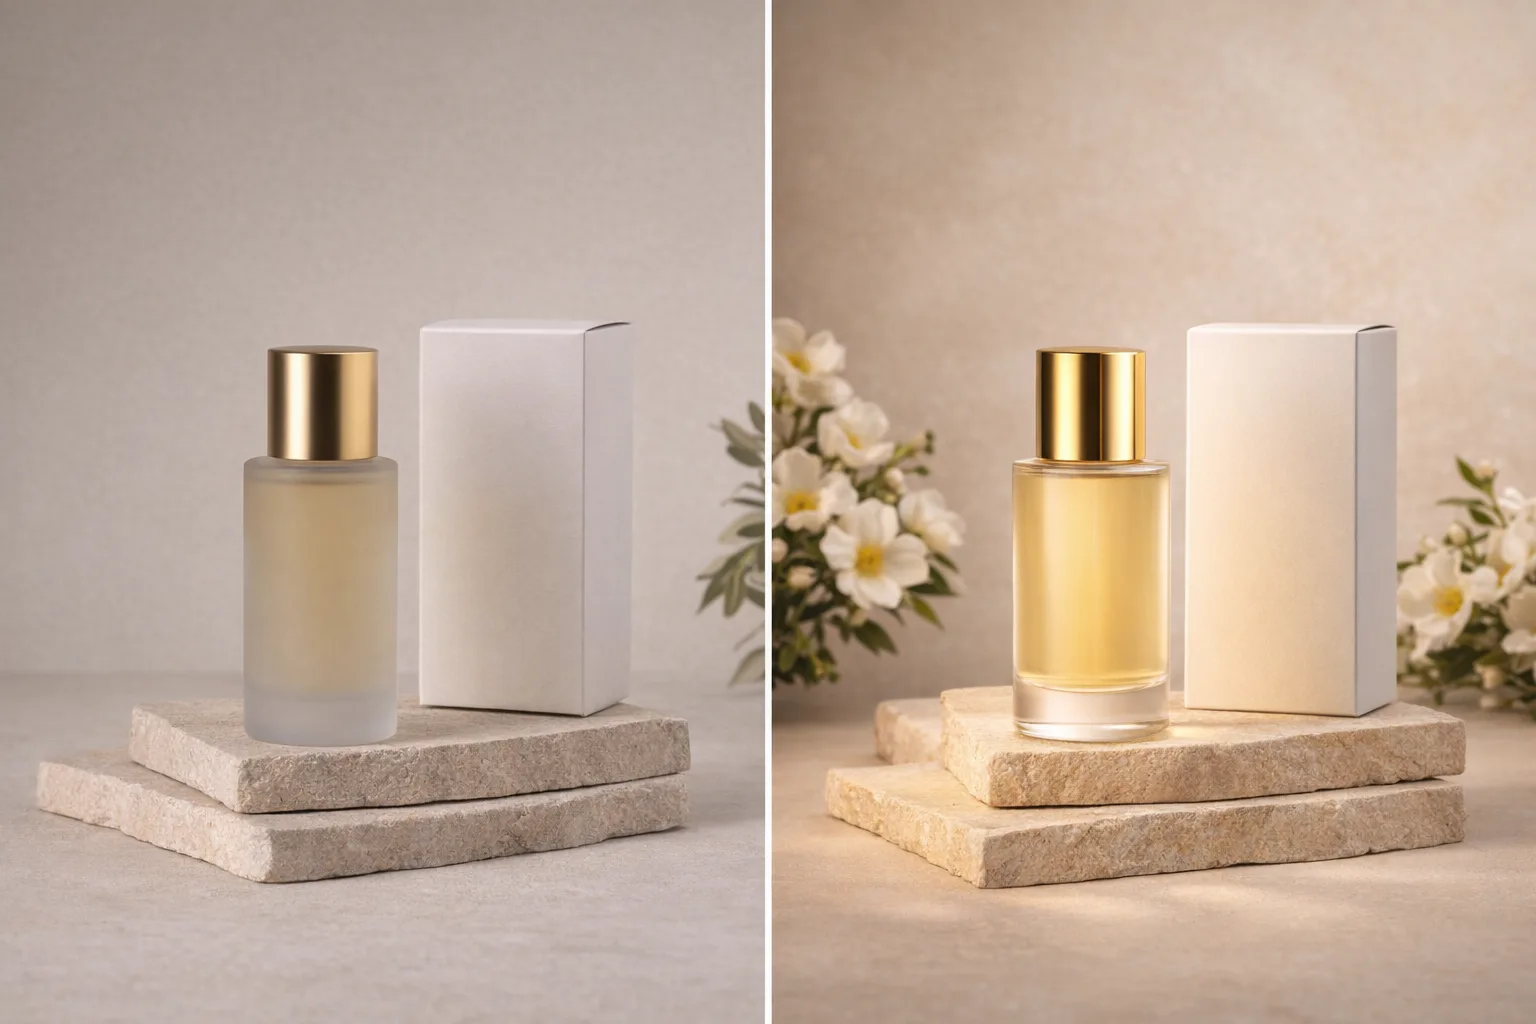
Explore style in image to image without losing structure
A style change works best when you decide which shapes should survive it. Tell image to image how to reinterpret surfaces and edges while keeping the key arrangement understandable.
Translate materials and mark making
To reinterpret a room photograph, describe simplified color blocks, clean contours, and restrained paper texture. These are actionable image to image directions. Keep furniture placement explicit so the result does not become an unrelated room in a vaguely similar palette.
- Choose a few visible style traits rather than a long list of labels.
- Use image to image comparisons to judge structure as well as finish.
Separate mood from geometry
Warm afternoon color is a different change from bending the roofline or enlarging the windows. Keep them separate in image to image instructions. For a travel poster concept, you might allow simplified shadows while retaining the recognizable outline of the building in your reference.
Keep meaningful text under review
Signs, packaging, and handwritten notes may change during a broader restyling. Do not treat image to image lettering as automatically accurate. Check important words against the source; when the layout permits, add final typography separately rather than asking a style transformation to preserve every small character.
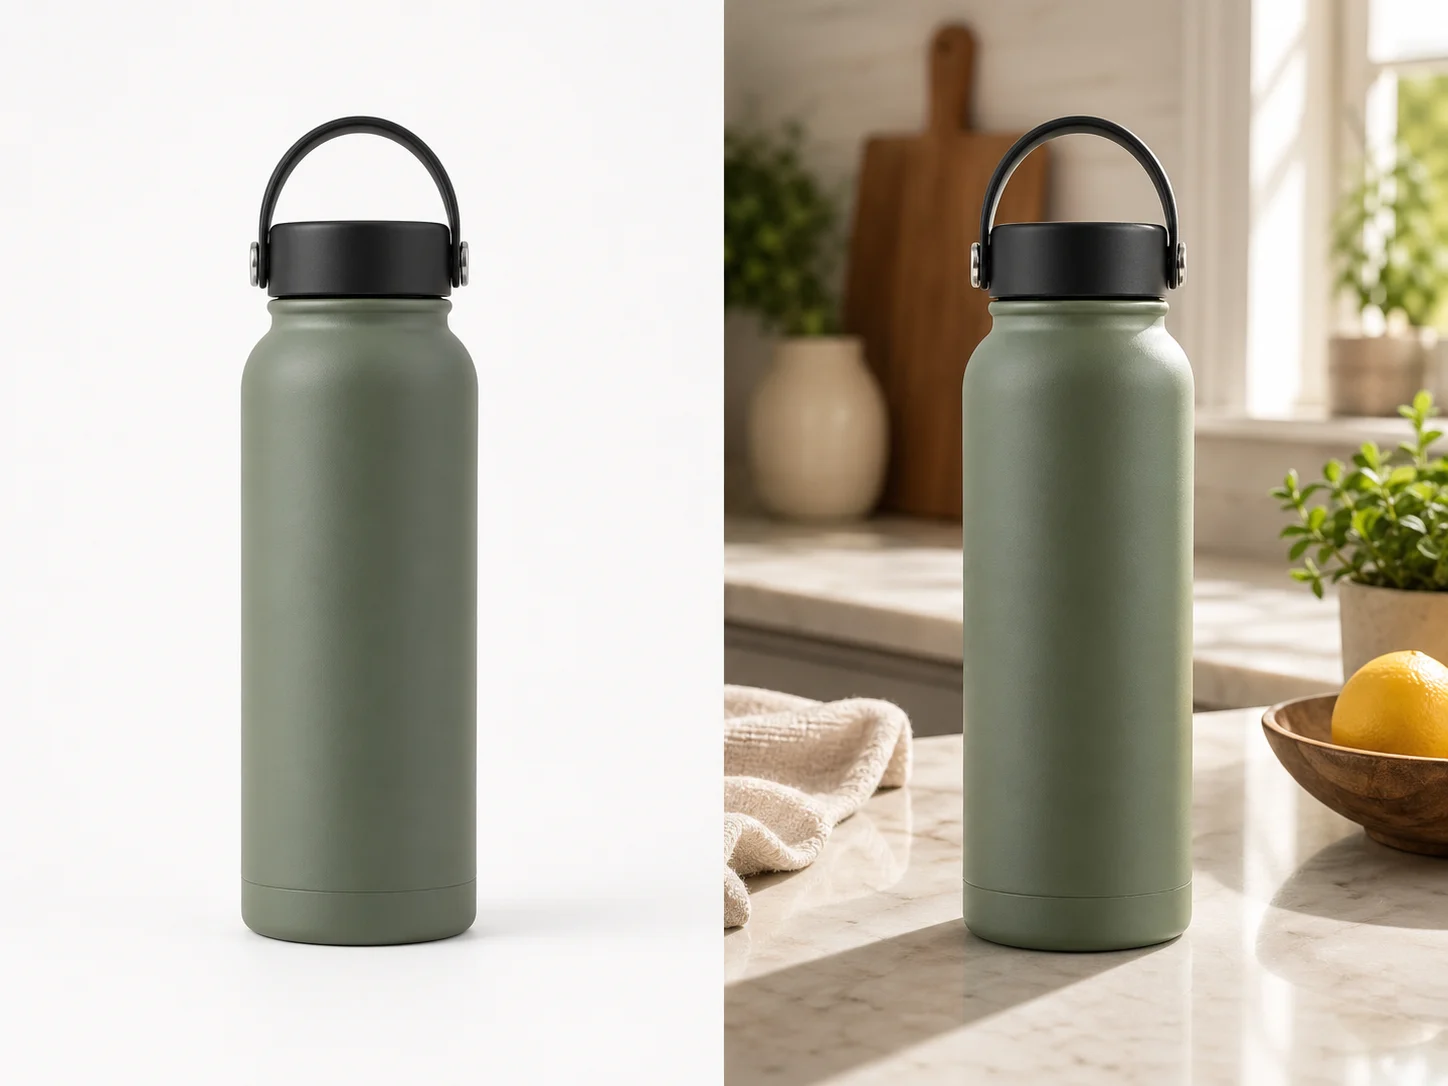
Run an image to image revision you can evaluate
Keep the original available throughout the process. An image to image workflow should make it easy to identify the requested improvement and notice any unrelated changes that arrived with it.
Upload and write the brief
Give each reference a clear purpose. Describe retained features and the main change without allowing supporting images to redefine the subject.
Review settings before submission
You can select another supported ratio, 1K, 2K, or 4K, and one to four outputs. Auto is the starting ratio choice, not a promise of original pixel dimensions. Check the actual image to image configuration and its displayed credits before sending the request.
Keep or revise deliberately
Focus revisions on the mismatch. Return to the original when successive edits accumulate unwanted changes, and retain previously approved versions.
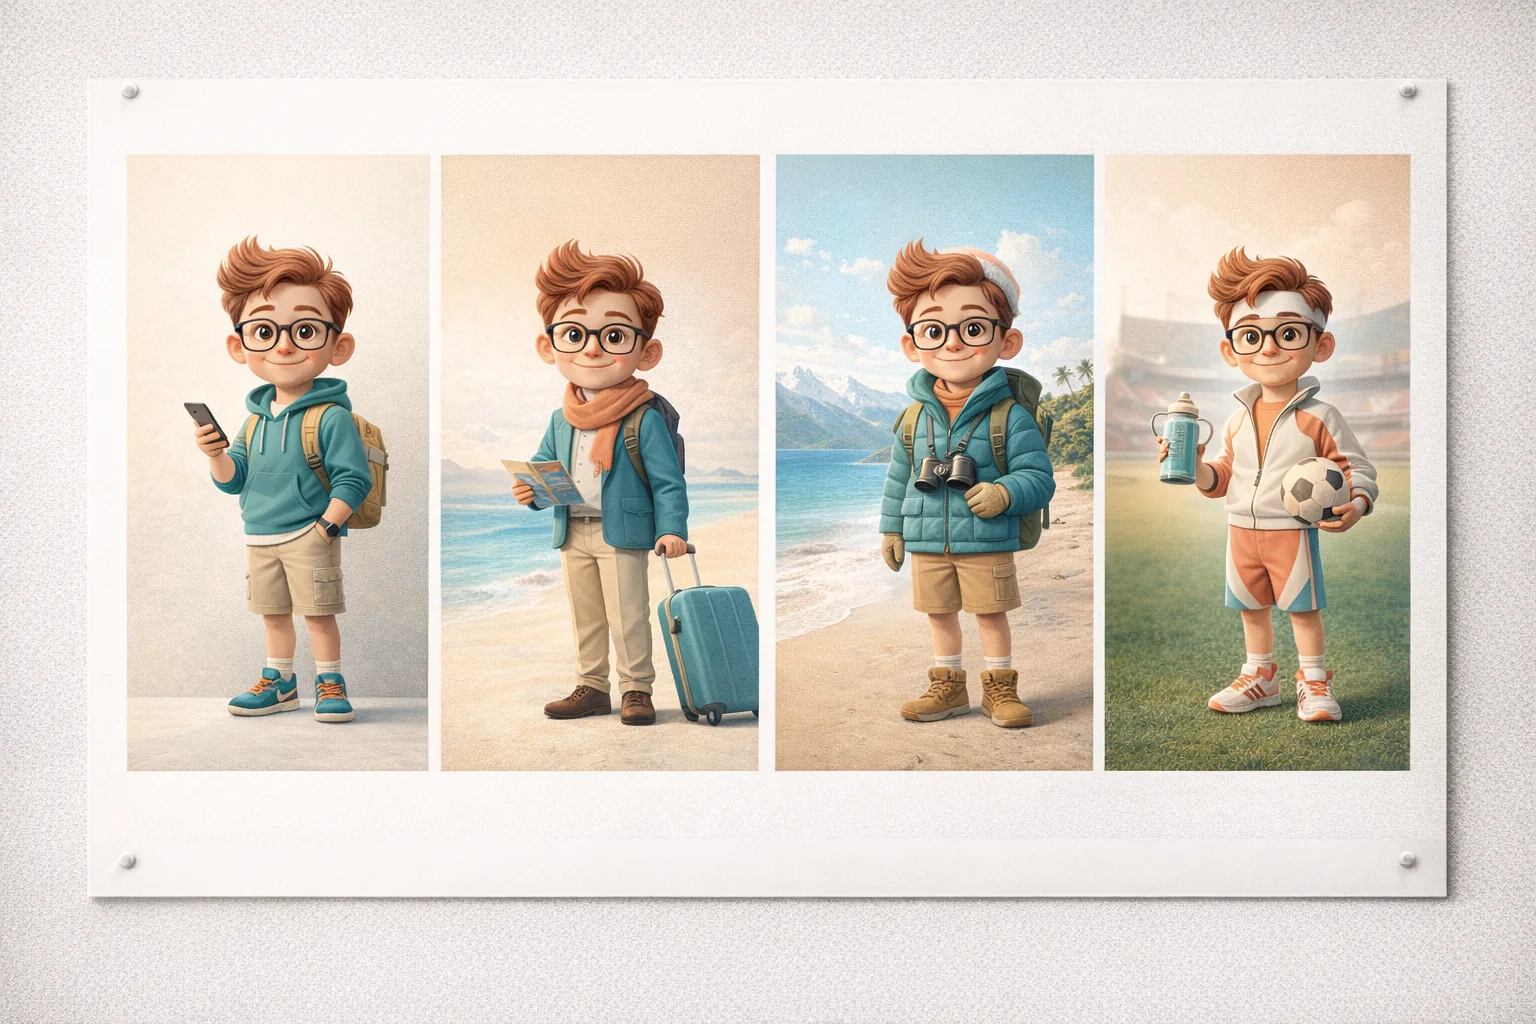
Evaluate the whole image to image result
Do two passes: one for the change you requested, another for what you wanted retained. This makes image to image review more reliable than choosing the most attractive result without comparison.
Check the transformed area first
Did the room become quieter, the palette warmer, or the sketch more fully resolved? Judge whether image to image delivered the intended direction. Compare against the written brief instead of letting an appealing but unrelated change redefine the goal after the fact.
Check the untouched-looking areas too
Inspect faces, seams, object counts, window shapes, and small accessories even when they were not part of the request. Image to image editing can affect the wider scene. A background revision is not automatically confined to the background simply because the instruction named it.
Choose the workflow for the actual job
Use reference editing when a source should guide a new composition or treatment. For an untouched subject on transparency, choose the dedicated removal workflow instead. Image to image is a generative edit, not a guarantee of pixel-identical preservation outside a manually defined selection.
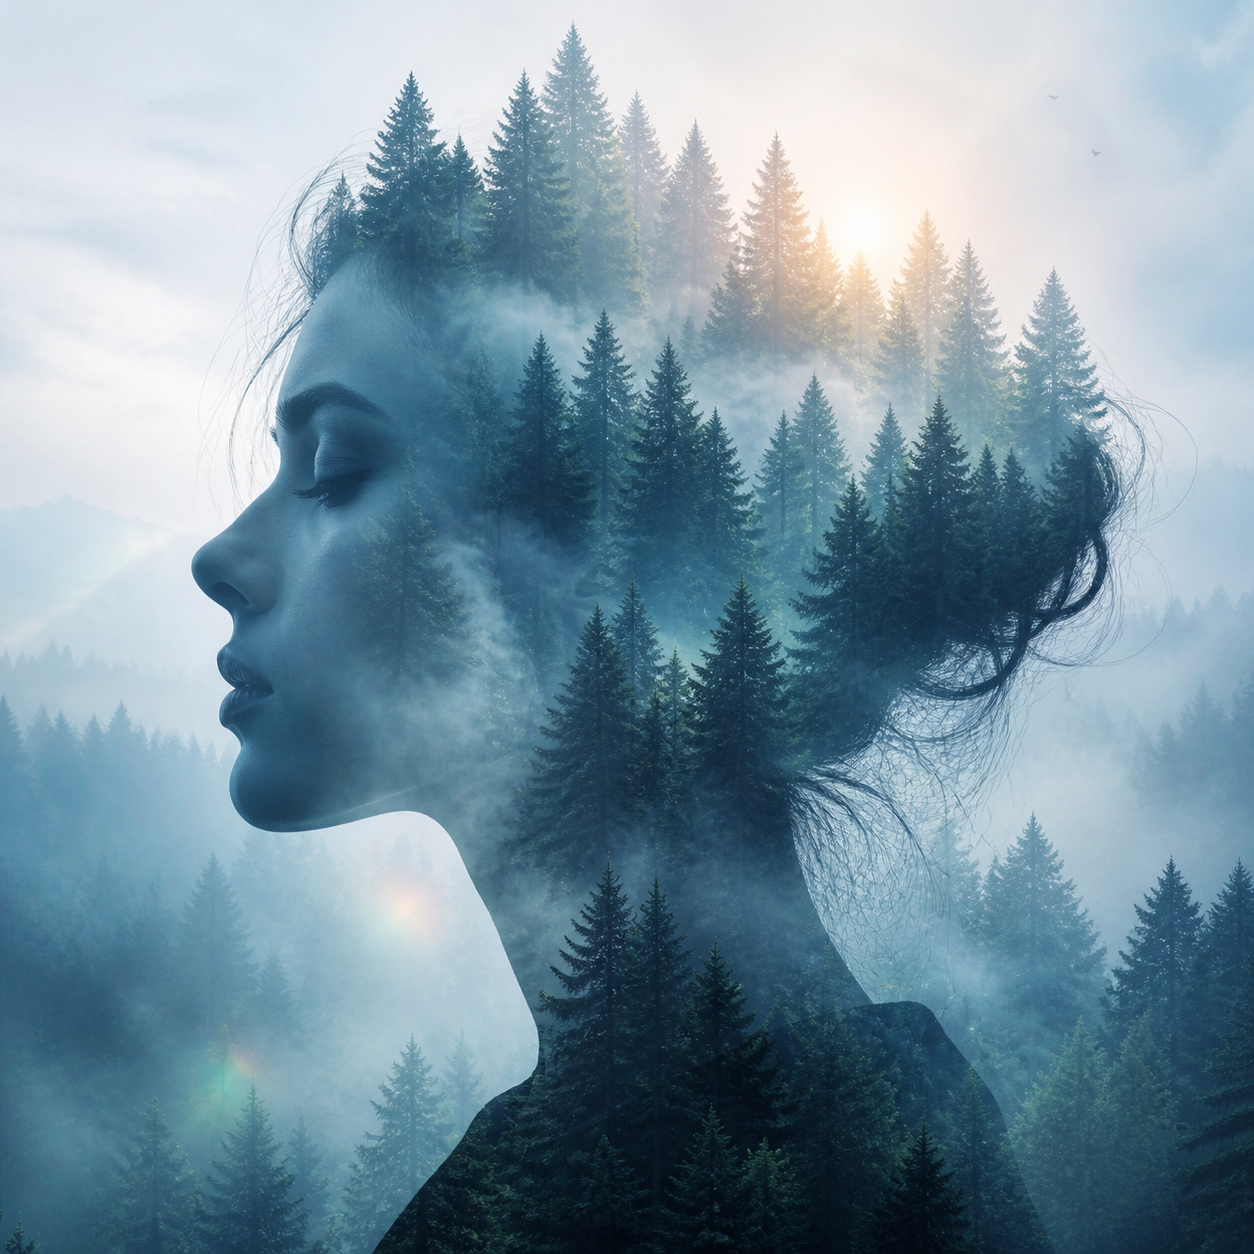
Example prompts
Place a reading chair in a quieter room
Use the uploaded chair photograph as the subject reference. Create a calm interior with the same recognizable curved back, blue woven upholstery, and wooden legs. Place the chair slightly left of center beside one tall window on the left. Keep a compatible camera height and show all legs making believable contact with a pale floor. Use soft light from that window and gentle shadows to the right. Remove unrelated clutter. Do not introduce other chairs, signs, or logos.
Translate a building photograph into an illustration
Use the uploaded building photograph as the structural reference. Reinterpret the scene as a clean editorial illustration with simplified color blocks, restrained paper texture, and soft late-afternoon shadows. Retain the recognizable roofline, major window arrangement, and viewpoint as closely as possible. Simplify the distant surroundings without adding new architectural features to the subject. Use muted brick, cream, and blue-gray tones. Leave a quiet sky area above the building and add no lettering.
User reviews
EveryGen AI video creator feedback.
EveryGen AI creator reviews

I made a full character PV for my game with MiniMax H3 in one afternoon. The menu UI stayed readable in every frame and the character never went off-model. That used to cost me a contractor and three weeks.

We tested every AI video generator on the market for stylized work. H3 is the only one that held our anime style across cuts. We now use it for pitch reels and animatics on every project.

I uploaded four product photos and got a listing video with music and a voiceover the same day. My click-through rate on the new listings is up 38%. H3 even got the label text on my packaging right.

I ship five vertical videos a week for three brands. MiniMax H3 gets me from brief to draft in under an hour, with sound already synced. My old workflow needed a videographer and two review rounds.

The editing side is what sold me. A client wanted the background of an interview changed — I typed one sentence into MiniMax H3 and the lighting on the subject matched the new scene automatically.

I previsualized my entire short film in MiniMax H3 before we shot a single frame. Rack focus, match cuts, even the title cards — it understands director language, not just keywords.
EveryGen AI · MiniMax H3 Max Pricing and Credit Plans
Cancel anytime
Lite
50% off0.025 / credit
Billed $ yearly179· Save $179.8
Video Models


Image Models



- Includes MiniMax H3 and all premium models
- Up to 1 batch generation task
- Standard generation speed
- Standard generation success rate
- Standard customer support
- Commercial Use License
Standard
50% off0.017 / credit
Billed $ yearly299· Save $299.8
Video Models
Image Models
- Includes MiniMax H3 and all premium models
- Up to 4 batch generation tasks
- Priority processing speed
- High generation success rate
- Priority customer support
- Commercial Use License
Pro
50% off0.014 / credit
Billed $ yearly599· Save $599.8
Video Models
Image Models
- Includes MiniMax H3 and all premium models
- Up to 10 batch generation tasks
- Fastest generation speed
- High generation success rate
- Dedicated account manager
- Commercial Use License
Max
50% off0.012 / credit
Billed $ yearly1,199· Save $1,199.8
Video Models
Image Models
- Includes MiniMax H3 and all premium models
- Up to 10 batch generation tasks
- Fastest generation speed
- High generation success rate
- Dedicated account manager
- Commercial Use License
Pay safely and securely with





















FAQ
Frequently asked questions
How many references can I use for image to image?
GPT Image 2 supports up to sixteen references. Give each image to image upload a distinct role, such as subject, lighting, or palette. One strong source is more useful than several contradictory pictures.
Will image to image keep every detail unchanged?
No. Image to image can alter shapes, text, faces, and textures beyond the requested change. Compare important features with your source. Choose another workflow when exact untouched pixels are essential to the job.
Can image to image change only the visual style?
You can request a style-focused revision while retaining the source arrangement as the guide. Describe linework, shading, palette, and texture for image to image. Check the underlying shapes too; a stylistic request does not guarantee unchanged geometry.
Why does image to image produce an unrelated-looking result?
Simplify the transformation and remove ambiguous reference roles. Start the image to image brief by identifying the source subject and naming one important change. A narrower request is easier to assess than an already contradictory instruction with more adjectives.
Does Auto preserve my original file size?
Do not treat Auto as a source-dimension guarantee. It is the initial ratio setting for this image to image page. Review the selected resolution and the returned dimensions for your intended placement, and keep the original file when its exact size matters.
CTA
Give image to image a reference with a purpose
Choose the clearest source, explain what should remain recognizable, and describe one change worth exploring. Start an image to image edit, review the configuration, and compare the result with the picture that began it.
Upload a reference and describe the change