 EveryGen AI
EveryGen AI · AI image generator for ideas, references, and the next creative step
Start with words or a picture you already have. The EveryGen AI AI image generator brings both approaches into one GPT Image 2 workspace, starting in text mode at Auto and 1K. Browse examples and develop a useful draft with the AI image generator before choosing a still for your layout or video.
Image workspace
Sample Image
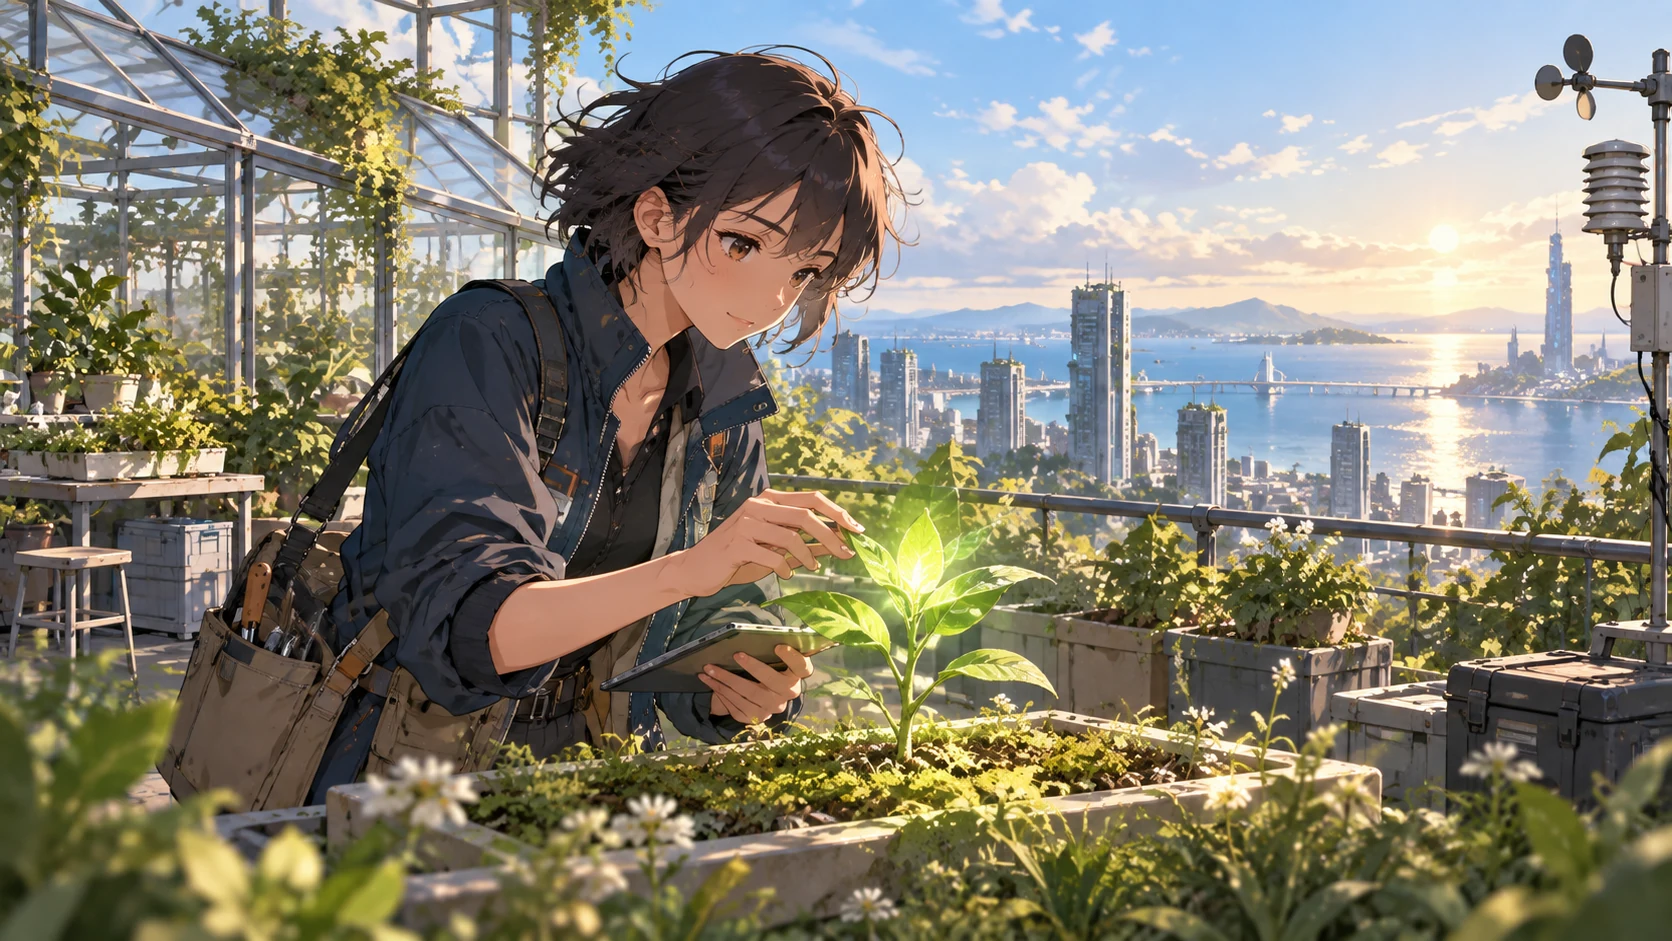 22 / 30
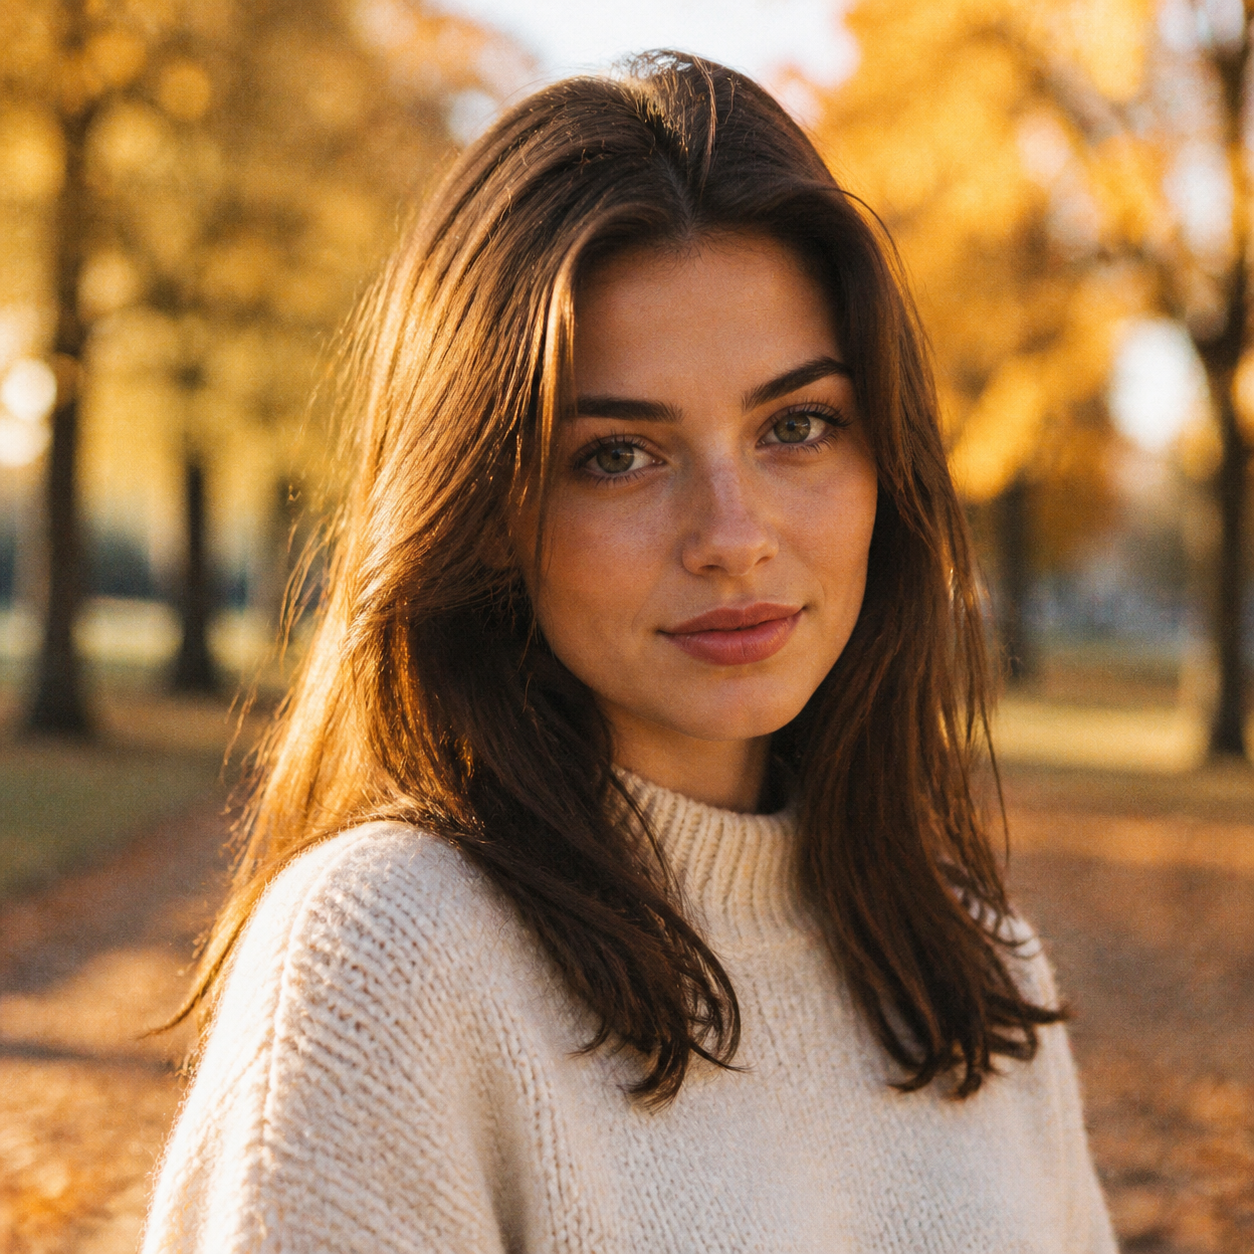
AI-generated illustration of a fictional rooftop botanist and coastal city.
Introduction
Choose an AI image generator starting point
Choose the AI image generator starting point according to the material you already have.
Start with text for a new scene
Text mode suits an original illustration, a fictional environment, or a visual idea without a fixed source. Give the AI image generator a subject, purpose, and mood. You can explore a direction before collecting materials or committing to a detailed production plan.
- Describe what the picture should communicate before requesting decoration.
- Keep the AI image generator first draft centered on that purpose.
Start with a reference for something specific
Choose image mode when you want to develop your own photograph, sketch, product, or authorized portrait. Tell the AI image generator what should remain recognizable and what can change. A reference gives you something concrete to compare against the returned candidate.
Assign a role to every reference
GPT Image 2 image mode supports up to sixteen references, but more is not automatically clearer. Identify the subject source, style reference, and composition guide separately. The AI image generator needs those relationships explained when several pictures suggest different objects or visual directions.
How to use
How to use the AI image generator
- PromptSTEP 1
Choose your starting point
Open GPT Image 2 in the AI image generator, choosing text for a new scene or image mode for uploaded references.
- ModelGPT Image 21K16:9PromptSTEP 2
Direct a useful draft
Give the AI image generator a destination, main subject, and lighting direction, explaining the role of each reference you include.
- Detail
 STEP 3
Generate and compare
Choose 1K, framing, and output count in the AI image generator, check the displayed credits, and generate candidates for comparison.
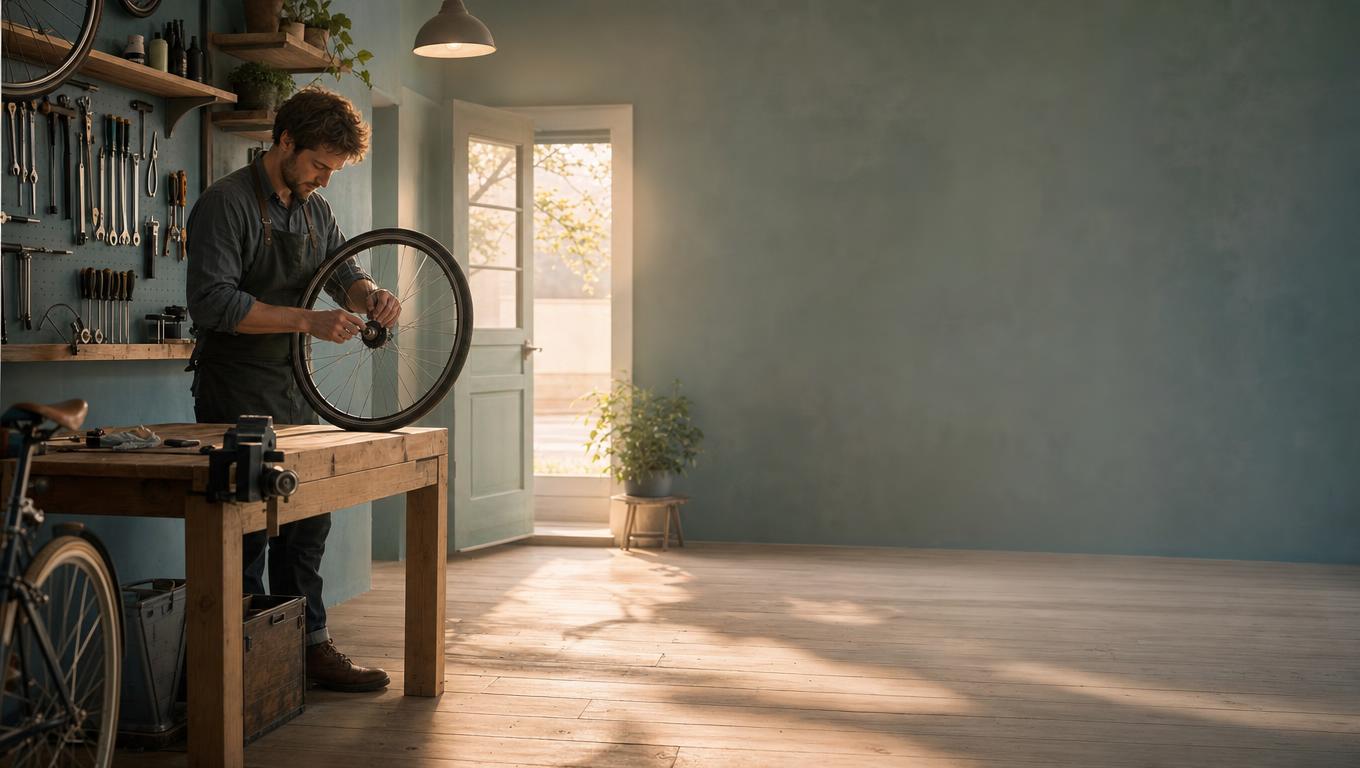
- Create one wide editorial illustration of a quiet bicycle repair shop just before opening. One adult mechanic arranges a single wheel beside a wooden workbench, with a softly lit doorway and a few organized tools in the background. Clear subject, believable object relationships, warm morning light, muted teal and timber palette. Leave calm space on the right for webpage text added separately. No embedded words, logos, collage, or exaggerated machinery. Keep the scene simple enough to support a later gentle camera move.DownloadSTEP 4
Continue your chosen image
Download an approved AI image generator result, or use the existing image-to-video entry and review video settings before generating motion.
Features
Give the AI image generator a useful destination
Give the AI image generator a destination that explains your composition choices.
Plan a visual for a layout
A website header may need open space beside its focal subject, while an article illustration may fill the frame. Tell the AI image generator where later text or interface elements belong. This helps you choose a composition that needs less awkward cropping afterward.
- Name the destination and its most important visual constraint.
- Keep AI image generator text space separate from the main subject.
Explore an object or style study
A simple object against a quiet background is useful for comparing material, color, or art direction. Ask the AI image generator to keep the setup restrained. Review the choice you are actually exploring instead of judging every draft by the complexity of its environment.
Choose a scene that could move later
An image intended for video needs room for a plausible action or camera move. Give the AI image generator a clear subject and stable scene relationships. A crowded arrangement of overlapping objects may look interesting but leave little room for readable motion.
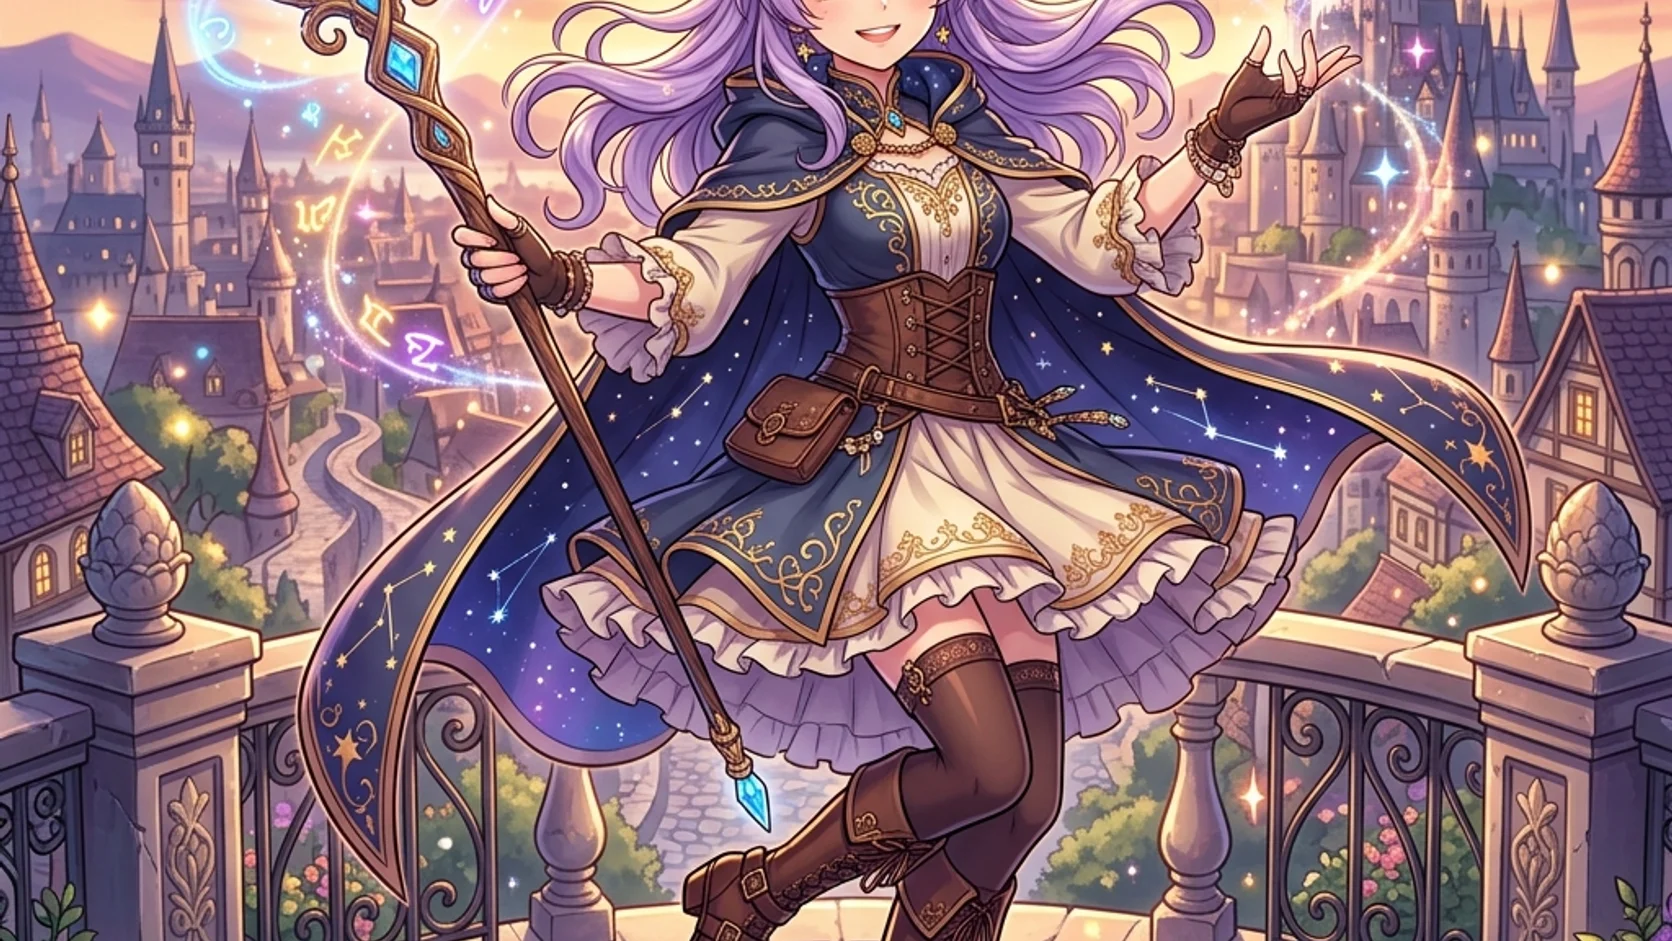
Use AI image generator examples as starting material
Browse AI image generator examples for a useful direction, not an identical-result promise.
Look for a relevant visual pattern
Choose an example for its framing, lighting, or subject relationship rather than copying every detail. Use it to clarify what your own AI image generator request needs. A scene can supply a useful composition even when its original subject is unrelated to yours.
- Identify the one visual decision you want to borrow.
- Rewrite the AI image generator brief around your own subject and destination.
Check the setup before submitting
After using an example, review the visible prompt, selected mode, references, and settings. Do not assume an attractive preview establishes the correct configuration for your task. Confirm the AI image generator input actually describes the picture you want before starting a new request.
Keep examples and your own sources distinct
A preview image may illustrate a prompt without being the reference for your generation. Supply the appropriate authorized source when the task depends on a real object. Make the AI image generator instruction clear about which uploaded material defines the subject.

Work through AI image generator drafts deliberately
Use the AI image generator to answer one clear creative question per revision.
Start with the visible configuration
The default is GPT Image 2 text mode at Auto and 1K. Choose a supported ratio when a particular shape matters. Review the AI image generator settings and the credits displayed for the actual request before submitting, rather than assuming a fixed amount.
- Use image mode when the request depends on an uploaded source.
- Confirm AI image generator references and output settings together.
Choose the number of candidates
GPT Image 2 supports one to four outputs and 1K, 2K, or 4K. Use the AI image generator to compare candidates when several directions remain plausible. One focused output may be enough when you already know which aspect of the scene needs revision.
Change the weakest useful detail
Keep the parts that work and name the next change: quieter background, wider framing, or softer light. Give the AI image generator a targeted revision. Replacing the subject, style, lighting, and composition simultaneously makes it harder to understand why the next draft succeeds.
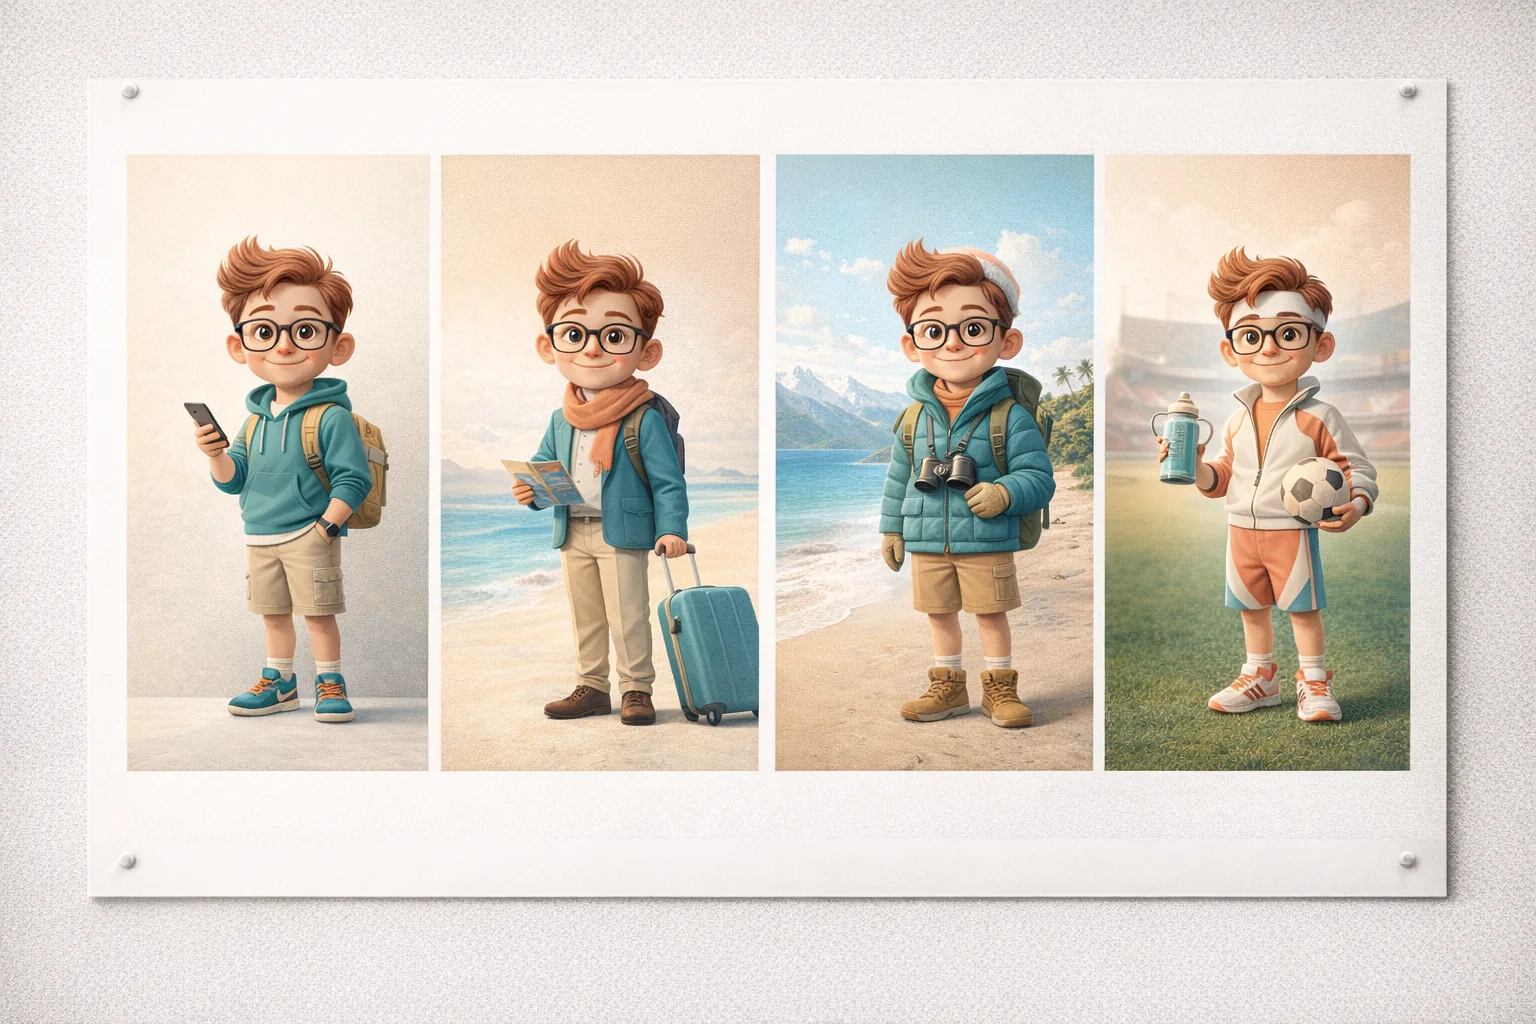
Choose an AI image generator result beyond its first impression
Review AI image generator candidates against their intended task, not just visual polish.
Inspect meaning and construction
Check the subject, object count, hands, text, and material boundaries before concentrating on polish. Compare AI image generator reference edits with their source because details can change. Reject an attractive image when its errors undermine the specific idea it is supposed to communicate.
- Review the full image and the important close details.
- Check AI image generator candidates at the size where they will be used.
Download the actual selected file
The GPT Image 2 workspace outputs JPEG images. Inspect the downloaded AI image generator result rather than relying only on the preview. Keep a clean copy before adding external text or layout elements, especially when you may want a different crop later.
Keep the useful decisions with the image
Save the selected prompt and notes about the source, framing, and accepted changes in your own project records. The AI image generator is easier to revisit when you can explain the previous decision. A memorable thumbnail alone is a poor revision brief.
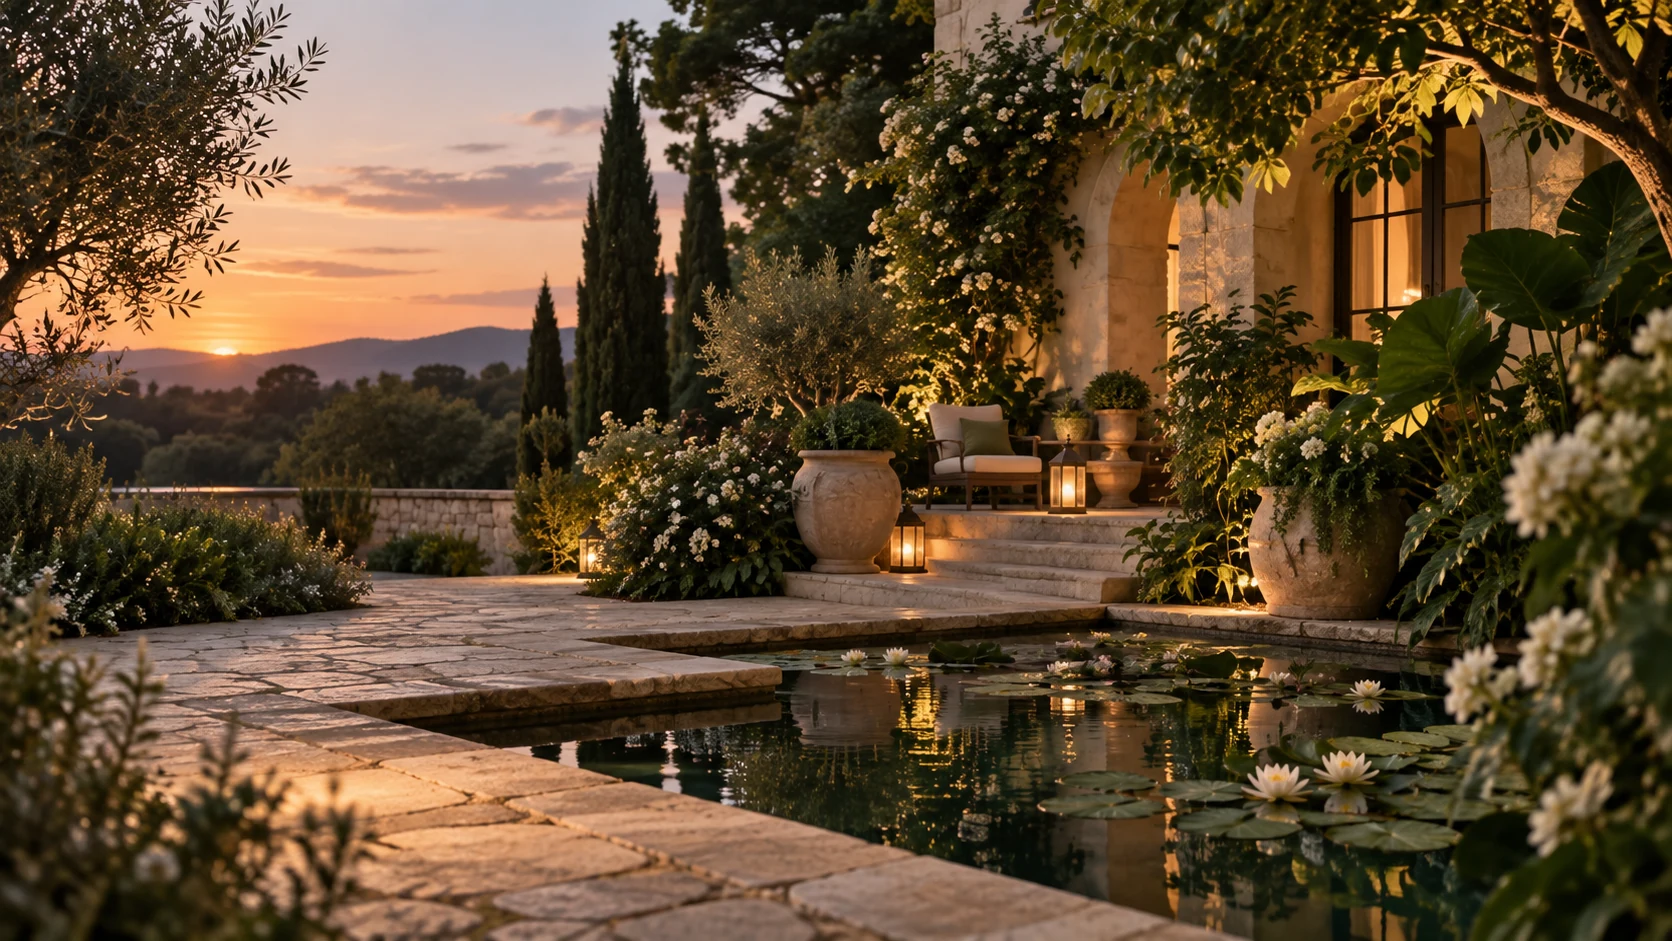
Continue an AI image generator result into motion
Choose a strong AI image generator still before planning the movement that follows.
Choose the frame before the action
Look for a readable subject, a stable setting, and enough space for movement. Use the image-to-video entry on the selected AI image generator result when you want to continue. Review the transferred frame and the video workspace settings before starting the next generation.
- Describe one action that fits the chosen image.
- Keep the AI image generator composition in mind when planning camera movement.
Write a motion brief rather than repeating the image
A still of a cafe window already establishes the room, light, and objects. For video, explain what changes: steam rises while the camera gently moves closer. Use the AI image generator scene as context rather than asking the next model to redesign everything.
Review video choices separately
Video models have their own durations, resolutions, inputs, and audio behavior. Check those settings and their displayed credits before submitting. An AI image generator result does not carry image-generation settings into the motion task or guarantee that every visible detail stays unchanged.
Example prompts
Text mode: an editorial repair-shop scene
Create one wide editorial illustration of a quiet bicycle repair shop just before opening. One adult mechanic arranges a single wheel beside a wooden workbench, with a softly lit doorway and a few organized tools in the background. Clear subject, believable object relationships, warm morning light, muted teal and timber palette. Leave calm space on the right for webpage text added separately. No embedded words, logos, collage, or exaggerated machinery. Keep the scene simple enough to support a later gentle camera move.
Image mode: develop a real ceramic mug
Use my uploaded mug photograph as the subject reference. Create a restrained studio image with the mug fully visible on pale stone against a warm gray background. Aim to retain its recognizable handle shape, glaze color, rim, and proportions. Use soft light from the left and a gentle contact shadow. Keep the setting quiet and add no second mug, invented logo, readable text, ingredients, or decorative objects. I will compare the result with the actual reference before using the image.
User reviews
EveryGen AI video creator feedback.
EveryGen AI creator reviews

I made a full character PV for my game with MiniMax H3 in one afternoon. The menu UI stayed readable in every frame and the character never went off-model. That used to cost me a contractor and three weeks.

We tested every AI video generator on the market for stylized work. H3 is the only one that held our anime style across cuts. We now use it for pitch reels and animatics on every project.

I uploaded four product photos and got a listing video with music and a voiceover the same day. My click-through rate on the new listings is up 38%. H3 even got the label text on my packaging right.

I ship five vertical videos a week for three brands. MiniMax H3 gets me from brief to draft in under an hour, with sound already synced. My old workflow needed a videographer and two review rounds.

The editing side is what sold me. A client wanted the background of an interview changed — I typed one sentence into MiniMax H3 and the lighting on the subject matched the new scene automatically.

I previsualized my entire short film in MiniMax H3 before we shot a single frame. Rack focus, match cuts, even the title cards — it understands director language, not just keywords.
EveryGen AI · MiniMax H3 Max Pricing and Credit Plans
Cancel anytime
Lite
50% off0.025 / credit
Billed $ yearly179· Save $179.8
Video Models


Image Models



- Includes MiniMax H3 and all premium models
- Up to 1 batch generation task
- Standard generation speed
- Standard generation success rate
- Standard customer support
- Commercial Use License
Standard
50% off0.017 / credit
Billed $ yearly299· Save $299.8
Video Models
Image Models
- Includes MiniMax H3 and all premium models
- Up to 4 batch generation tasks
- Priority processing speed
- High generation success rate
- Priority customer support
- Commercial Use License
Pro
50% off0.014 / credit
Billed $ yearly599· Save $599.8
Video Models
Image Models
- Includes MiniMax H3 and all premium models
- Up to 10 batch generation tasks
- Fastest generation speed
- High generation success rate
- Dedicated account manager
- Commercial Use License
Max
50% off0.012 / credit
Billed $ yearly1,199· Save $1,199.8
Video Models
Image Models
- Includes MiniMax H3 and all premium models
- Up to 10 batch generation tasks
- Fastest generation speed
- High generation success rate
- Dedicated account manager
- Commercial Use License
Pay safely and securely with





















FAQ
Frequently asked questions
Should I use text or references in the AI image generator?
Use text for a new scene and image mode when an existing photograph or drawing should guide the result. The AI image generator supports both through GPT Image 2. Explain the purpose of each reference and compare important details rather than assuming automatic preservation.
How should I use the example gallery?
Choose an example for a useful composition, style, or lighting direction. Adapt the AI image generator prompt to your own task and review the visible mode, references, and settings. An example helps you begin; it does not guarantee the same picture or remove the need for review.
What image settings can I change?
GPT Image 2 offers supported aspect ratios, 1K, 2K, 4K, and one to four outputs. Image mode accepts up to sixteen references. Start the AI image generator at its Auto and 1K default, then choose a configuration appropriate to the task and check its dynamic credits.
What format will I download?
The shared GPT Image 2 workspace returns JPEG files. The AI image generator does not provide editable layers or automatic vector conversion. Keep a clean downloaded version for layout work, and use the relevant separate workflow when the project needs a different type of production asset.
Can I turn a selected image into a video?
Yes. Use the existing image-to-video entry on the chosen result and review the video workspace before submitting. The AI image generator supplies the starting visual; the next task needs its own motion instruction, model settings, and credit review. Model-specific video capabilities should be checked separately.
CTA
Start the AI image generator from an idea or a reference
Choose your starting point, explore a draft, and inspect it before downloading. Use the AI image generator to prepare a useful still, then continue into video when motion adds something.
Create your next image