 EveryGen AI
EveryGen AI · A product background generator for believable product settings
Explore surfaces, backdrop colors, and believable shadows with the EveryGen AI product background generator. Upload your actual product photograph and describe the new setting. Begin with GPT Image 2 reference editing at 1:1, 1K, and one output. Use the product background generator to develop a coherent photograph, then check the object and its surroundings separately.
Image workspace
Sample Image
 14 / 17
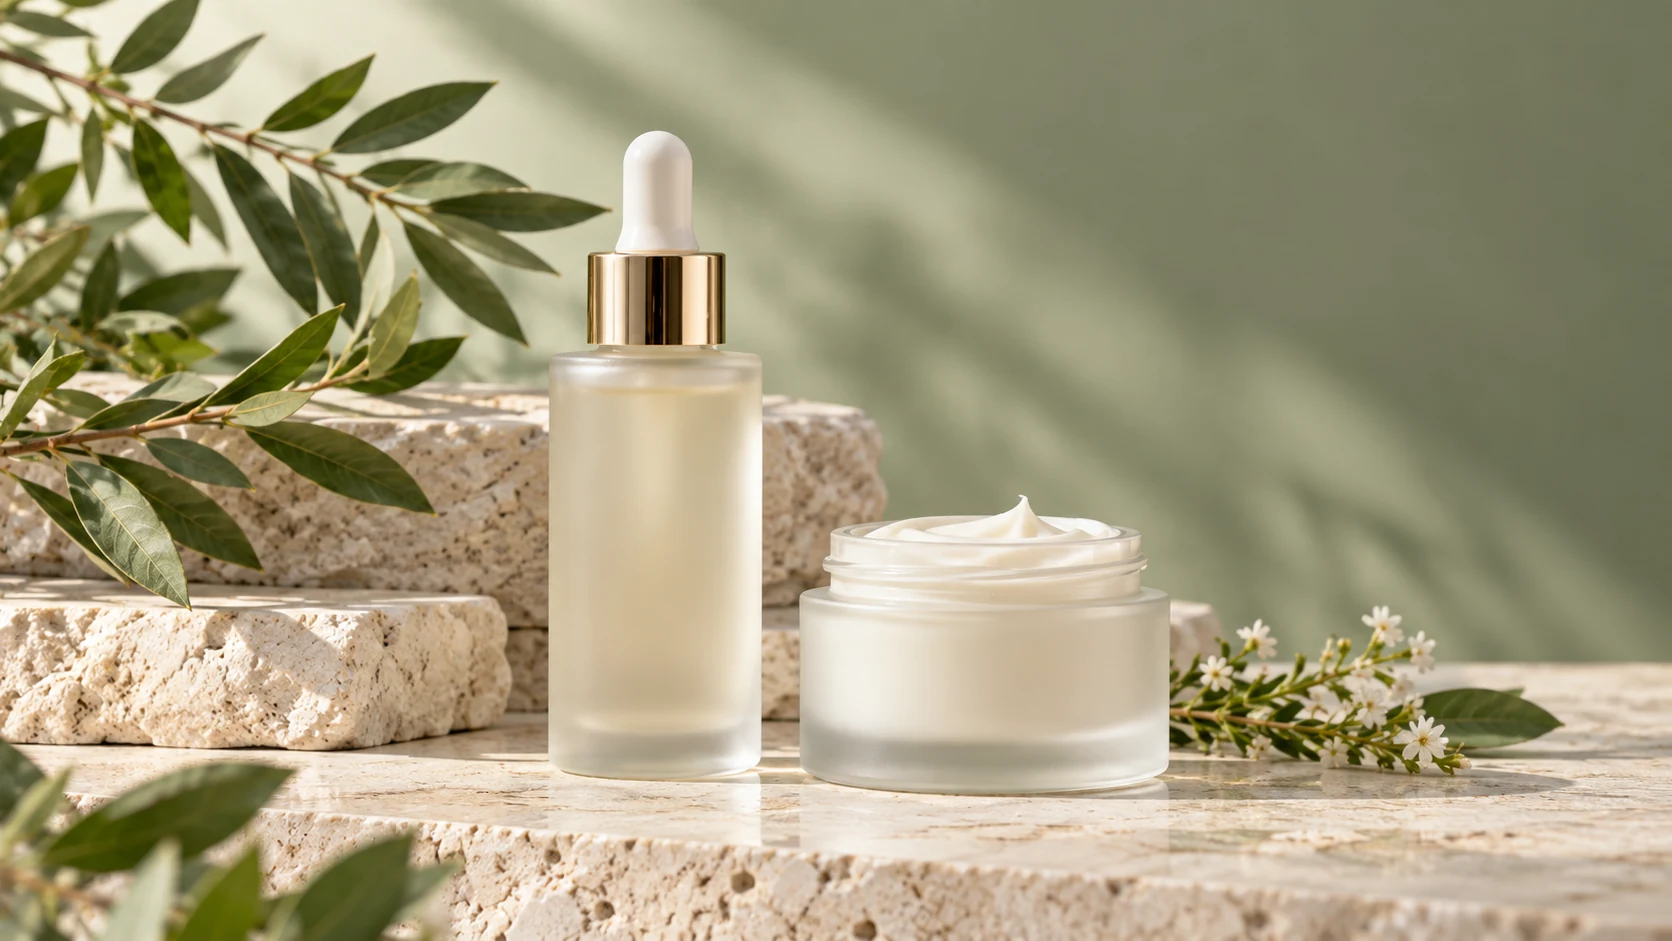
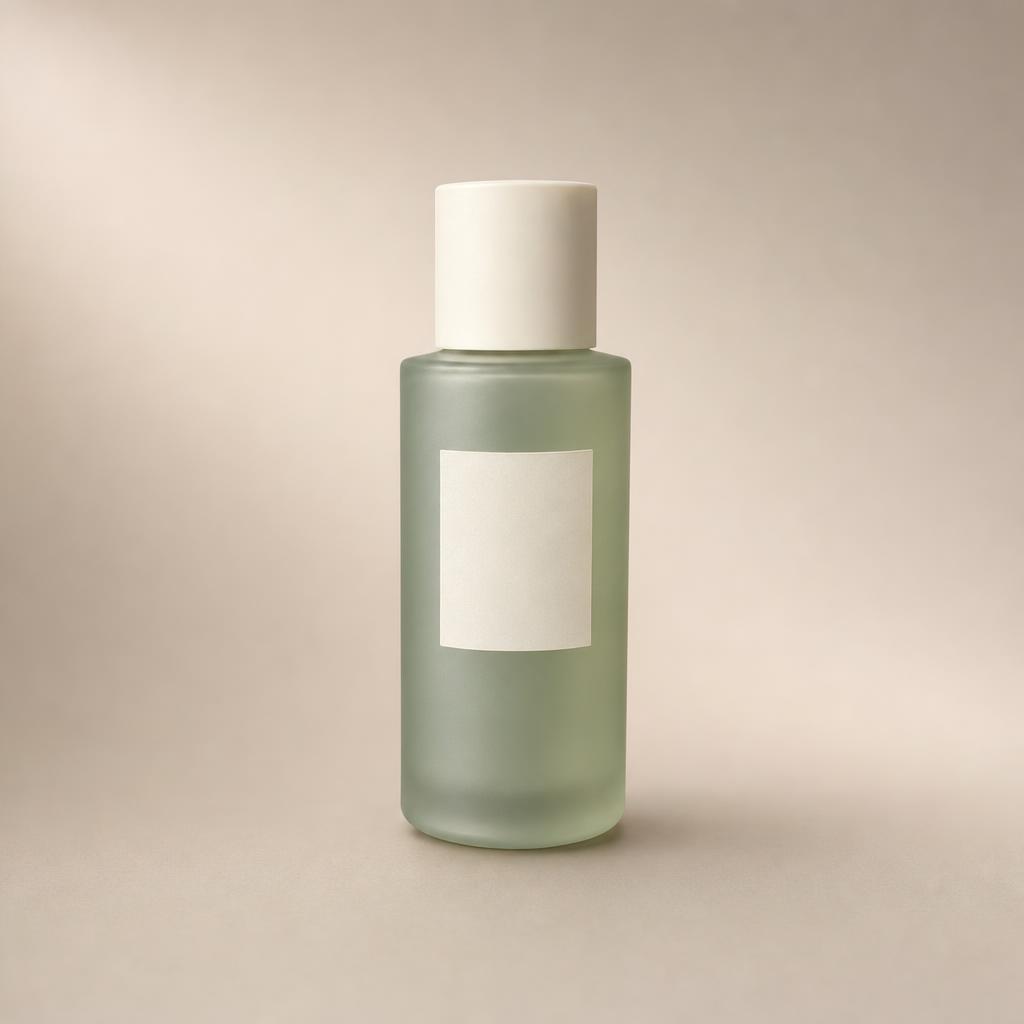
AI-generated illustration of an unbranded skincare studio scene.
Introduction
Give the product background generator a specific job
Decide whether you need a backdrop, surface, or fuller setting. Make that distinction in the product background generator before adding decoration.
Separate the backdrop from the support
A backdrop sits behind the item; a support is the surface it rests on. Specify both in the product background generator. A pale blue wall with a matte ivory tabletop is a clearer scene than simply asking for a premium blue background.
- Name the background color and the supporting material separately.
- Tell the product background generator where the object meets the surface.
Define the product details to retain
List the silhouette, color, closure, label, and visible material before describing the change. The product background generator should receive a setting request, not an accidental redesign brief. Keep the actual source nearby so you can check those details after the image is created.
Start with the least complex scene
Try a plain backdrop and surface before adding shelves, plants, or architecture. A restrained product background generator task makes mistakes easier to spot. Once the object looks grounded, decide whether another prop improves the composition or merely fills space.
How to use
How to use the product background generator
- Input
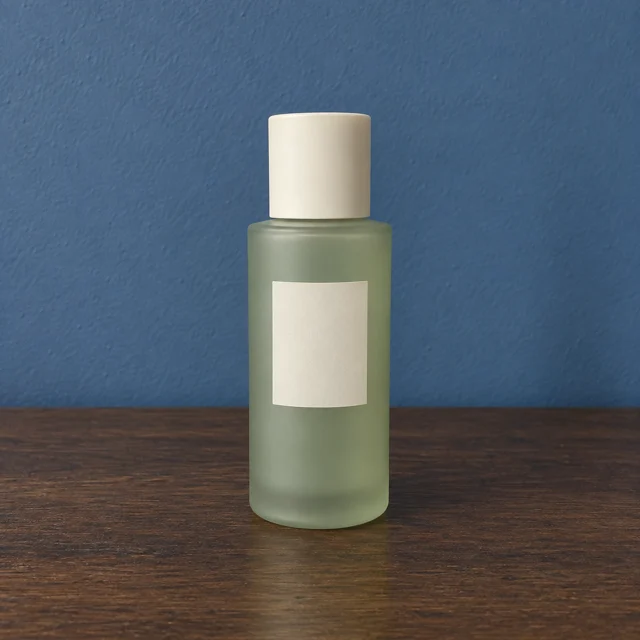 Reference image 1STEP 1
Upload the object
Add your actual product photograph to the product background generator and select GPT Image 2 reference editing for a scene change.
- ModelGPT Image 21K1:1PromptOutputSTEP 2
Describe the support
Tell the product background generator where the object rests, how light reaches it, and which packaging details should remain recognizable.
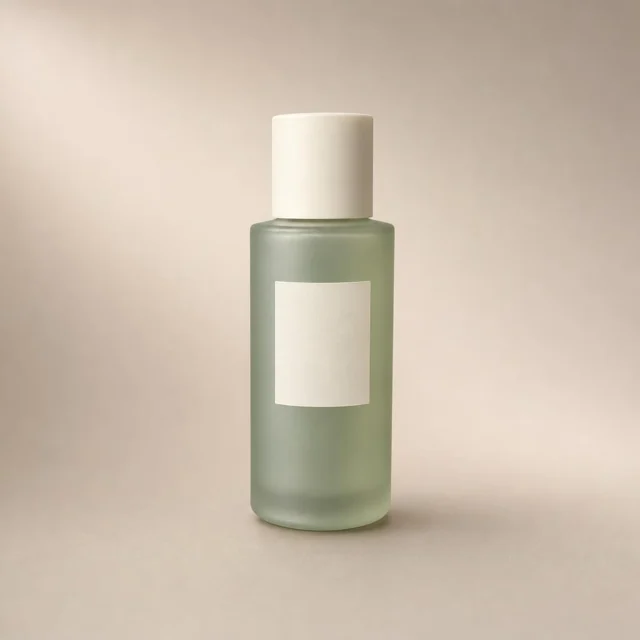 BeforeAfterSTEP 3
Generate the scene
Begin the product background generator at square 1K, check the displayed credits, and request a restrained background with believable contact shadows.
- STEP 4
Inspect the boundaries
Review product background generator output for altered labels, floating edges, and conflicting reflections; download the scene rather than expecting transparent cutouts.
Features
Match the product background generator scene to the source
Your reference contains a camera angle and lighting clues. Give the product background generator a setting that works with them.
Use the existing camera angle
A photograph looking down on a jar needs a visible top surface beneath it. An eye-level bottle suggests a different horizon. Match those relationships in the product background generator before asking for a dramatic new perspective that could expose unseen product details.
- Notice whether the top, front, or side dominates the source.
- Ask the product background generator for a compatible support plane.
Choose a compatible light direction
If the source has a strong highlight on its left side, begin with light from that direction. The product background generator can explore new lighting, but changing the backdrop and every reflection together creates more details to review. Simplify the initial request.
Watch reflective and transparent objects
Glass and polished surfaces may still show colors or shapes from the original setting. Inspect those areas after using the product background generator. A new blue wall behind a bottle can look disconnected when the bottle still appears to reflect a warm red room.
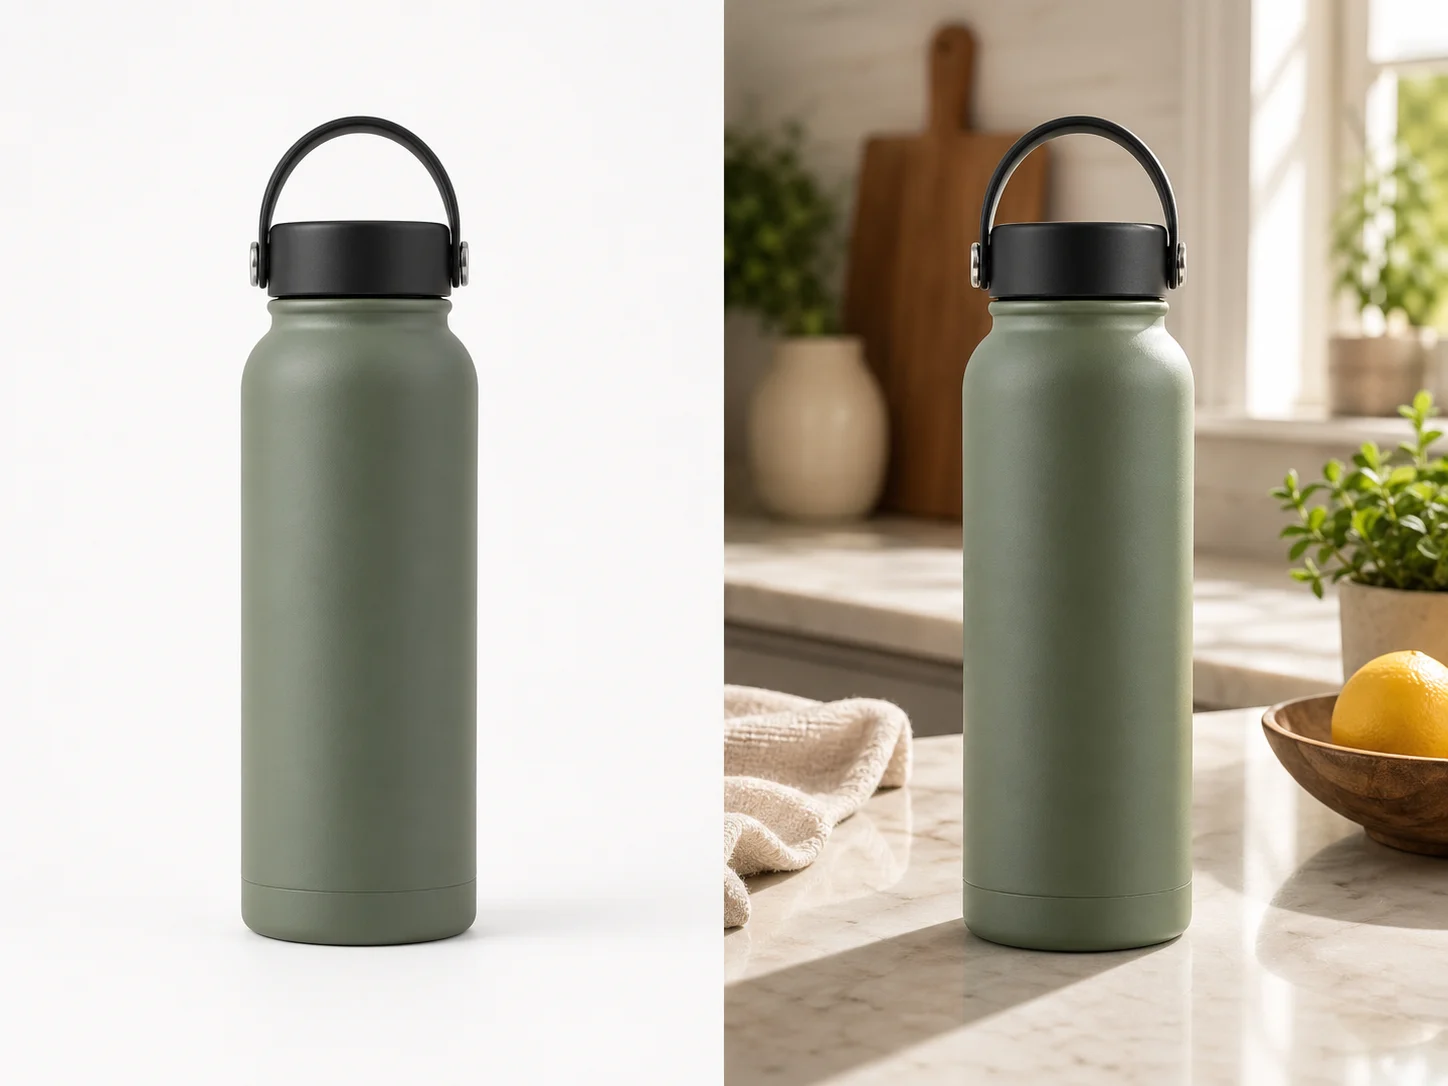
Ground the object with the product background generator
Use the product background generator to describe contact, shadow direction, and support together. The area beneath the item deserves close attention.
Describe the contact point
Ask for a restrained contact shadow directly beneath the base, with no visible gap. The product background generator should make a jar feel supported, not suspended. Look closely for a bright halo, a disconnected shadow, or a base that appears embedded in stone.
- Check that the entire base meets a plausible surface.
- Use the product background generator to remove a floating appearance, not add dramatic effects.
Keep shadow direction consistent
Choose one main direction and compare the shadows from the product and any nearby props. A product background generator scene can become confusing when each object seems lit differently. Request a simpler setup if overlapping shadows make the actual support difficult to understand.
Match reflections to the surface
A matte paper surface needs a different treatment from polished stone. Tell the product background generator which one you mean. Review strong reflections for duplicated labels or distorted silhouettes, and avoid a mirror-like floor when the brief calls for a quiet, dry finish.
Make the setting support the product
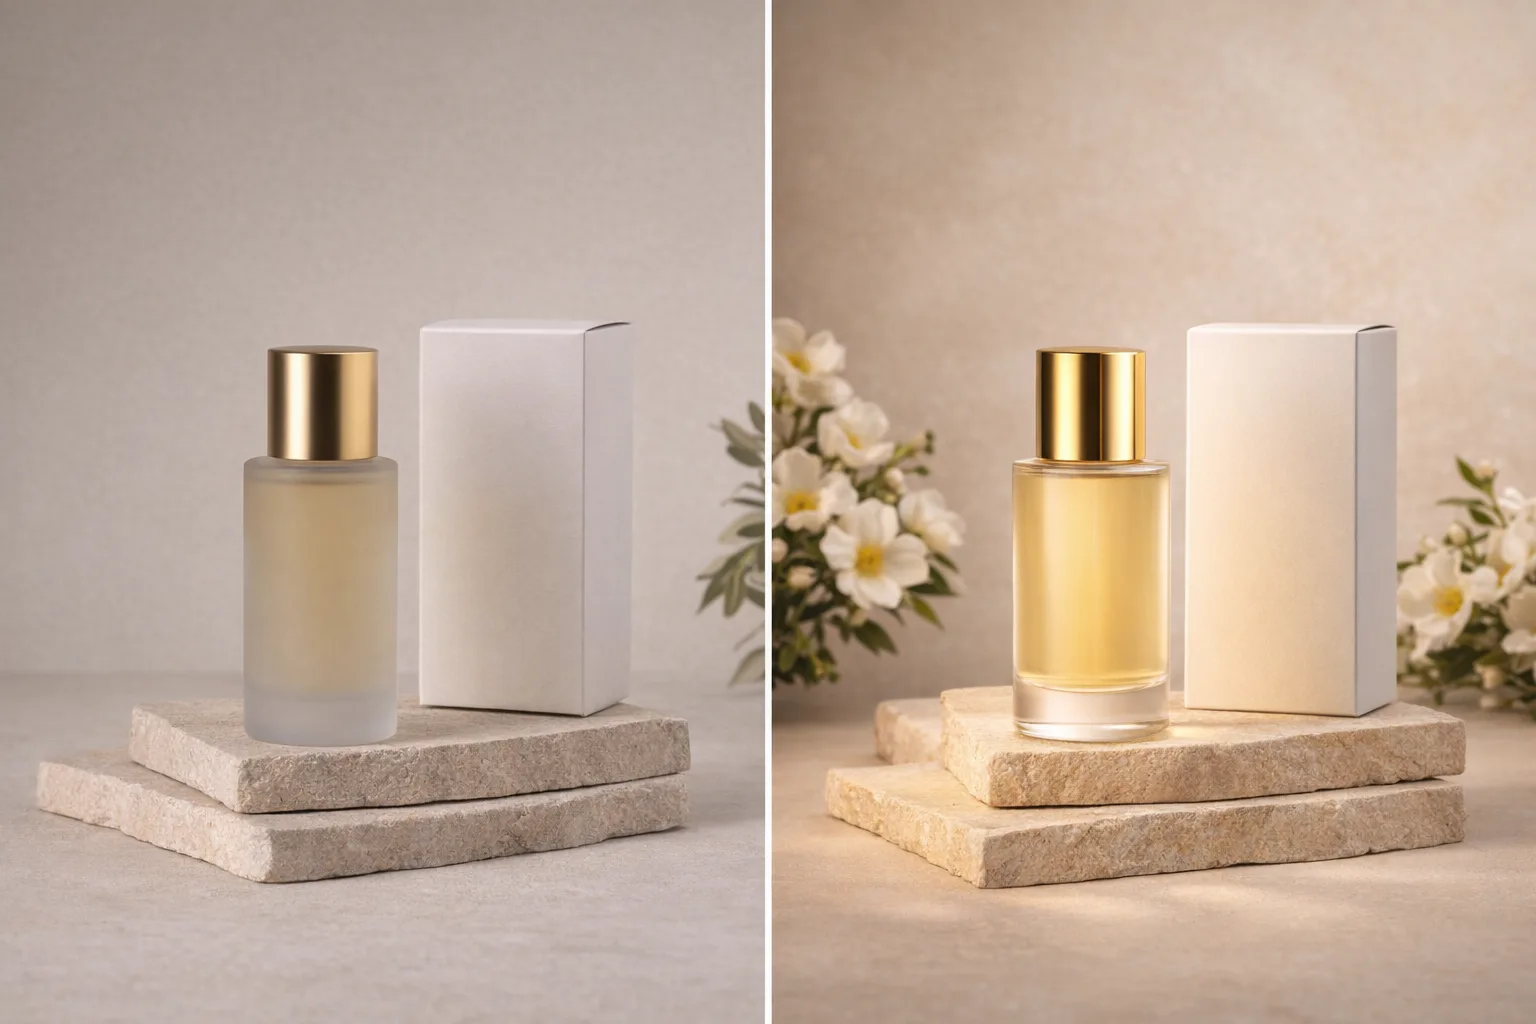
Give the product background generator a restrained palette and clear depth arrangement. Background choices should improve visibility without redefining the item.
Separate pale edges from pale backgrounds
A white cap can disappear against a bright backdrop. Try a slightly darker tone or softer separation rather than outlining the product artificially. Use the product background generator to keep edges readable while preserving the actual packaging color and a natural photographic appearance.
- Inspect the outline at both thumbnail and full-image size.
- Ask the product background generator for separation without a glowing edge.
Place the horizon deliberately
A strong wall-to-table line crossing the label can distract from the object. Move it higher, lower, or choose a seamless studio sweep. This gives the product background generator a practical composition instruction instead of relying on more elaborate props to balance the scene.
Keep foreground decoration minimal
A small fold of cloth may create depth, but it should not cover the base or imply an included accessory. Review product background generator scenes for obscured labels and competing objects. Keep the product's complete outline readable unless a specific crop has a clear purpose.
Use a focused product background generator workflow
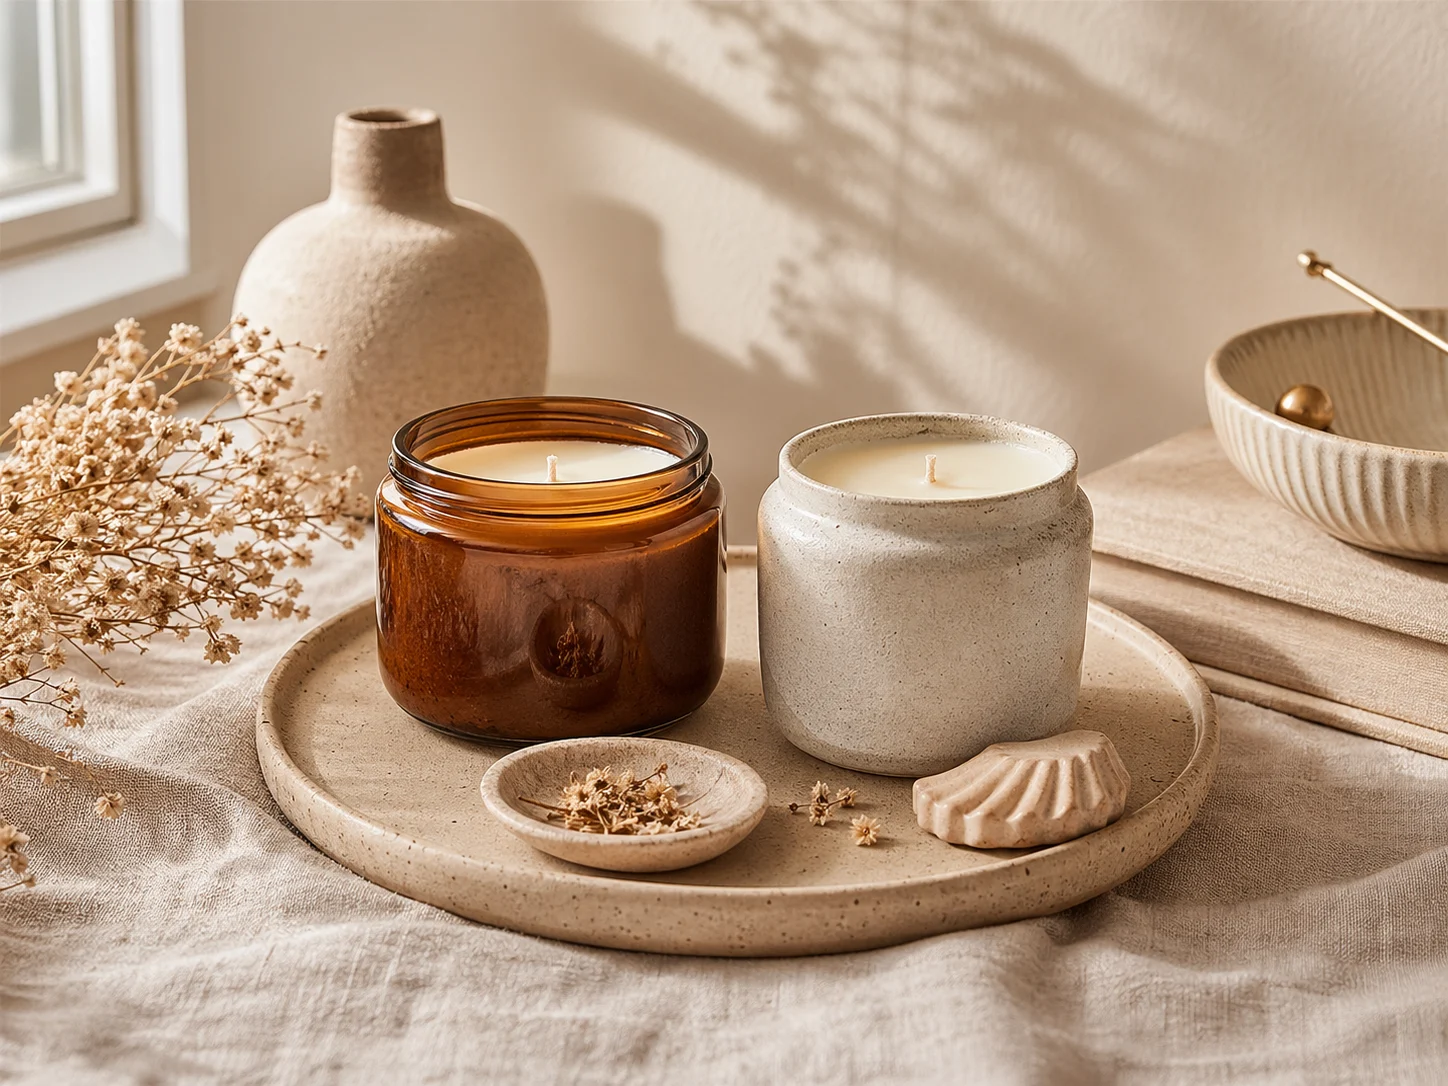
Separate background selection from shadow adjustments. Give each product background generator revision one visible problem to solve.
Upload the actual object
Select GPT Image 2 reference editing, upload the real product photograph, and begin at 1:1, 1K, and one output. Describe the backdrop, support, and light. Ask the product background generator to retain the visible product features as closely as possible.
- Keep the first request limited to one continuous photographic setting.
- Review the product background generator configuration before submitting.
Inspect the simplest candidate
Check the object, then its base, shadow, and background. If only the shadow feels heavy, request a lighter one. A targeted product background generator revision preserves useful decisions instead of replacing the entire scene without a clear reason.
Choose the final configuration
Choose resolution and framing for the final placement. Check the product background generator configuration and displayed credits before submitting.
Review the product background generator result before use
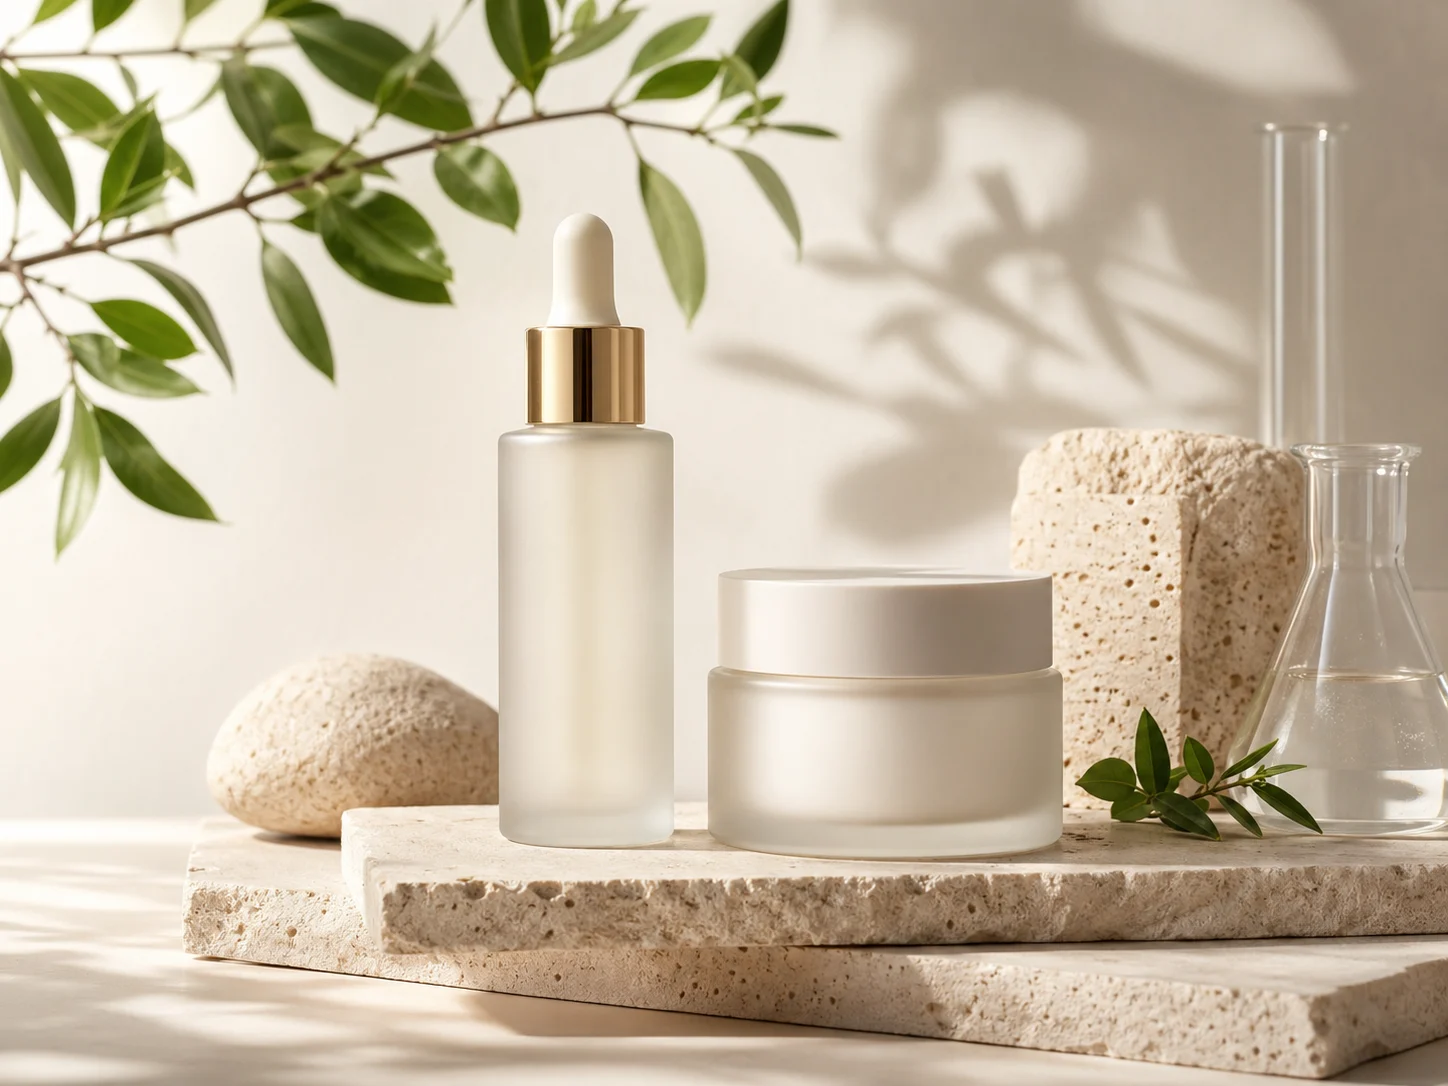
A finished scene and a transparent cutout are different deliverables. Check what the product background generator actually produced.
Check that the item is still the same
Compare the product silhouette, label, cap, material, and color with the original. Background editing can still change the object. The product background generator does not guarantee exact preservation, so reject a beautiful setting when it introduces a wrong seam, altered text, or different packaging.
- Inspect edges for remnants of the old setting or unwanted halos.
- Compare product background generator results with the original reference, not only with other candidates.
Do not confuse white with transparent
A white background is visible image content, not transparency. A checkerboard drawn into an image is not transparency either. The product background generator workflow here creates or edits a photographic setting; it does not promise a transparent PNG or a dedicated background-removal result.
Choose the output for the next task
Use a complete scene when you need a finished photograph. When your next design step requires an isolated product layer, use an appropriate masking workflow separately. Keep product background generator scenes labeled by backdrop and intended placement so collaborators understand what each file contains.
Example prompts
A simple studio sweep with a grounded base
Edit the uploaded photograph of my actual product. Keep its visible shape, closure, label, material, and color as closely as possible. Replace the surrounding setting with a matte warm-gray studio sweep and a compatible flat support. Match the camera angle of the reference. Use one large soft light from the upper left and a restrained contact shadow directly beneath the product. Keep the complete object visible. No floating base, halos, extra props, text, panels, or simulated checkerboard transparency.
Pale stone and sage background study
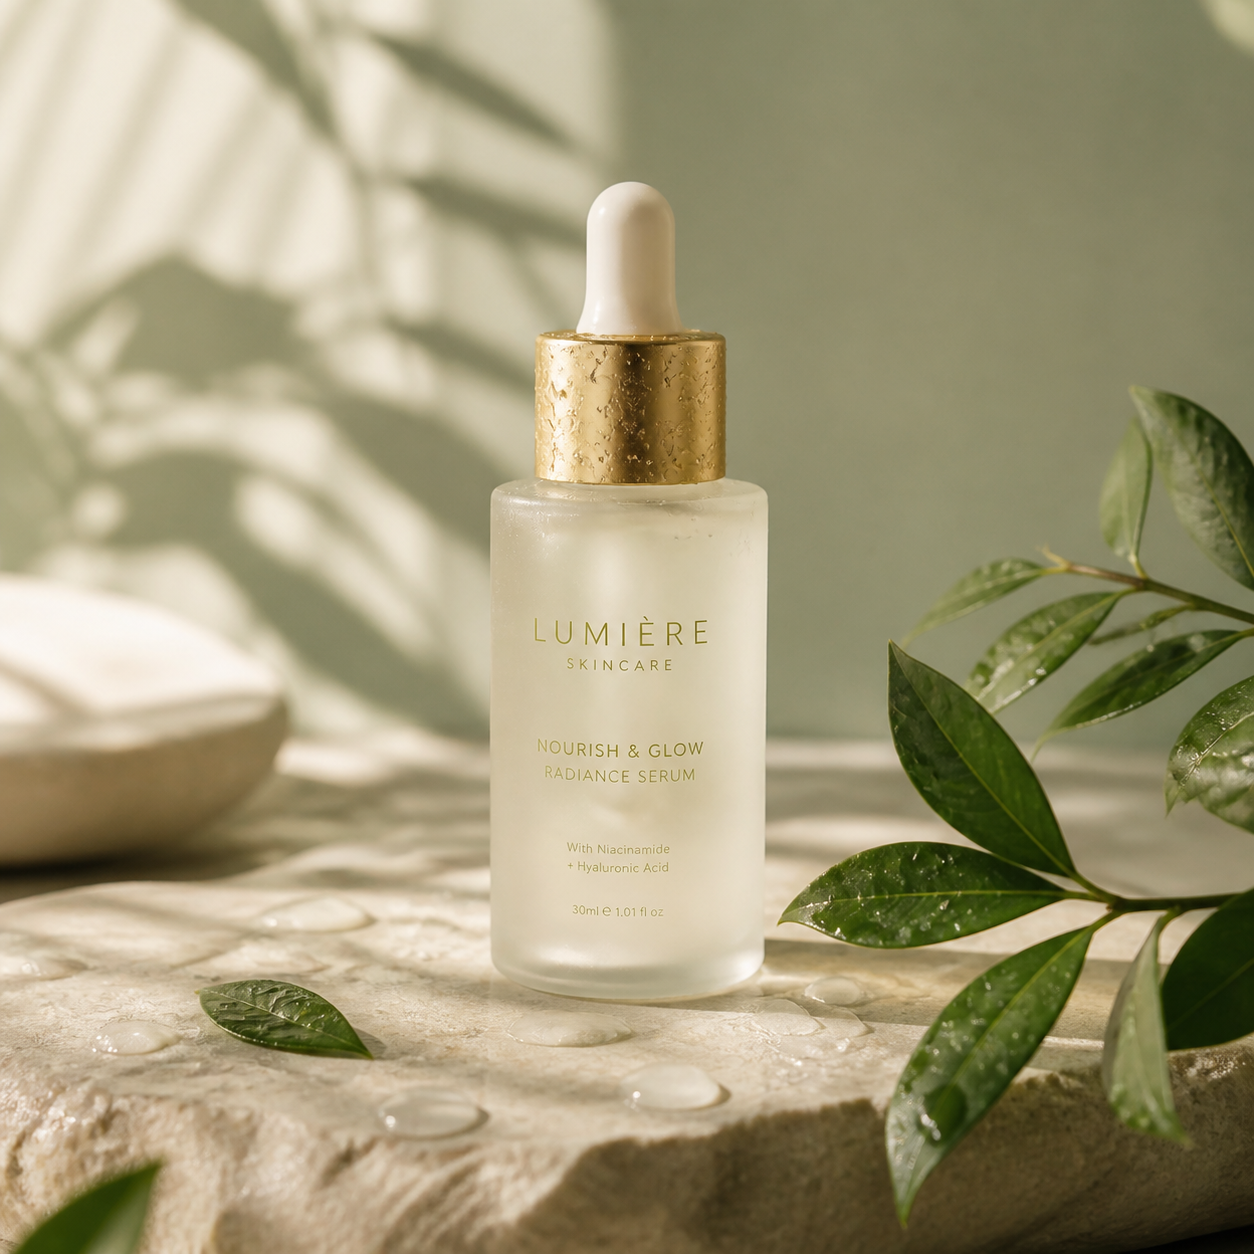
Using the supplied actual product photo, create one continuous square studio setting on a pale ivory stone tabletop against a soft sage wall. Retain visible product details as closely as possible. Keep the wall-to-table line away from the label, with gentle side light matching the reference and a subtle shadow grounding the base. Maintain readable edges without glowing outlines. No extra products, decorative plants, invented ingredients, logos, captions, collage, or transparent-background claims.
User reviews
EveryGen AI video creator feedback.
EveryGen AI creator reviews

I made a full character PV for my game with MiniMax H3 in one afternoon. The menu UI stayed readable in every frame and the character never went off-model. That used to cost me a contractor and three weeks.

We tested every AI video generator on the market for stylized work. H3 is the only one that held our anime style across cuts. We now use it for pitch reels and animatics on every project.

I uploaded four product photos and got a listing video with music and a voiceover the same day. My click-through rate on the new listings is up 38%. H3 even got the label text on my packaging right.

I ship five vertical videos a week for three brands. MiniMax H3 gets me from brief to draft in under an hour, with sound already synced. My old workflow needed a videographer and two review rounds.

The editing side is what sold me. A client wanted the background of an interview changed — I typed one sentence into MiniMax H3 and the lighting on the subject matched the new scene automatically.

I previsualized my entire short film in MiniMax H3 before we shot a single frame. Rack focus, match cuts, even the title cards — it understands director language, not just keywords.
EveryGen AI · MiniMax H3 Max Pricing and Credit Plans
Cancel anytime
Lite
50% off0.025 / credit
Billed $ yearly179· Save $179.8
Video Models


Image Models



- Includes MiniMax H3 and all premium models
- Up to 1 batch generation task
- Standard generation speed
- Standard generation success rate
- Standard customer support
- Commercial Use License
Standard
50% off0.017 / credit
Billed $ yearly299· Save $299.8
Video Models
Image Models
- Includes MiniMax H3 and all premium models
- Up to 4 batch generation tasks
- Priority processing speed
- High generation success rate
- Priority customer support
- Commercial Use License
Pro
50% off0.014 / credit
Billed $ yearly599· Save $599.8
Video Models
Image Models
- Includes MiniMax H3 and all premium models
- Up to 10 batch generation tasks
- Fastest generation speed
- High generation success rate
- Dedicated account manager
- Commercial Use License
Max
50% off0.012 / credit
Billed $ yearly1,199· Save $1,199.8
Video Models
Image Models
- Includes MiniMax H3 and all premium models
- Up to 10 batch generation tasks
- Fastest generation speed
- High generation success rate
- Dedicated account manager
- Commercial Use License
Pay safely and securely with























FAQ
Frequently asked questions
Is the product background generator the same as background removal?
No. This workflow develops a new photographic setting around a referenced product. The product background generator does not promise an isolated cutout or transparent PNG. Choose a separate background-removal or masking process when your next step needs an object layer without a visible backdrop.
Will the product background generator leave the item exactly unchanged?
Exact preservation is not guaranteed. Compare the product background generator result with the original for labels, proportions, finish, and edges. Give clear retention instructions, but treat them as a direction to review rather than proof that every product pixel has remained identical.
Why does my product look as though it is floating?
Inspect the contact point, support angle, and shadow together. Ask the product background generator for a surface that meets the base and a restrained contact shadow beneath it. Avoid adding more props before the object itself has a believable relationship to the surface.
Can I use a background that differs from the source lighting?
You can explore that direction, but check reflections and shadows carefully. A product background generator result needs the product and setting to agree. Begin with a compatible light direction when possible, then change the mood through controlled revisions rather than several conflicting lighting instructions.
Which settings should I use for the first background study?
Start with GPT Image 2 reference editing, 1:1, 1K, and one output. The product background generator also supports other ratios, 2K or 4K, and up to four outputs. Review the credits shown for the actual configuration before you submit the scene.
CTA
Give the product background generator one clear scene
Upload the actual product, choose a backdrop and support, and describe a compatible light source. Use the product background generator to explore a grounded photograph, then inspect the item and contact shadow before choosing the final scene.
Create a new product setting