 EveryGen AI
EveryGen AI · H3 Max Camera Control for Purposeful Moves from One Image
Give a still composition a changing viewpoint with H3 Max Camera Control. Upload one image, choose a movement preset, and set a clip length from three to fifteen seconds. H3 Max Camera Control on H3 Max focuses the workflow on a deliberate camera move, with an optional prompt to clarify what should remain stable.
Video workspace
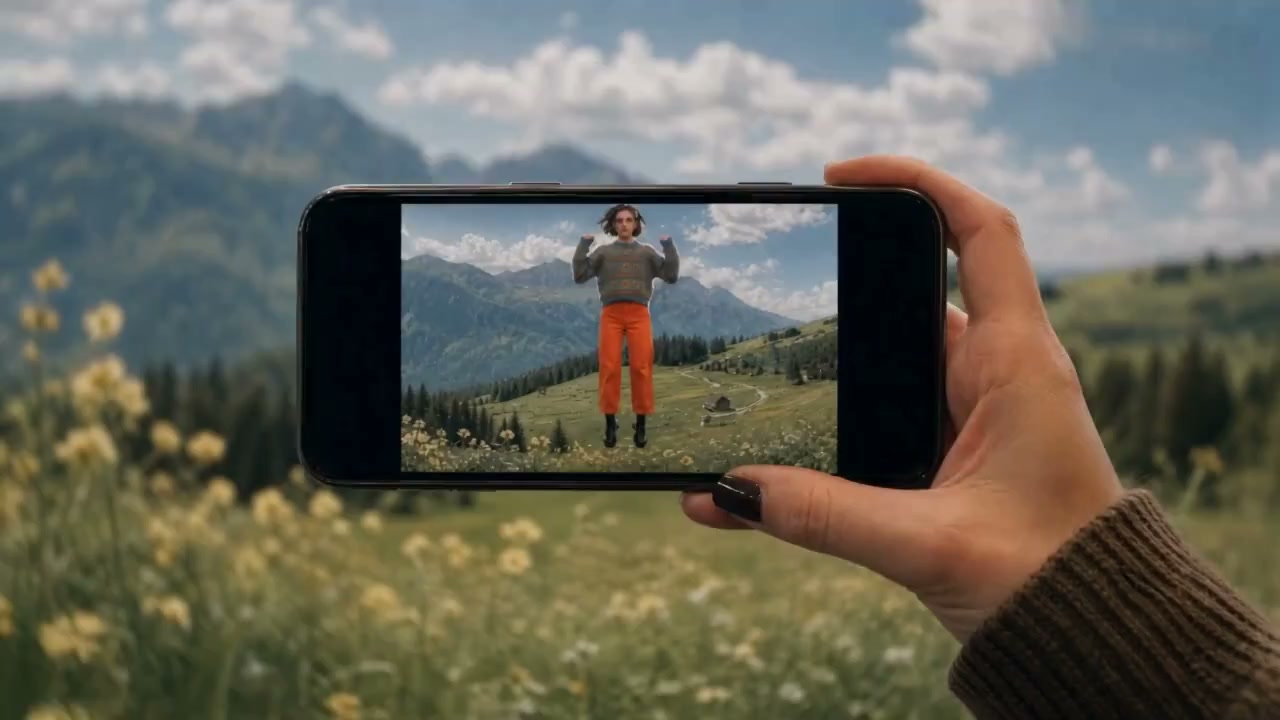
A mountain view through the phone
7/10View prompt
Use the uploaded image of a hand holding a phone before a grassy mountain landscape as the opening frame. Keep the hand, phone position, and adult person visible within the screen consistent. Over five seconds, add gentle grass movement, drifting clouds, and subtle natural motion within the screen. Keep the camera nearly still and the composition unchanged.
Introduction
What Is H3 Max Camera Control?
H3 Max Camera Control is an image-led video workflow based on the camera-specific H3 Max model documented on fal.
A moving viewpoint built from a still image
The official fal Camera Controls model uses a first-frame image and camera positions over time to guide orbit, elevation, and distance. H3 Max Camera Control applies that capability to a shot whose viewpoint changes around the scene. H3 Max Camera Control generates the visible result; it does not measure the photographed space or recover a verified three-dimensional model of hidden surfaces.
Five presets in the H3 Max workspace
H3 Max Camera Control offers Orbit Right, Orbit Left, Push In, Pull Back, and Crane Up. Upload one image and optionally describe the intended scene behavior. Select three to fifteen seconds, a seed when needed, and 480P, 768P, or 1080P output. The 1080P option uses refinement from a 768P source. This workspace provides presets, not an arbitrary camera-keyframe editor.
How to use
How to Use H3 Max Camera Control
- Input
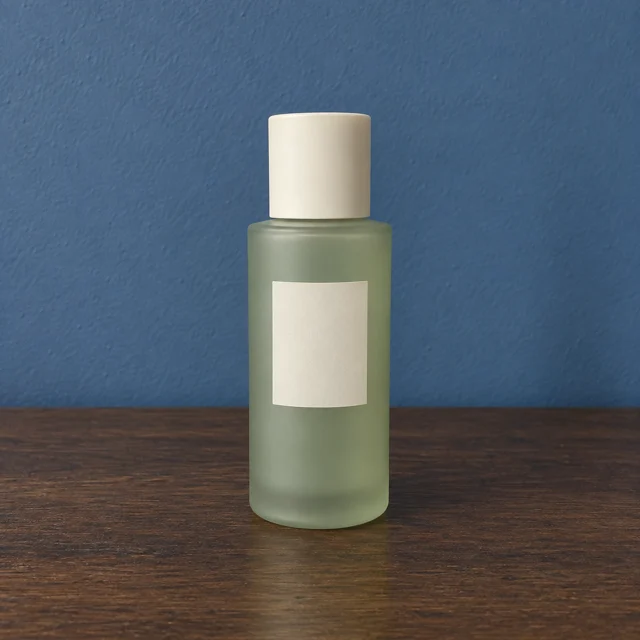 Reference image 1STEP 1
Upload the starting composition
Open H3 Max Camera Control and provide one image with a clearly defined subject. Consider which details should remain visible as the viewpoint changes.
- ModelH3 Max Camera Control768P16:95sOutputSTEP 2
Choose a movement preset
Select Orbit Right, Orbit Left, Push In, Pull Back, or Crane Up in H3 Max Camera Control. Add an optional prompt to clarify what should stay stationary.
- First frameLast frame
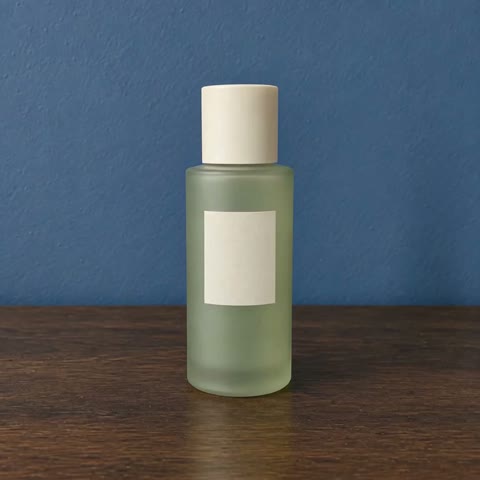 0.0s
0.0s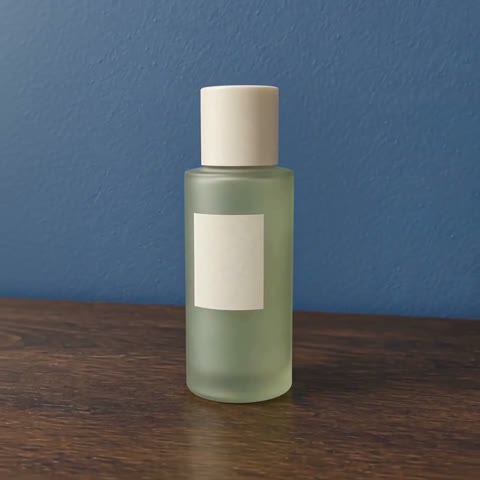 2.6s
2.6s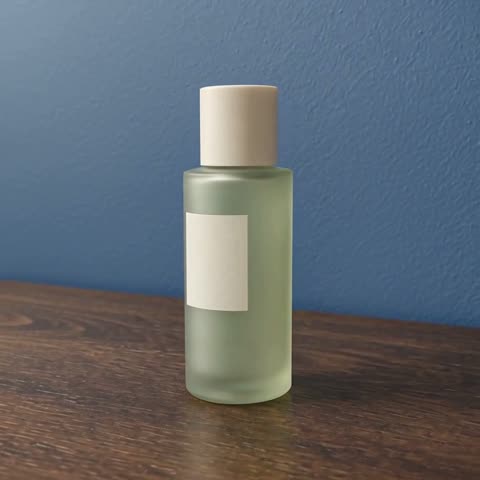 4.7sSTEP 3
Configure duration and output
Choose three to fifteen seconds and 480P, 768P, or refined 1080P output. Set a seed when needed, review the image, and confirm the displayed credits before submitting.
- STEP 4
Review the generated viewpoint
Watch H3 Max Camera Control from start to finish. Inspect revealed surfaces, subject stability, and background continuity, then revise the source or preset according to what the shot needs.
Features
Explore Side Views with H3 Max Camera Control
Orbit Right and Orbit Left let H3 Max Camera Control explore a changing angle around the subject instead of simply enlarging the picture.
Choose the direction for a visible reason
Look at the source image and decide which side of the subject would make the move useful. A curved handle or an offset arrangement may suggest a preferred direction. Select that orbit in H3 Max Camera Control. Give H3 Max Camera Control a composition with a readable subject and enough context to evaluate whether the changing viewpoint remains coherent.
Examine newly revealed details critically
A single photograph does not establish every surface beyond its edges or behind the subject. H3 Max Camera Control generates those unseen details as part of the moving view. Inspect changing contours, repeated patterns, and the relationship between the object and its support. Treat a plausible-looking reveal as a creative interpretation, not proof of the actual shape of an unseen product surface.
Move Toward a Detail with H3 Max Camera Control
The Push In preset directs H3 Max Camera Control toward a closer viewpoint that can emphasize an existing feature in the composition.
Give the approach something worth revealing
Choose a texture, arrangement, or focal object that benefits from greater attention. H3 Max Camera Control can be used to explore an approach toward a vase, a crafted detail, or a still character. Keep the subject identifiable in the source. A H3 Max Camera Control push should have a compositional purpose instead of serving as motion added to an otherwise unresolved image.
Keep important edges inside the developing view
Check whether approaching the subject makes essential information leave the frame. For H3 Max Camera Control, a tight source crop may suit only a limited visual emphasis. Prepare an image that leaves room around what matters, then inspect the result. Avoid assuming the closer view preserves small lettering or delicate geometry; proximity can make those changes more noticeable rather than correcting them.
Reveal More Context with H3 Max Camera Control
Pull Back gives H3 Max Camera Control a different narrative role: moving away from a detail so its surrounding arrangement becomes more apparent.
Begin with a subject and a meaningful setting
A close view of a sculpture can lead into its display space, while a desk object can become part of a wider arrangement. Use H3 Max Camera Control when that added context serves the idea. Tell H3 Max Camera Control which visible relationships should stay recognizable. Start from a source whose subject and setting already suggest a coherent scene rather than unrelated visual fragments.
Review the surroundings as carefully as the subject
The widening view may expose areas that were not established by the input. Inspect H3 Max Camera Control for invented objects, inconsistent architecture, or a background that changes the meaning of the scene. A broader composition is useful only when it supports your purpose. For an actual location or item, compare the output with known details before treating the expanded view as accurate representation.
Explore Elevation with H3 Max Camera Control
Crane Up uses H3 Max Camera Control to explore a higher viewing angle while your source image remains the visual starting point.
Use height to explain the arrangement
An elevated angle can emphasize the placement of objects on a surface or their relationship to a setting. Select Crane Up in H3 Max Camera Control when that change makes the composition easier to understand. H3 Max Camera Control should be evaluated by the useful view it produces, not by an assumption that the generated movement corresponds to measured real-world crane travel.
Keep the scene behavior restrained
A camera-led shot often benefits from subjects that stay still. The optional prompt in H3 Max Camera Control can describe which elements should remain stationary and recognizable. Without a prompt, the official model defaults toward a frozen scene with camera movement. Review whether that intention holds in the result, especially where surfaces overlap or the higher viewpoint changes which details become visible.
Set the Shot Conditions for H3 Max Camera Control
Combine the selected move with duration, resolution, and seed choices so H3 Max Camera Control serves a defined visual test.
Balance clip length with the purpose of the move
Choose from three to fifteen seconds in H3 Max Camera Control. A compact approach and an extended reveal may need different pacing, but duration alone does not guarantee a particular camera speed. Record the selected preset and seed alongside the prompt. Compare H3 Max Camera Control results by their actual movement, keeping the same creative question in mind when you try another configuration.
Understand resolution before reviewing the result
H3 Max Camera Control provides 480P and 768P generation options plus 1080P refinement from a 768P source. The larger output is not a claim of native 1080P generation or recovered photographic detail. Review H3 Max Camera Control at the chosen size, inspect subject stability, and check the workspace credits before making another request with different settings or a replacement image.
Example prompts
Orbit Right: keep a display object stationary
Use the uploaded image as the first frame and follow the selected Orbit Right preset. Keep the displayed object stationary on its support and aim to preserve its visible shape, material, and markings. Maintain a stable background and consistent illumination. Only the viewpoint should move. Do not add objects, animate the subject, or cut to another scene.
Push In: approach the central detail
Begin from the supplied image and follow the selected Push In preset. Keep attention on the main subject already visible in the composition. Preserve the surrounding arrangement and lighting while the viewpoint approaches. Keep the subject still and grounded. Avoid extra decoration, moving props, altered lettering, or an unrelated transformation.
Crane Up: reveal the existing arrangement
Use the uploaded image and the selected Crane Up preset to explore a higher view of the existing arrangement. Keep the visible objects stationary and aim to maintain their relative positions, proportions, and materials. Retain the general lighting and setting. No new objects, subject motion, added text, or scene changes.
User reviews
EveryGen AI video creator feedback.
EveryGen AI creator reviews

I made a full character PV for my game with MiniMax H3 in one afternoon. The menu UI stayed readable in every frame and the character never went off-model. That used to cost me a contractor and three weeks.

We tested every AI video generator on the market for stylized work. H3 is the only one that held our anime style across cuts. We now use it for pitch reels and animatics on every project.

I uploaded four product photos and got a listing video with music and a voiceover the same day. My click-through rate on the new listings is up 38%. H3 even got the label text on my packaging right.

I ship five vertical videos a week for three brands. MiniMax H3 gets me from brief to draft in under an hour, with sound already synced. My old workflow needed a videographer and two review rounds.

The editing side is what sold me. A client wanted the background of an interview changed — I typed one sentence into MiniMax H3 and the lighting on the subject matched the new scene automatically.

I previsualized my entire short film in MiniMax H3 before we shot a single frame. Rack focus, match cuts, even the title cards — it understands director language, not just keywords.
EveryGen AI · MiniMax H3 Max Pricing and Credit Plans
Cancel anytime
Lite
50% off0.025 / credit
Billed $ yearly179· Save $179.8
Video Models


Image Models



- Includes MiniMax H3 and all premium models
- Up to 1 batch generation task
- Standard generation speed
- Standard generation success rate
- Standard customer support
- Commercial Use License
Standard
50% off0.017 / credit
Billed $ yearly299· Save $299.8
Video Models
Image Models
- Includes MiniMax H3 and all premium models
- Up to 4 batch generation tasks
- Priority processing speed
- High generation success rate
- Priority customer support
- Commercial Use License
Pro
50% off0.014 / credit
Billed $ yearly599· Save $599.8
Video Models
Image Models
- Includes MiniMax H3 and all premium models
- Up to 10 batch generation tasks
- Fastest generation speed
- High generation success rate
- Dedicated account manager
- Commercial Use License
Max
50% off0.012 / credit
Billed $ yearly1,199· Save $1,199.8
Video Models
Image Models
- Includes MiniMax H3 and all premium models
- Up to 10 batch generation tasks
- Fastest generation speed
- High generation success rate
- Dedicated account manager
- Commercial Use License
Pay safely and securely with





















FAQ
Frequently asked questions
Can H3 Max Camera Control run from text alone?
No. This workflow requires one uploaded image as its visual starting point. A prompt is optional and can clarify scene behavior, but it does not replace the required image.
Which moves does H3 Max Camera Control provide?
The workspace has Orbit Right, Orbit Left, Push In, Pull Back, and Crane Up. Choose the preset that serves the composition, then review how the generated viewpoint develops through the clip.
Can I draw custom keyframes in H3 Max Camera Control?
Not in this workspace. The controls expose five presets rather than an arbitrary keyframe editor. Choose one available move instead of planning around custom trajectories, combined paths, or precise numerical camera positions.
How long can H3 Max Camera Control clips be?
Select a duration from three to fifteen seconds. This setting controls the requested clip length, not a promised processing time. Judge the resulting pace after generation instead of assuming every duration produces the same movement.
Is H3 Max Camera Control 1080P output native?
The official model describes 1080P as refinement from a native 768P source. The workspace also provides 480P and 768P options. Review actual detail and coherence rather than treating the output label as a guarantee of accuracy.
Do I have to write a H3 Max Camera Control prompt?
No. The image and selected preset can establish the request. An optional prompt can emphasize stationary subjects or important details. The default model behavior aims for a frozen reference scene with the camera moving.
What should I check before submitting H3 Max Camera Control?
Review the image, movement preset, duration, resolution, and any chosen seed. Read the displayed credits before generation. A seed helps record the configuration but does not guarantee identical results or exact reconstruction of the photographed scene.
CTA
Give H3 Max Camera Control a Clear View
Choose the image and movement that explain your subject. Open H3 Max Camera Control, set the clip conditions, and review the credits before exploring how a new viewpoint changes the composition.
Choose a Camera Move