 EveryGen AI
EveryGen AI · AI product photos for Shopify layouts, galleries, and collections
Prepare AI product photos for Shopify product pages, collection cards, and banners using actual product references in EveryGen AI. Begin with GPT Image 2 reference editing at 1:1, 1K, and one output. Review AI product photos for Shopify inside your own theme, where the final crop, surrounding text, and neighboring pictures determine whether the composition works.
Image workspace
Sample Image
 14 / 17
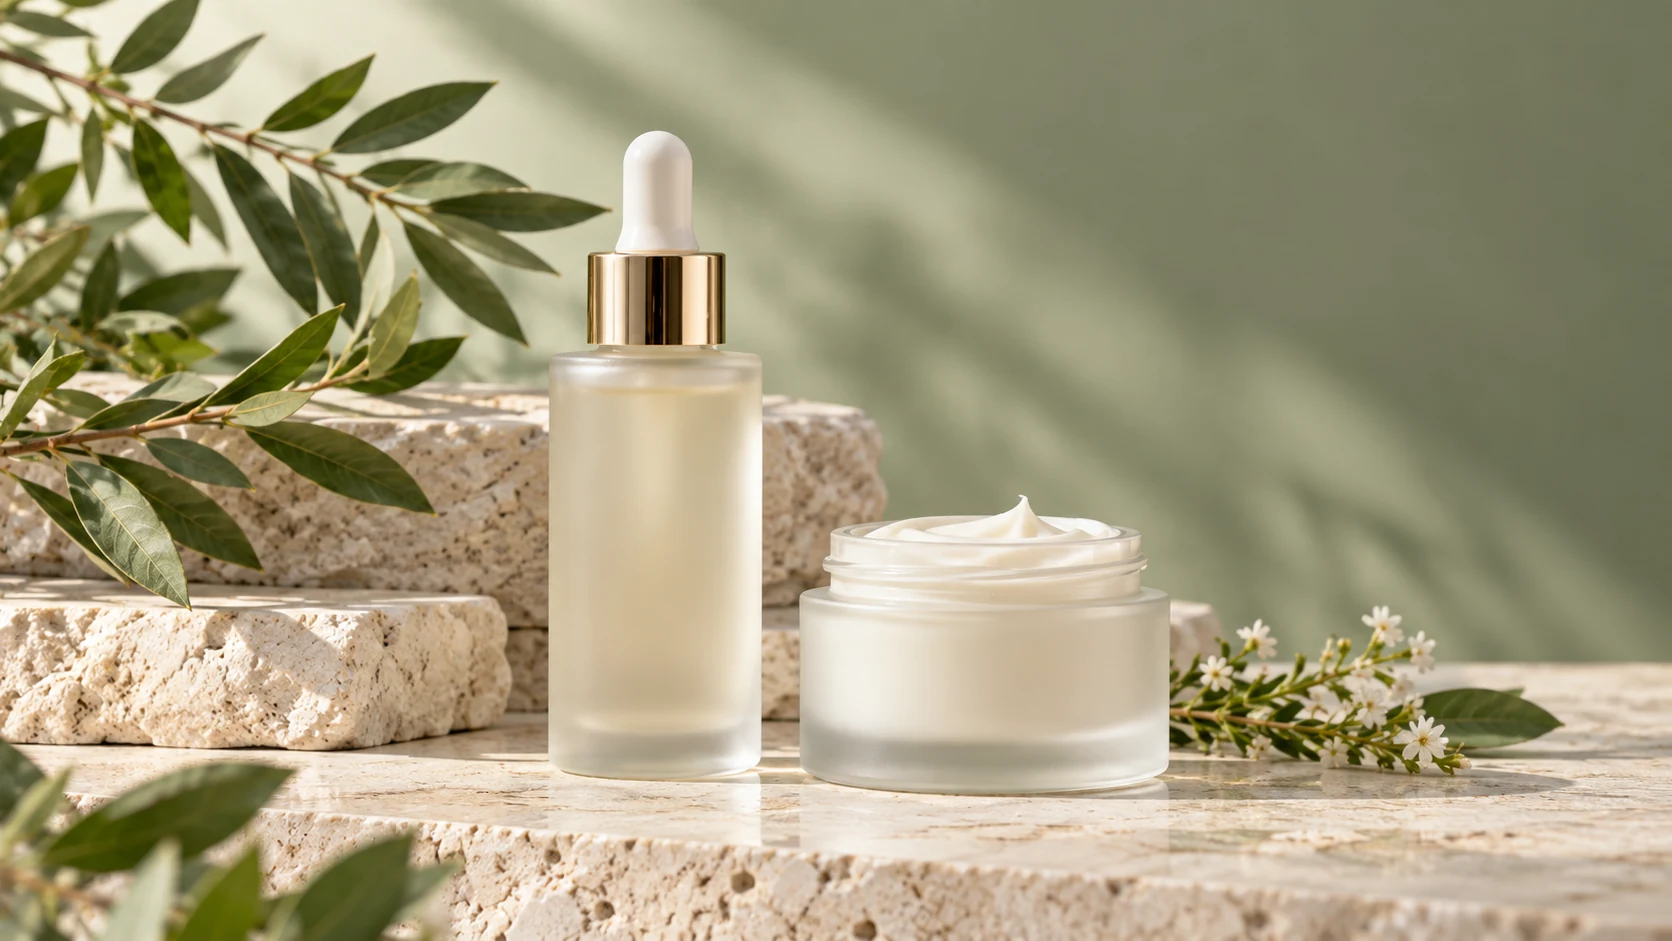
AI-generated illustration of an unbranded skincare studio scene.
Introduction
Plan AI product photos for Shopify by placement
Identify each finished picture's destination before creating AI product photos for Shopify. A card, gallery, and banner need different framing.
Inspect the current theme first
Open a product page, a collection, and a banner section in your own store preview. Note which layouts crop their images and where overlays appear. Prepare AI product photos for Shopify around those observations rather than assuming every theme uses the same dimensions.
- Record the visible frame shape and the product's position.
- Preview AI product photos for Shopify at both narrow and wide screen sizes.
Give each image one primary role
A product card identifies an item; a gallery explains it; a banner introduces a collection or campaign. Assign that role when briefing AI product photos for Shopify. A scene designed to leave room for a headline may look unnecessarily empty as a small card.
Separate shape from resolution
Changing a square image from 1K to 4K does not turn it into a wide composition. Choose framing before resolution when preparing AI product photos for Shopify. The final asset needs enough detail and a shape that suits the intended section.
How to use
How to create AI product photos for Shopify
- Input
 Reference image 1STEP 1
Identify the placement
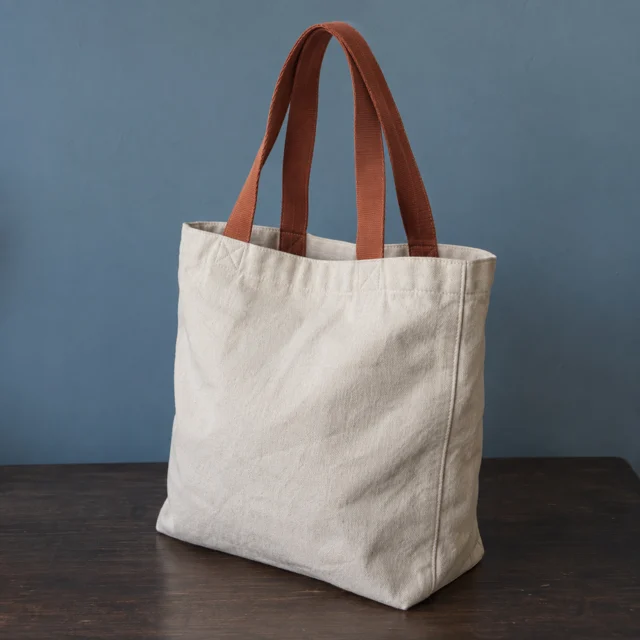
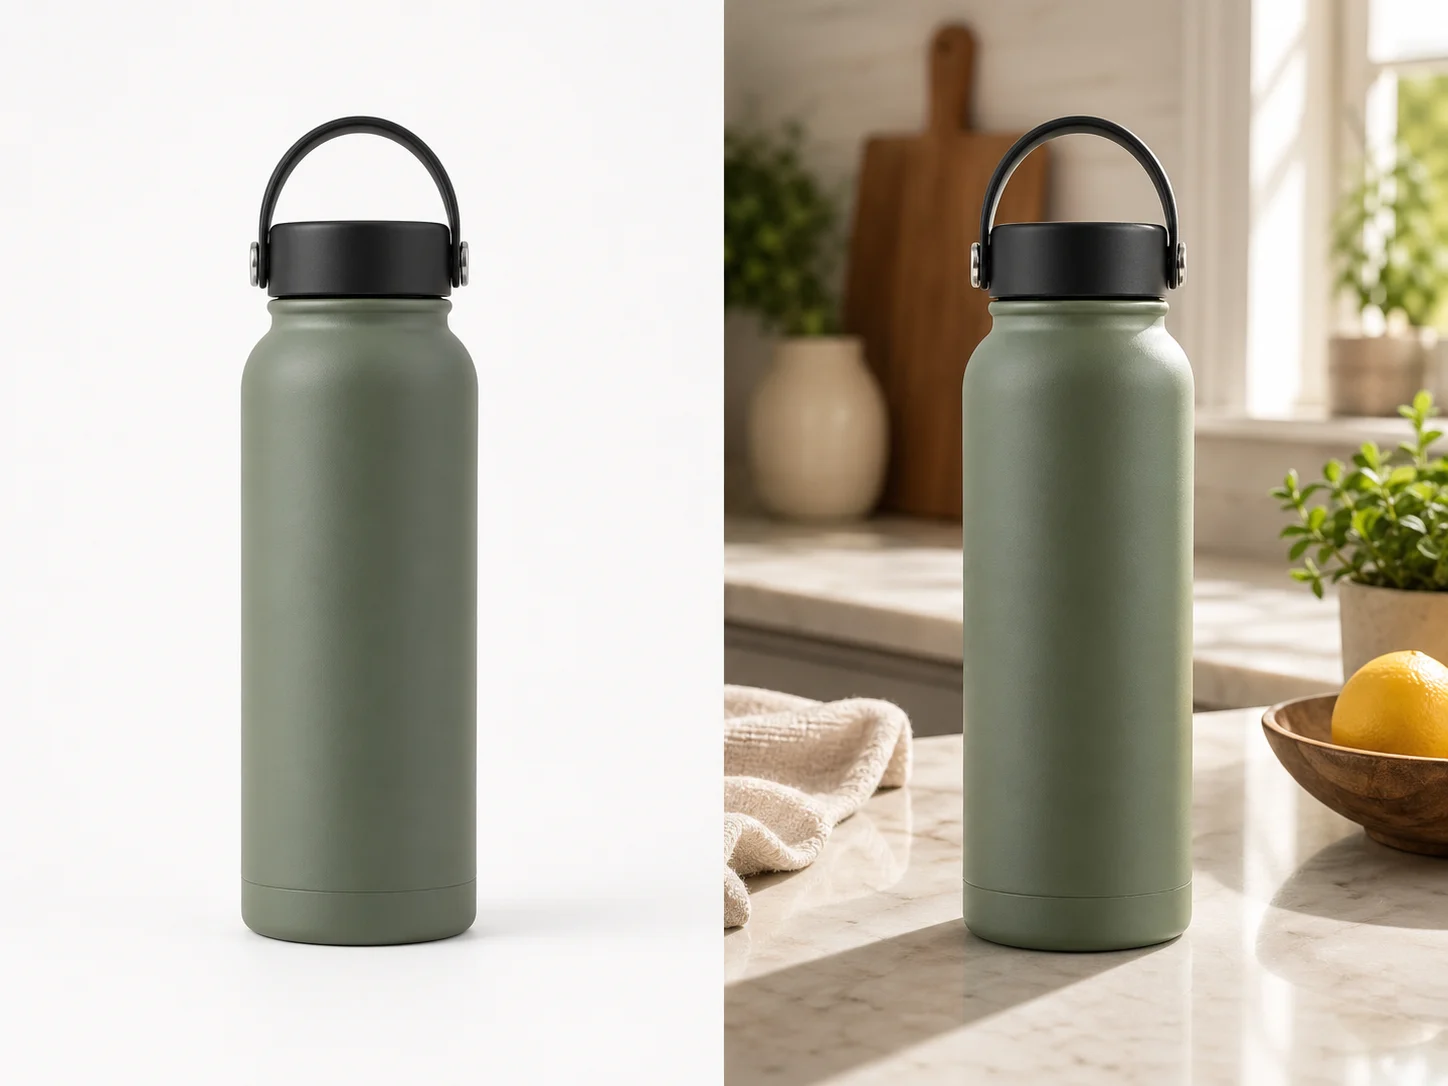
Prepare AI product photos for Shopify by choosing a product card, gallery image, or banner and uploading the actual product reference.
- ModelGPT Image 21K1:1PromptOutputSTEP 2
Plan the crop
Brief AI product photos for Shopify around your theme’s crop, keeping important product details clear and space available for separate text.
 BeforeAfterSTEP 3
Generate in EveryGen AI
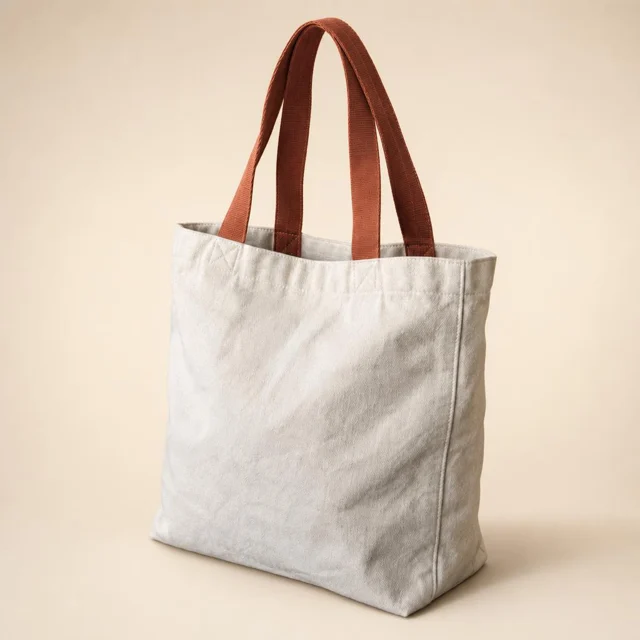
Create AI product photos for Shopify with GPT Image 2 reference editing at 1K, choosing framing and checking displayed credits first.
- STEP 4
Preview your theme
Download approved AI product photos for Shopify, add them yourself, and inspect the product page and collection crops on different screens.
Features
Build useful AI product photos for Shopify product pages
Make the gallery a short explanation of the item. Plan AI product photos for Shopify that add information rather than repeat angles.
Lead with a clear product view
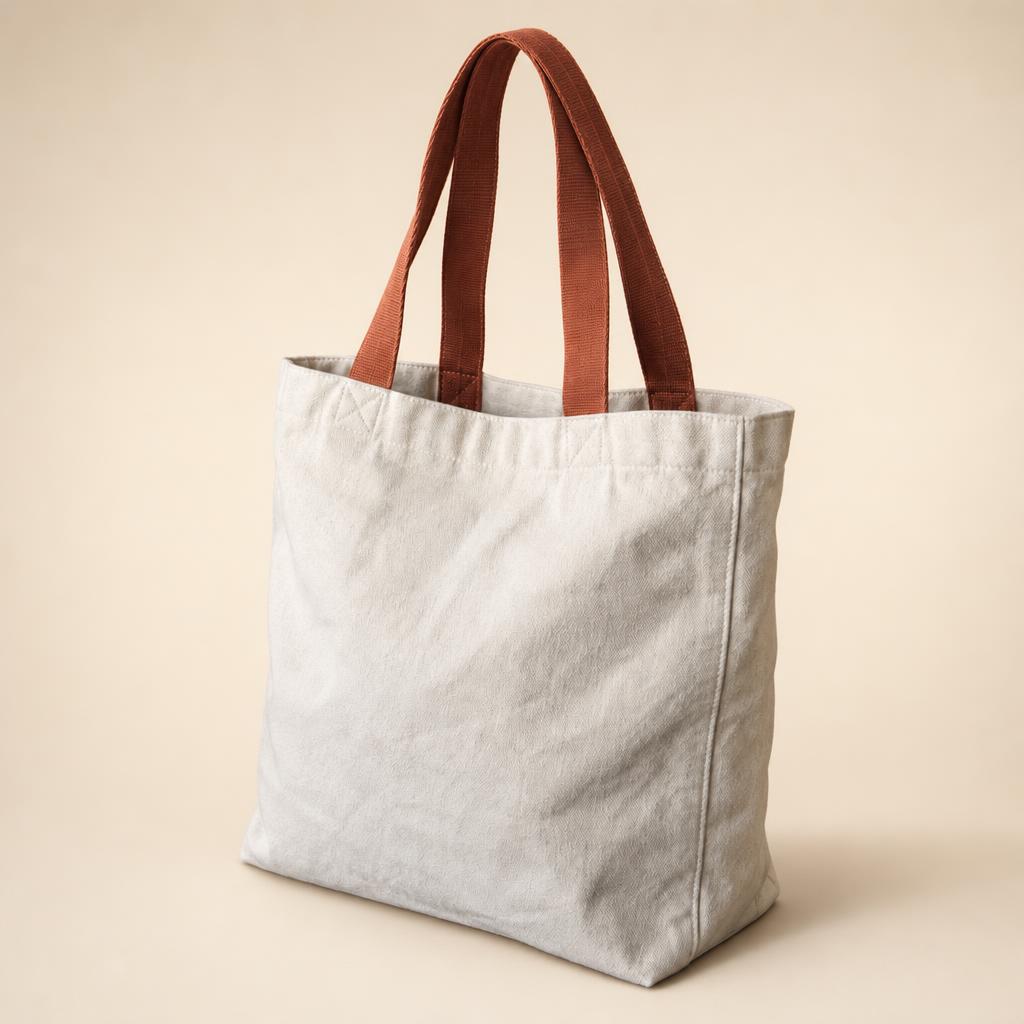
Use a complete, recognizable photograph as the opening image. For a tote, show its silhouette and handles without distracting props. Keep AI product photos for Shopify focused on the exact item before introducing a broader scene that helps explain its setting.
- Follow the opening view with a useful angle or detail.
- Keep AI product photos for Shopify visually related through lighting and background tone.
Use actual references for important details
A pocket, zipper, or fastening deserves a source photograph that shows it clearly. Do not ask an unseen detail to emerge from guesswork. Review AI product photos for Shopify against the supplied references before treating them as explanations of the product's construction.
Keep variants unambiguous
Prepare and label images for the correct color or size in your own files. When adding AI product photos for Shopify, check the product and variant they accompany. A carefully styled blue bag is still wrong when the displayed selection is the cream version.

Make AI product photos for Shopify collections easy to scan
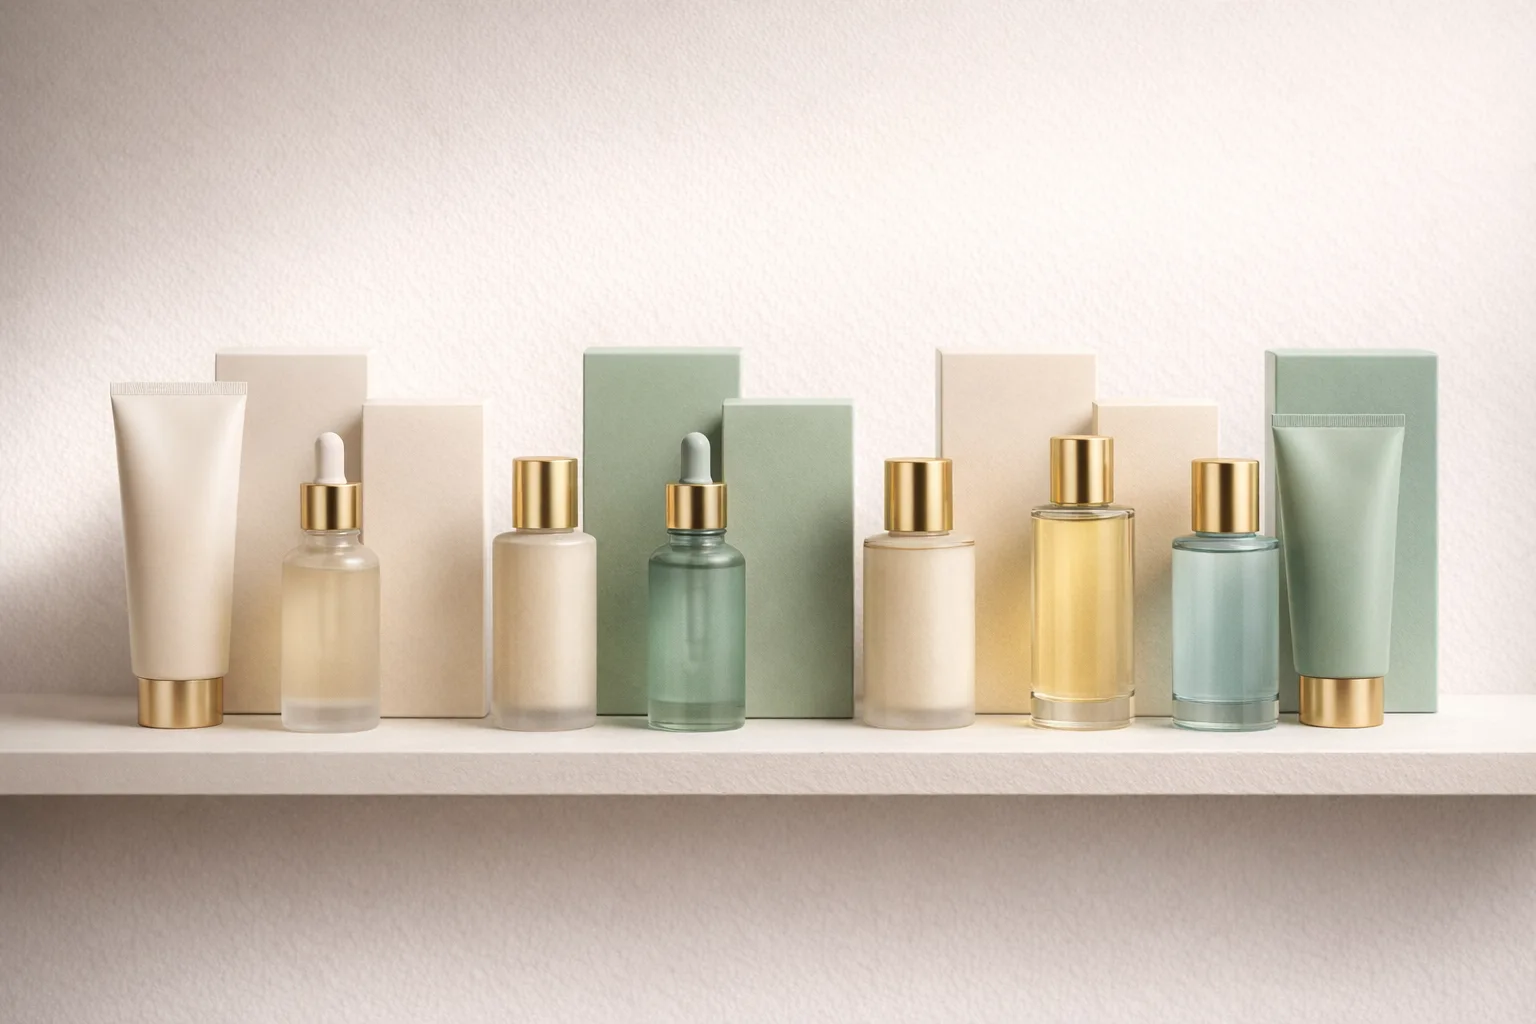
Review AI product photos for Shopify as a row of collection cards, not a series of isolated files.
Balance margins across the row
Place complete items at a comparable visual emphasis, allowing different shapes to breathe. A tall bottle and a short jar need different spacing. Use AI product photos for Shopify to support quick recognition without making every object appear to have identical physical dimensions.
- Compare the product baseline and the space above each item.
- Check AI product photos for Shopify for unusually dark backgrounds that dominate neighboring cards.
Test the smallest useful view
Inspect the cards at their actual display size. Fine label text may disappear, so silhouette and color become important. Evaluate AI product photos for Shopify on whether shoppers can distinguish the items, not only on how much texture appears when the file is enlarged.
Distinguish collection artwork from item cards
A collection image can suggest a group of related products, while an individual card should identify its own item. Prepare AI product photos for Shopify with that difference in mind. Avoid a grouped scene that makes one product appear to include several additional goods.
Give banners their own composition
Do not stretch square AI product photos for Shopify into a banner. Plan a wide composition with space for the store's message.
Reserve a quiet area for theme text
Place the product away from the intended headline and button, with a simple area behind them. When composing AI product photos for Shopify banners, keep promotional wording outside the generated image so you can edit it in the store layout rather than repainting pixels.
- Choose a wider ratio in EveryGen AI when the placement calls for it.
- Keep key details inside a central safe area in AI product photos for Shopify.
Plan for more than one crop
Check which part of the scene remains when the banner becomes taller or narrower. Place the product so its identity survives those crops. AI product photos for Shopify should not depend on a handle, label, or second item sitting at the extreme edge.
Simplify when the background competes
Busy leaves, hard shadows, and bright reflections can fight with a headline even when the product looks good. Request a quieter scene for AI product photos for Shopify banners. Let texture support the mood without creating a second focal point beneath the store's message.
Create AI product photos for Shopify in EveryGen AI
Prepare AI product photos for Shopify in EveryGen AI, then add approved files to your store yourself.
Upload the real product
Select GPT Image 2 reference editing with the starting settings of 1:1, 1K, and one output. Upload the actual item and describe its intended placement. For AI product photos for Shopify, include the needed margins and the product details that should remain recognizable.
- Use a separate scene brief for each substantially different placement.
- Keep the source photograph available for comparison.
Check settings before submitting
You can change ratios, choose 1K, 2K, or 4K, and request one to four outputs. Check the credits shown for the selected configuration. More AI product photos for Shopify candidates can offer choices, but they do not replace checking the correct product and layout.
Add the approved file yourself
Compare the product with its source, select an accurate candidate, and save the approved image. Add AI product photos for Shopify through your normal store workflow. Choose the appropriate product media or theme placement yourself; EveryGen AI does not perform that assignment or publish the page.

Review the image inside the finished layout
Inspect AI product photos for Shopify alongside the actual theme's headings, buttons, backgrounds, and neighboring cards before choosing final files.
Inspect crops on desktop and mobile
Look for clipped edges, lost labels, and oversized empty areas in both previews. Where your theme supports image focal points, review their effect too. AI product photos for Shopify still need a source composition that tolerates the layout, not only a favorable desktop crop.
- Check gallery views, collection cards, and banners independently.
- Revisit AI product photos for Shopify after a theme or section-layout change.
Write descriptions of what is visible
Use concise image descriptions that name the product and the useful view rather than repeating promotional claims. Keep captions aligned with the actual scene. AI product photos for Shopify should not be described as showing real customer use when they are generated illustrations.
Keep originals and approved placements together
Label your saved files by product and role, such as tote-front or tote-banner. Retain the source and brief. When revising AI product photos for Shopify later, these records help you change one placement without accidentally replacing a different variant or gallery view.
Example prompts
A clean tote image for collection cards
Edit the uploaded real tote bag photograph into one square product image. Retain the actual bag's color, handles, seams, texture, and proportions as closely as possible. Use a quiet warm-neutral background with soft side lighting, a subtle contact shadow, and comfortable margins around the complete bag. Keep the silhouette recognizable at thumbnail size. No added accessories, text, extra bags, or decorative scenery. This image is for manual review in my store's collection-card layout.
A collection banner with space for live text
Using the uploaded actual product photograph, create one continuous product scene for a wide store banner. Place the complete product slightly right of center, but away from the outer edge. Leave a broad quiet area on the left for a headline and button added in the store theme. Use a muted warm-gray background, a restrained matte surface, and soft directional light. Retain visible product details as closely as possible. No embedded text, logos, extra products, borders, or panels.
User reviews
EveryGen AI video creator feedback.
EveryGen AI creator reviews

I made a full character PV for my game with MiniMax H3 in one afternoon. The menu UI stayed readable in every frame and the character never went off-model. That used to cost me a contractor and three weeks.

We tested every AI video generator on the market for stylized work. H3 is the only one that held our anime style across cuts. We now use it for pitch reels and animatics on every project.

I uploaded four product photos and got a listing video with music and a voiceover the same day. My click-through rate on the new listings is up 38%. H3 even got the label text on my packaging right.

I ship five vertical videos a week for three brands. MiniMax H3 gets me from brief to draft in under an hour, with sound already synced. My old workflow needed a videographer and two review rounds.

The editing side is what sold me. A client wanted the background of an interview changed — I typed one sentence into MiniMax H3 and the lighting on the subject matched the new scene automatically.

I previsualized my entire short film in MiniMax H3 before we shot a single frame. Rack focus, match cuts, even the title cards — it understands director language, not just keywords.
EveryGen AI · MiniMax H3 Max Pricing and Credit Plans
Cancel anytime
Lite
50% off0.025 / credit
Billed $ yearly179· Save $179.8
Video Models


Image Models



- Includes MiniMax H3 and all premium models
- Up to 1 batch generation task
- Standard generation speed
- Standard generation success rate
- Standard customer support
- Commercial Use License
Standard
50% off0.017 / credit
Billed $ yearly299· Save $299.8
Video Models
Image Models
- Includes MiniMax H3 and all premium models
- Up to 4 batch generation tasks
- Priority processing speed
- High generation success rate
- Priority customer support
- Commercial Use License
Pro
50% off0.014 / credit
Billed $ yearly599· Save $599.8
Video Models
Image Models
- Includes MiniMax H3 and all premium models
- Up to 10 batch generation tasks
- Fastest generation speed
- High generation success rate
- Dedicated account manager
- Commercial Use License
Max
50% off0.012 / credit
Billed $ yearly1,199· Save $1,199.8
Video Models
Image Models
- Includes MiniMax H3 and all premium models
- Up to 10 batch generation tasks
- Fastest generation speed
- High generation success rate
- Dedicated account manager
- Commercial Use License
Pay safely and securely with






















FAQ
Frequently asked questions
Does EveryGen AI upload AI product photos for Shopify automatically?
No. Create and review AI product photos for Shopify in EveryGen AI, then add approved files yourself. There is no store connection or automatic publishing. You choose the product, gallery order, collection use, and theme placement.
What size should AI product photos for Shopify be?
Match the actual placement and inspect it in your theme. Square AI product photos for Shopify may suit cards; banners may need wider framing. Increasing resolution cannot fix an unsuitable composition or aspect ratio.
Can AI product photos for Shopify serve both cards and banners?
Test both layouts. Cards may need centered framing, while banners need headline space. Prepare separate AI product photos for Shopify when one composition cannot serve both without clipping the product or unbalancing the layout.
Will the product stay exactly unchanged?
Exact preservation is not guaranteed. Compare AI product photos for Shopify against the actual reference for shape, labels, color, and accessories. Reject any candidate that represents the wrong variant or changes a feature, even when it fits the theme beautifully.
Which settings suit AI product photos for Shopify?
Begin with GPT Image 2 reference editing, 1:1, 1K, and one output. Adjust settings for the placement. When creating AI product photos for Shopify, review the credits displayed for the actual configuration before submitting.
CTA
Prepare AI product photos for Shopify with a layout in mind
Choose a card, gallery, or banner placement and bring the real product reference. Create AI product photos for Shopify around that specific frame, then check the approved result in your own store preview.
Prepare a store-ready composition