 EveryGen AI
EveryGen AI · AI product image generator for reference-led product photos
Give your real product a considered setting without starting from an empty canvas. The EveryGen AI AI product image generator uses your reference image and written direction to explore studio scenes, material combinations, and campaign compositions. Start with GPT Image 2 in reference image mode at 1:1 and 1K. Treat the AI product image generator as a creative production tool, then compare every candidate against the item you actually sell.
Image workspace
Sample Image
 14 / 17
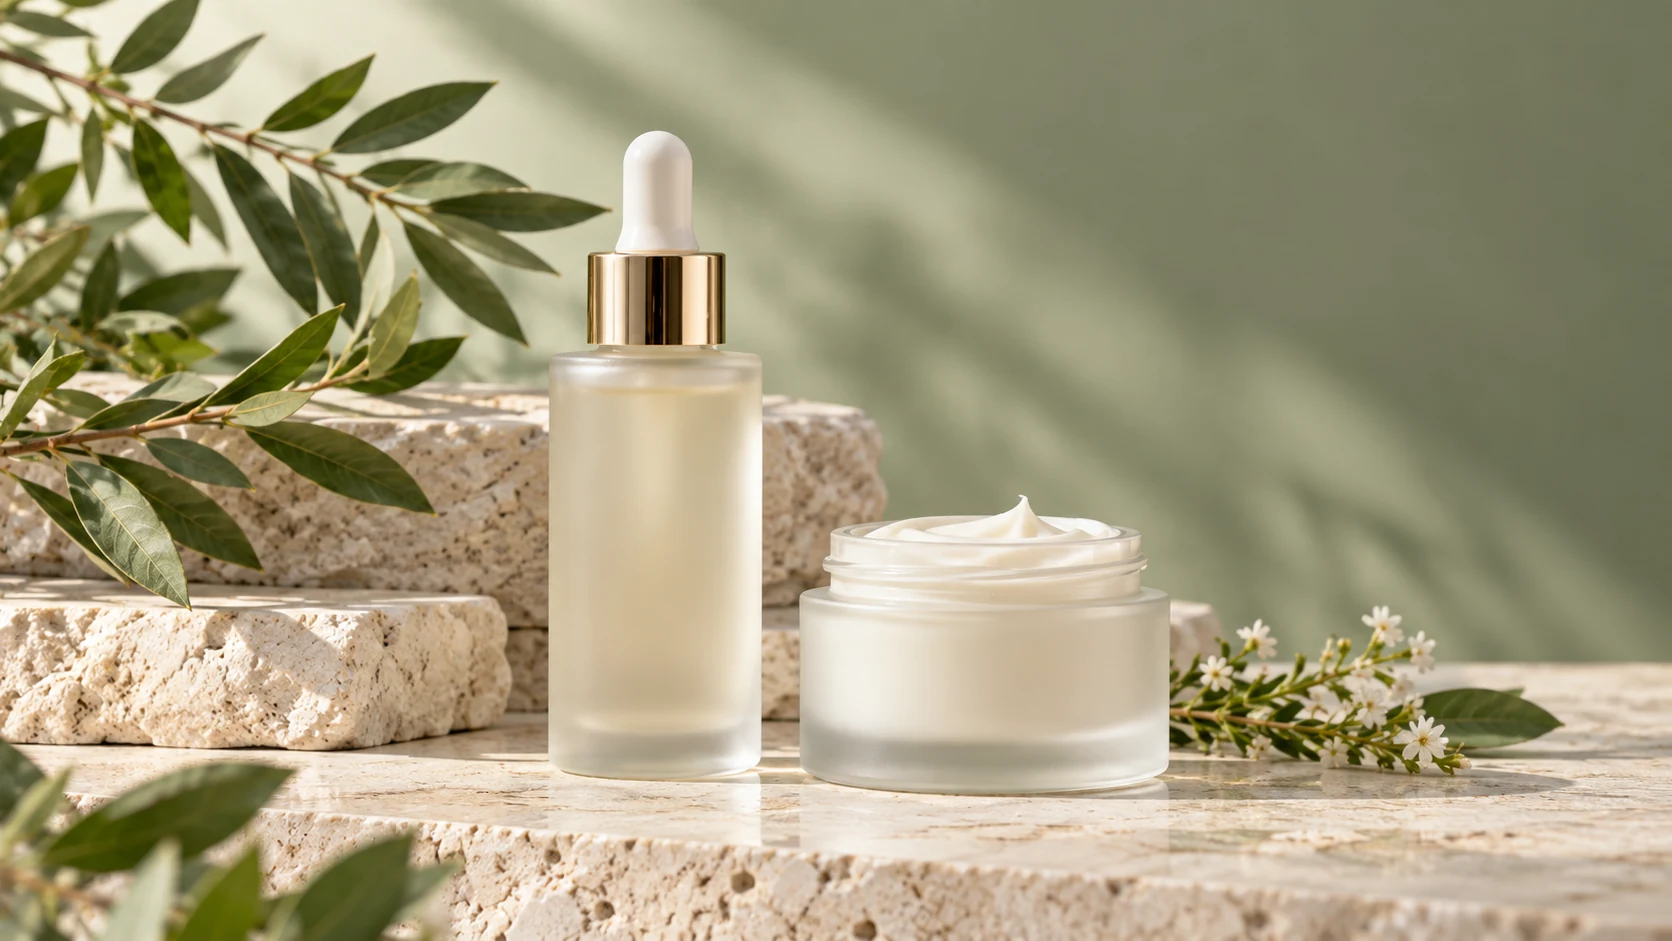
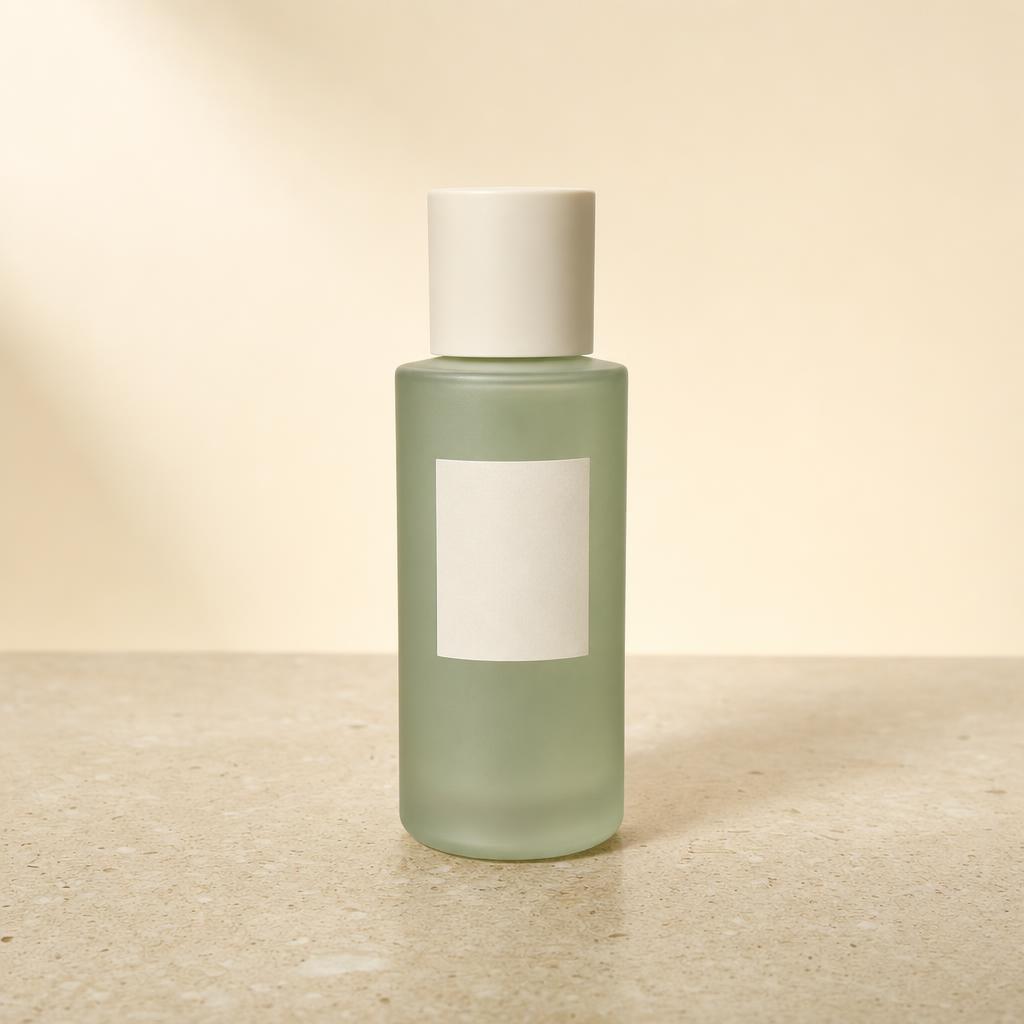
AI-generated illustration of an unbranded skincare studio scene.
Introduction
Prepare references for the AI product image generator
A useful reference makes the product easy to inspect. Give the AI product image generator a clear view of its silhouette, packaging, finish, and proportions before describing an ambitious new scene.
Show the complete object
Choose a photograph with the whole product visible, including the cap, base, handle, or other defining parts. The AI product image generator needs a readable starting point; heavy blur, cropped edges, and dramatic reflections leave important details ambiguous.
- Keep hands and unrelated objects away from the product.
- Give the AI product image generator a reference with readable packaging.
Separate facts from styling
List the features that matter: bottle shape, label placement, lid color, and material. Then describe the background separately. This helps you brief the AI product image generator without accidentally asking for a redesigned package when you only wanted different lighting.
Identify uncertain details
Tiny print, reflective seals, and translucent edges deserve particular attention. Do not assume the AI product image generator will reproduce them exactly. Keep the original photograph available so that reviewing the result is a comparison, not a memory test.
How to use
How to use the AI product image generator
- Input
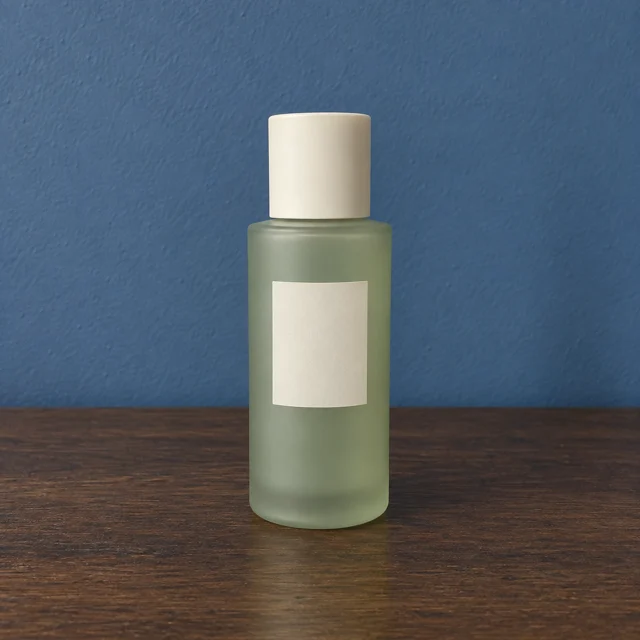 Reference image 1STEP 1
Upload your product
Add a clear product photograph to the AI product image generator, then select GPT Image 2 reference editing.
- ModelGPT Image 21K1:1PromptOutputSTEP 2
Describe the setting
Tell the AI product image generator which packaging details matter, then describe the surface, lighting, and space around the item.
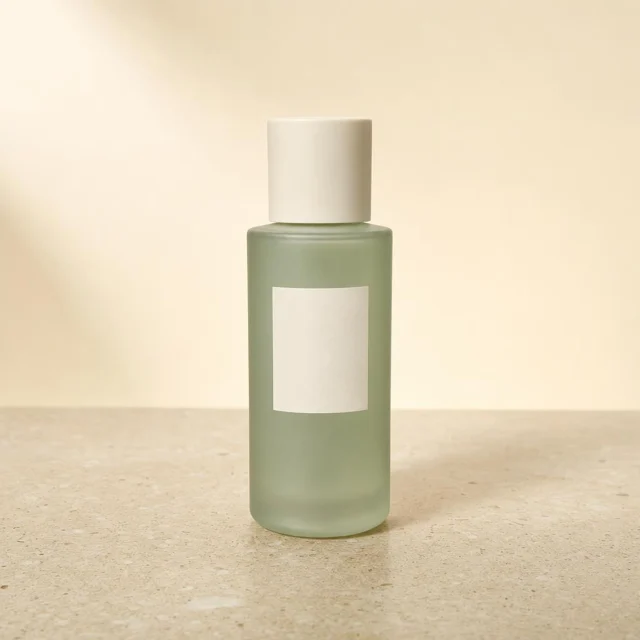 BeforeAfterSTEP 3
Create a candidate
Start the AI product image generator at 1K with square framing, check the displayed credits, and generate a candidate.
- STEP 4
Check the product
Compare AI product image generator output with your reference, checking labels, proportions, and shadows before downloading the approved image.
Features
Direct light and materials with the AI product image generator
A scene becomes more convincing when its light and surfaces agree. Brief the AI product image generator like a small studio shoot: name the light direction, shadow character, background, and supporting material.
Choose one lighting idea
For skincare, try a large soft light from the upper left and a gentle shadow falling right. Give the AI product image generator one clear lighting setup before adding sunlight, reflections, or colored accents that might compete with it.
- Describe shadow direction instead of simply requesting premium lighting.
- Ask the AI product image generator for controlled highlights, not glowing packaging.
Match the surface to the finish
Frosted glass, glossy plastic, brushed metal, and matte paper reflect light differently. Tell the AI product image generator which finish belongs to the actual item. A beautiful reflection is not useful when it makes a plastic bottle look like polished steel.
Keep props in a supporting role
Use a stone plinth, folded cloth, or restrained botanical accent to establish scale and mood. The AI product image generator should not bury the product behind decoration. Leave its front face visible and avoid props that imply ingredients or accessories you do not provide.
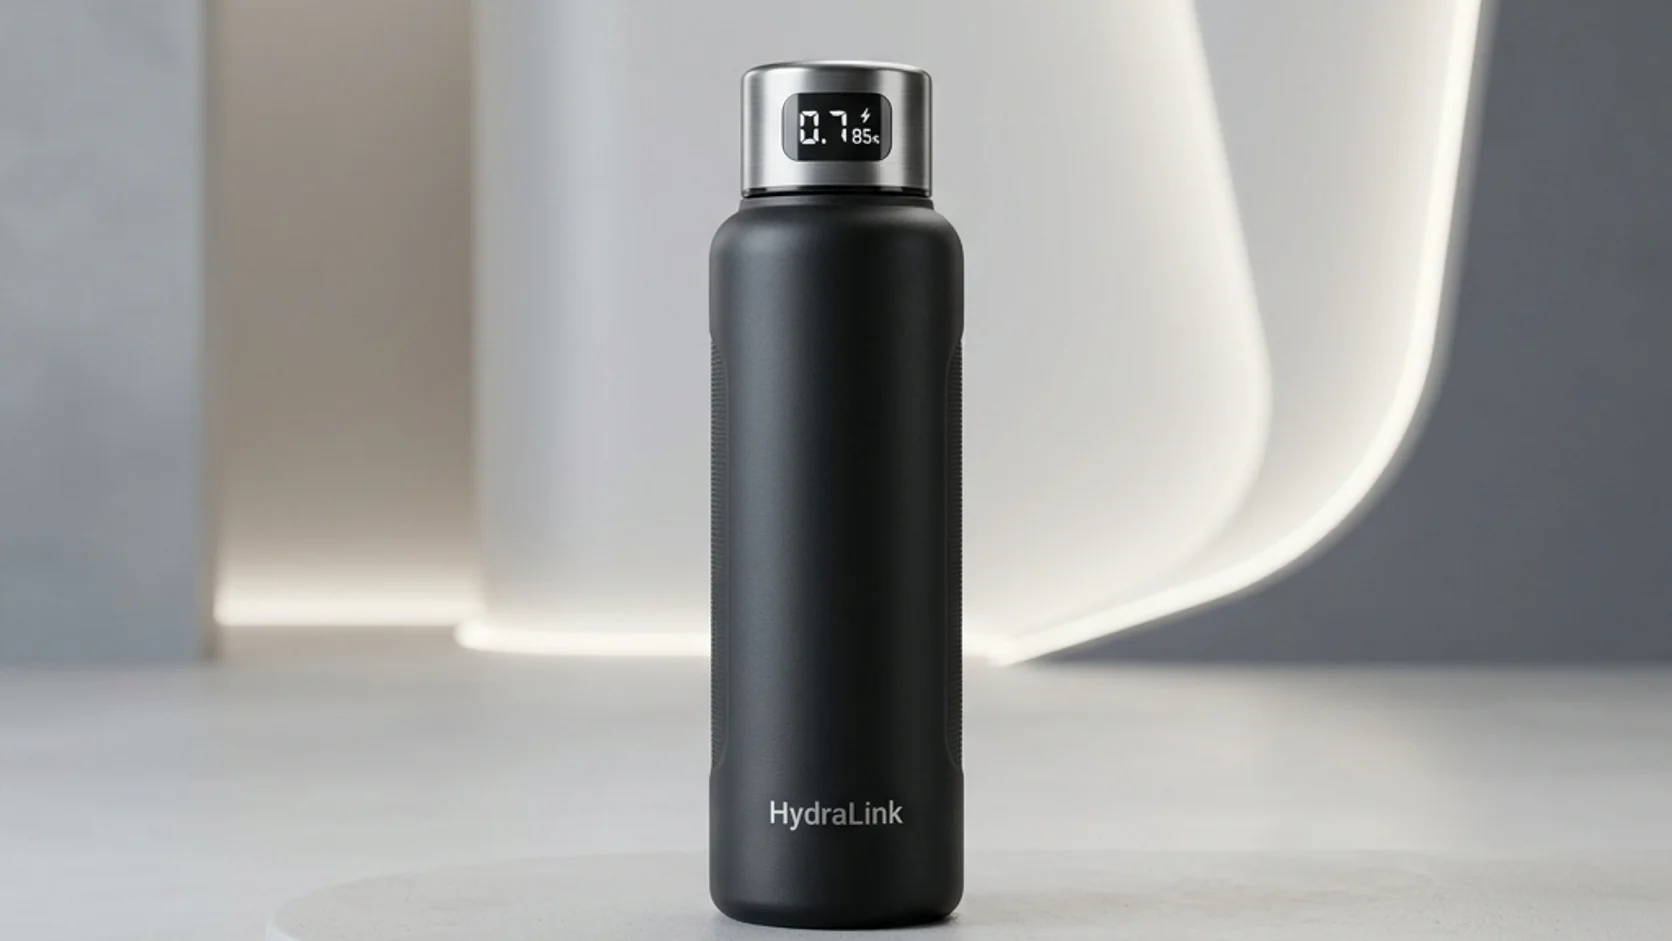
Compose useful sets in the AI product image generator
Decide where the image will appear before arranging the scene. The AI product image generator can support different compositions, but a catalog thumbnail and a campaign banner need different visual priorities.
Start with a readable square
Use the 1:1 starting ratio for a centered product study. Leave comfortable space around the object instead of filling every edge. In the AI product image generator, this gives you a straightforward composition to evaluate before exploring more elaborate layouts.
- Check the product at thumbnail size as well as enlarged.
- Use the AI product image generator to explore placement, not hide missing details.
Give grouped products a hierarchy
For a cleanser, serum, and cream combination, identify the main item and relative heights. Ask the AI product image generator to keep each silhouette distinct. Watch for duplicated bottles, merged lids, or invented sizes when evaluating a grouped composition.
Plan space for separate typography
Reserve a quiet area when a designer will add a headline later. Describe that space explicitly rather than requesting a finished advertisement. The AI product image generator can explore the photograph while final offer text, claims, and legal copy remain separately editable.
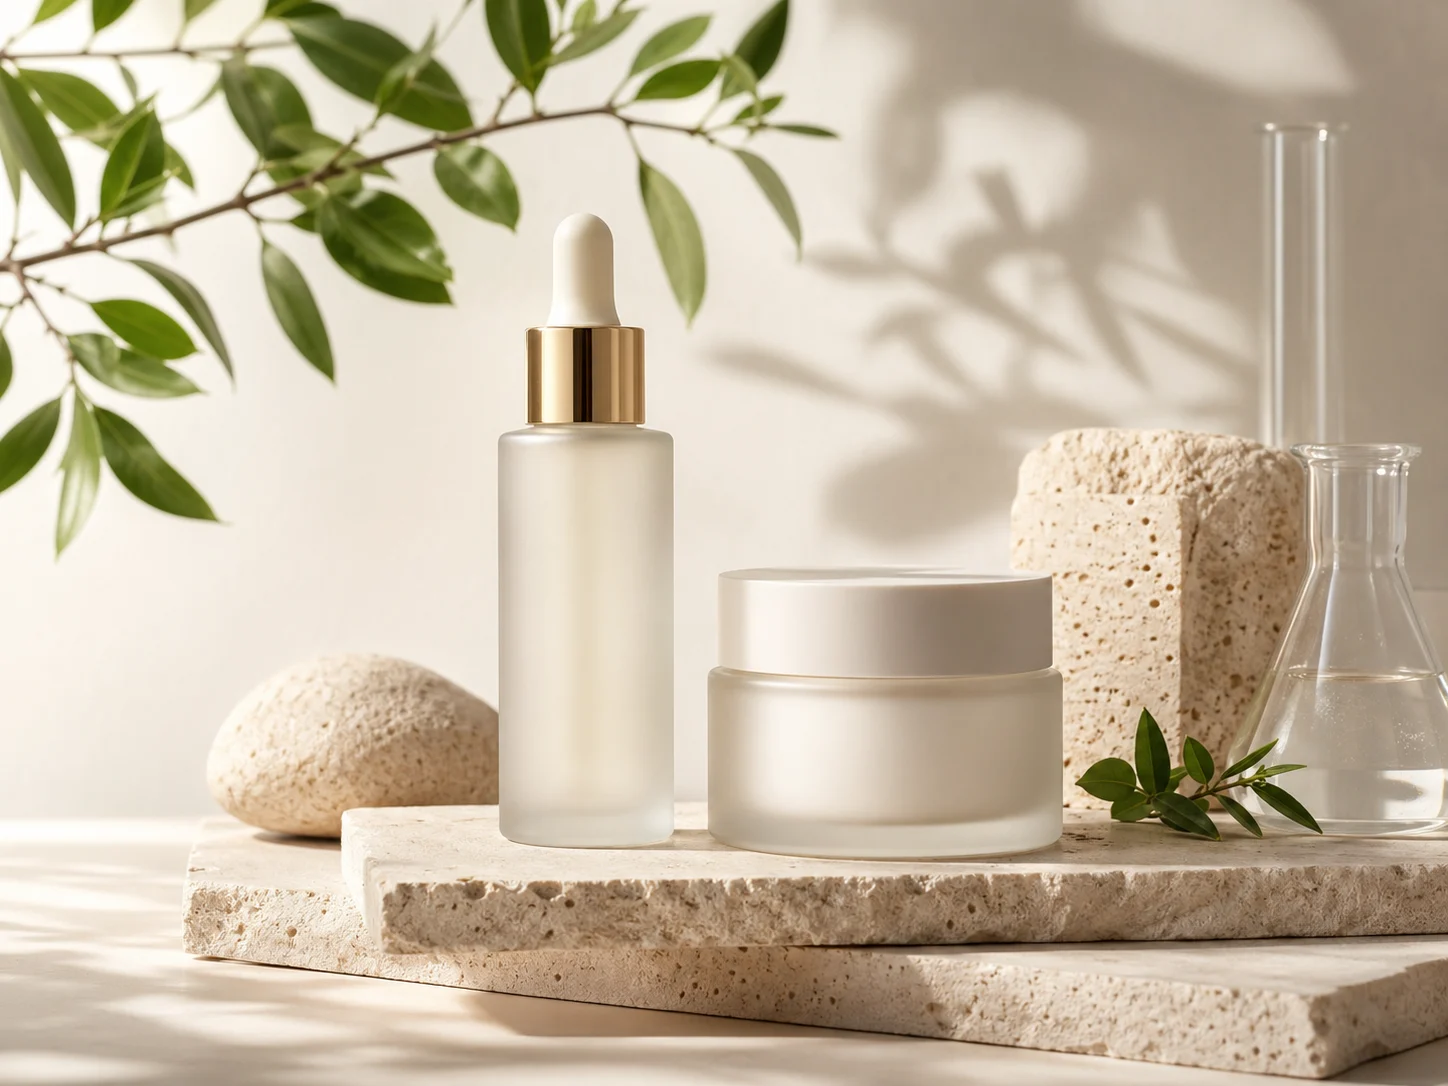
Run a focused AI product image generator workflow
A controlled first draft makes packaging, composition, and lighting easier to compare before adding decorative complexity.
Upload and describe
Start from the actual product photograph. Keep the source visible while reviewing changes to packaging, finish, and proportions.
- Begin at 1:1 and 1K for this page's intended workflow.
- Review the AI product image generator configuration before submitting.
Choose the output configuration
EveryGen AI supports 1K, 2K, and 4K, multiple aspect ratios, and one to four outputs with GPT Image 2. Choose deliberately in the AI product image generator and check the credits displayed for the actual configuration before you submit.
Revise one variable
Compare the candidates, identify the most important mismatch, and revise the brief. Change the lighting, framing, or background individually. A focused instruction makes the next AI product image generator result easier to assess than replacing the entire concept at once.
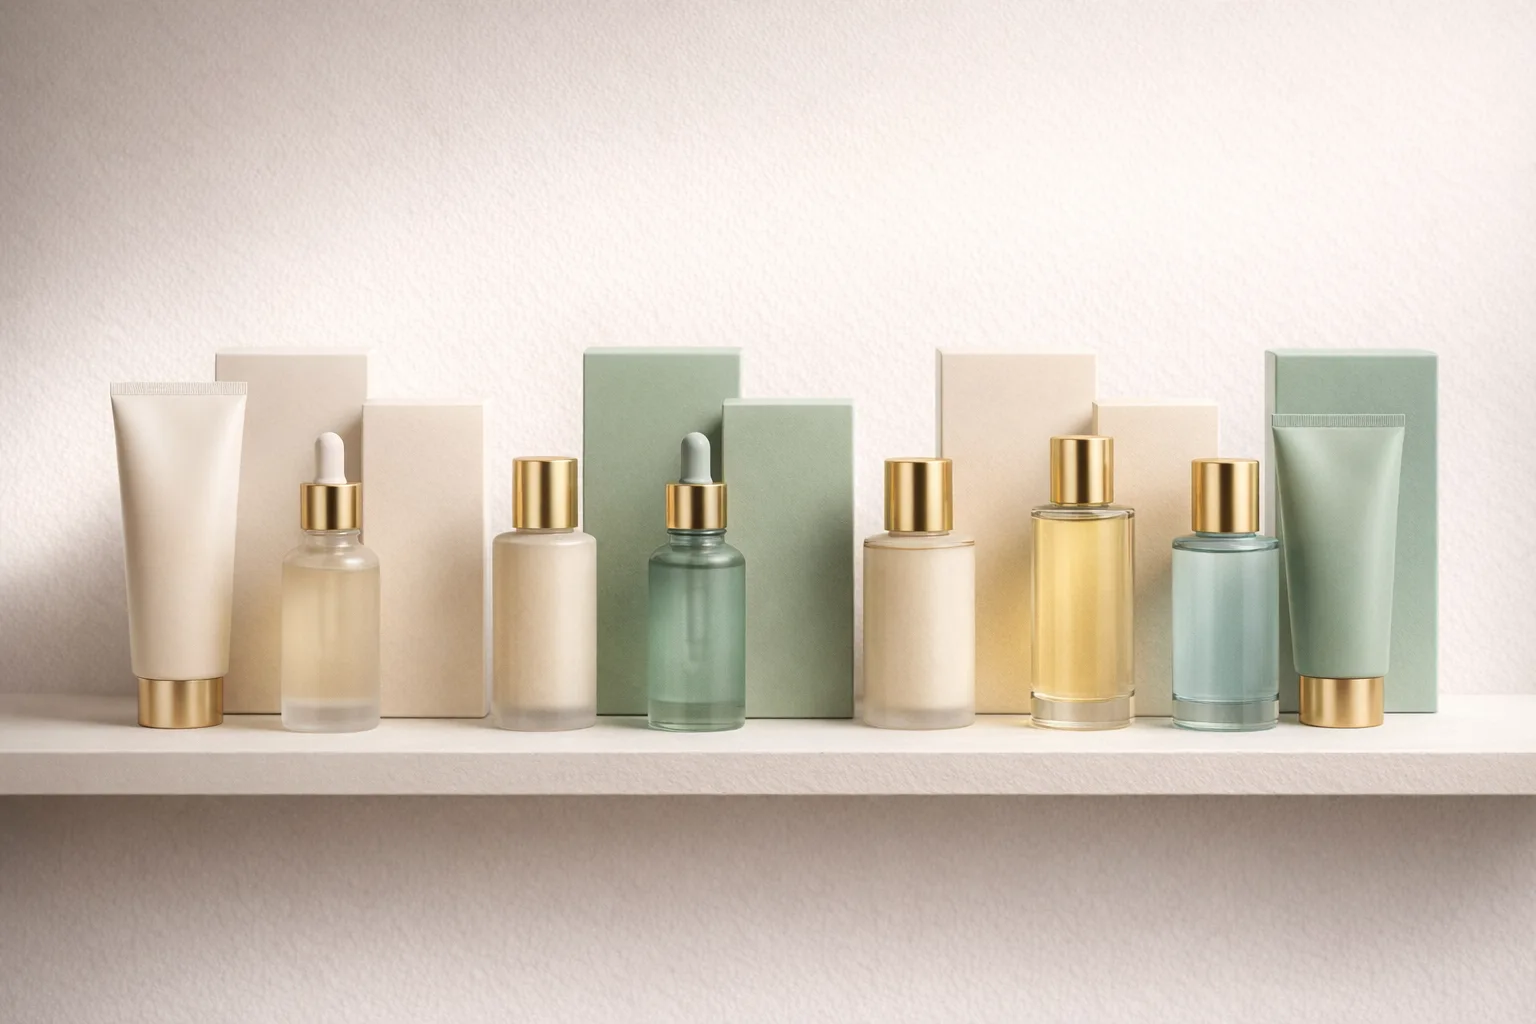
Review every AI product image generator result
A convincing photograph can still describe the wrong product. Review the AI product image generator output for factual differences before judging whether its styling belongs in a campaign.
Inspect packaging and proportions
Compare the label, closure, seams, color, and dimensions with your reference. The AI product image generator may alter small features or invent text. Reject a candidate when those differences could mislead someone about what arrives in the package.
- Check reflections for duplicate labels or impossible geometry.
- Compare AI product image generator results against the source, not each other alone.
Inspect contact and shadows
Look where the product meets the surface. Floating bases, inconsistent shadows, and reflections passing through objects can undermine the scene. Ask the AI product image generator for a simpler arrangement when decorative complexity makes those problems difficult to correct.
Choose realism over extra effects
More dramatic is not always more useful. If accurate packaging matters most, a restrained scene may serve better than splashes or flying ingredients. Direct the AI product image generator toward the commercial task rather than selecting the busiest image.
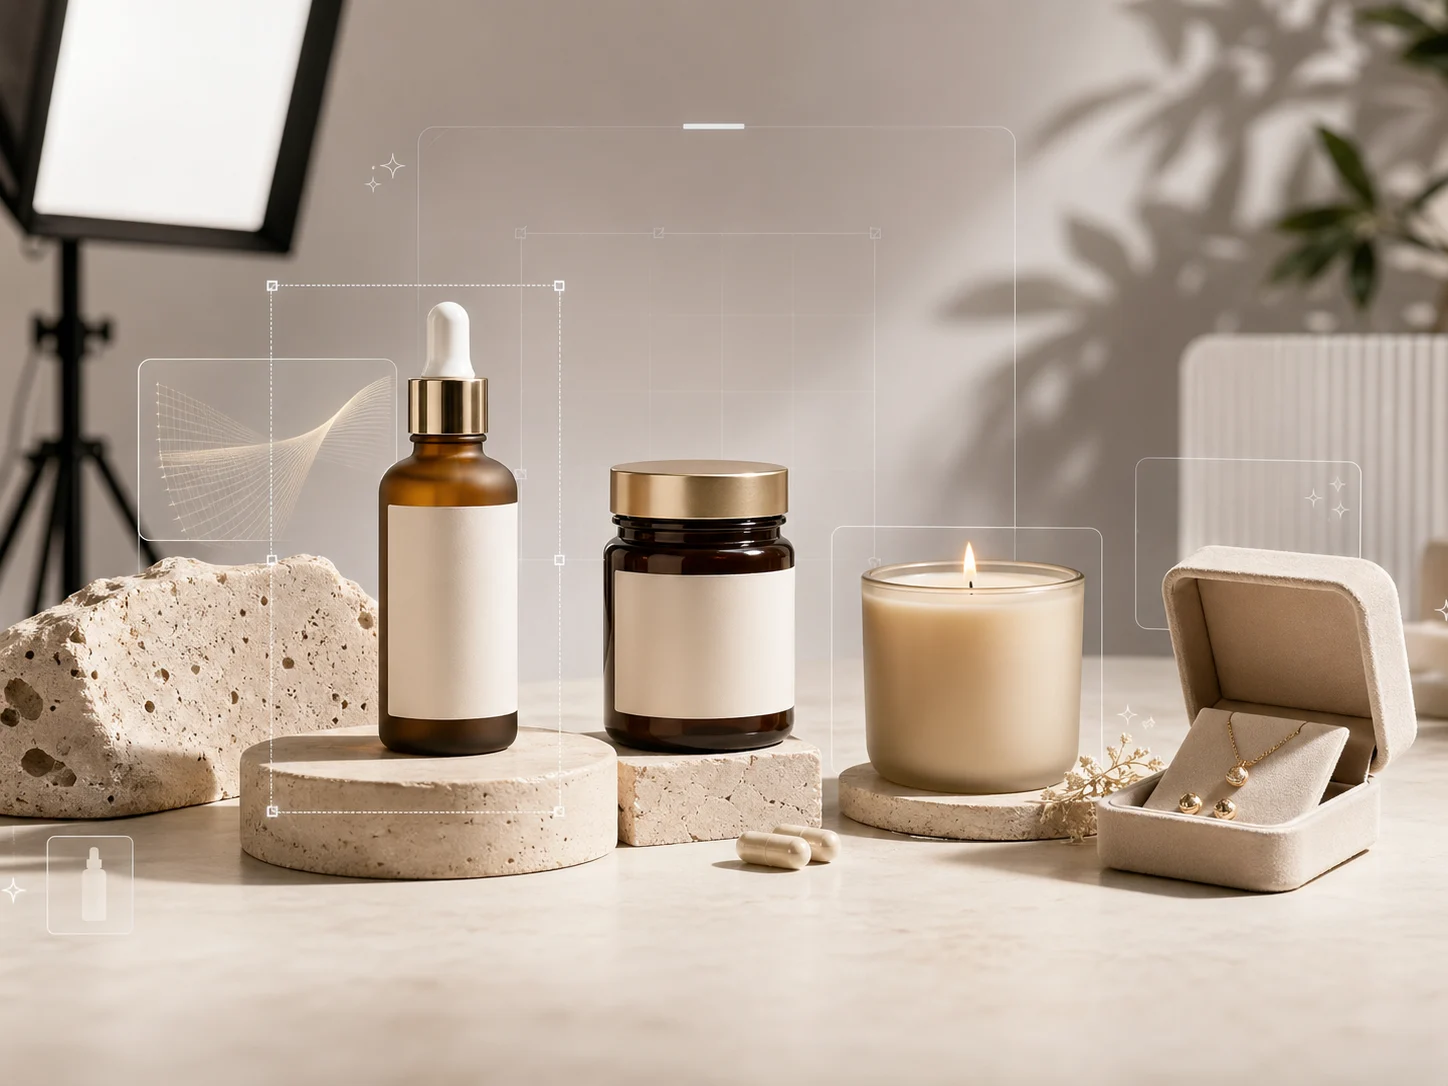
Publish responsibly with the AI product image generator
Use the AI product image generator to develop visual options, then make a separate publishing decision. Product accuracy, permissions, placement requirements, and final presentation remain part of your production process.
Distinguish concepts from evidence
An AI scene illustrates an art direction; it does not prove a real photoshoot occurred or that a product performs as pictured. Do not present AI product image generator concepts as measured results, customer submissions, or verified before-and-after evidence.
- Describe illustrative imagery accurately wherever context requires it.
- Keep AI product image generator concepts separate from factual product documentation.
Check the intended placement
Review the destination's current image requirements before publishing. A marketplace listing, email header, and social advertisement may need different crops or disclosures. An AI product image generator result does not automatically establish that a particular platform will accept it.
Keep the original and the brief
Retain your source photograph, instructions, and approved result in your own project records. This gives collaborators a reference when requesting revisions. The AI product image generator can help explore a visual direction, but your review process determines what represents the product.
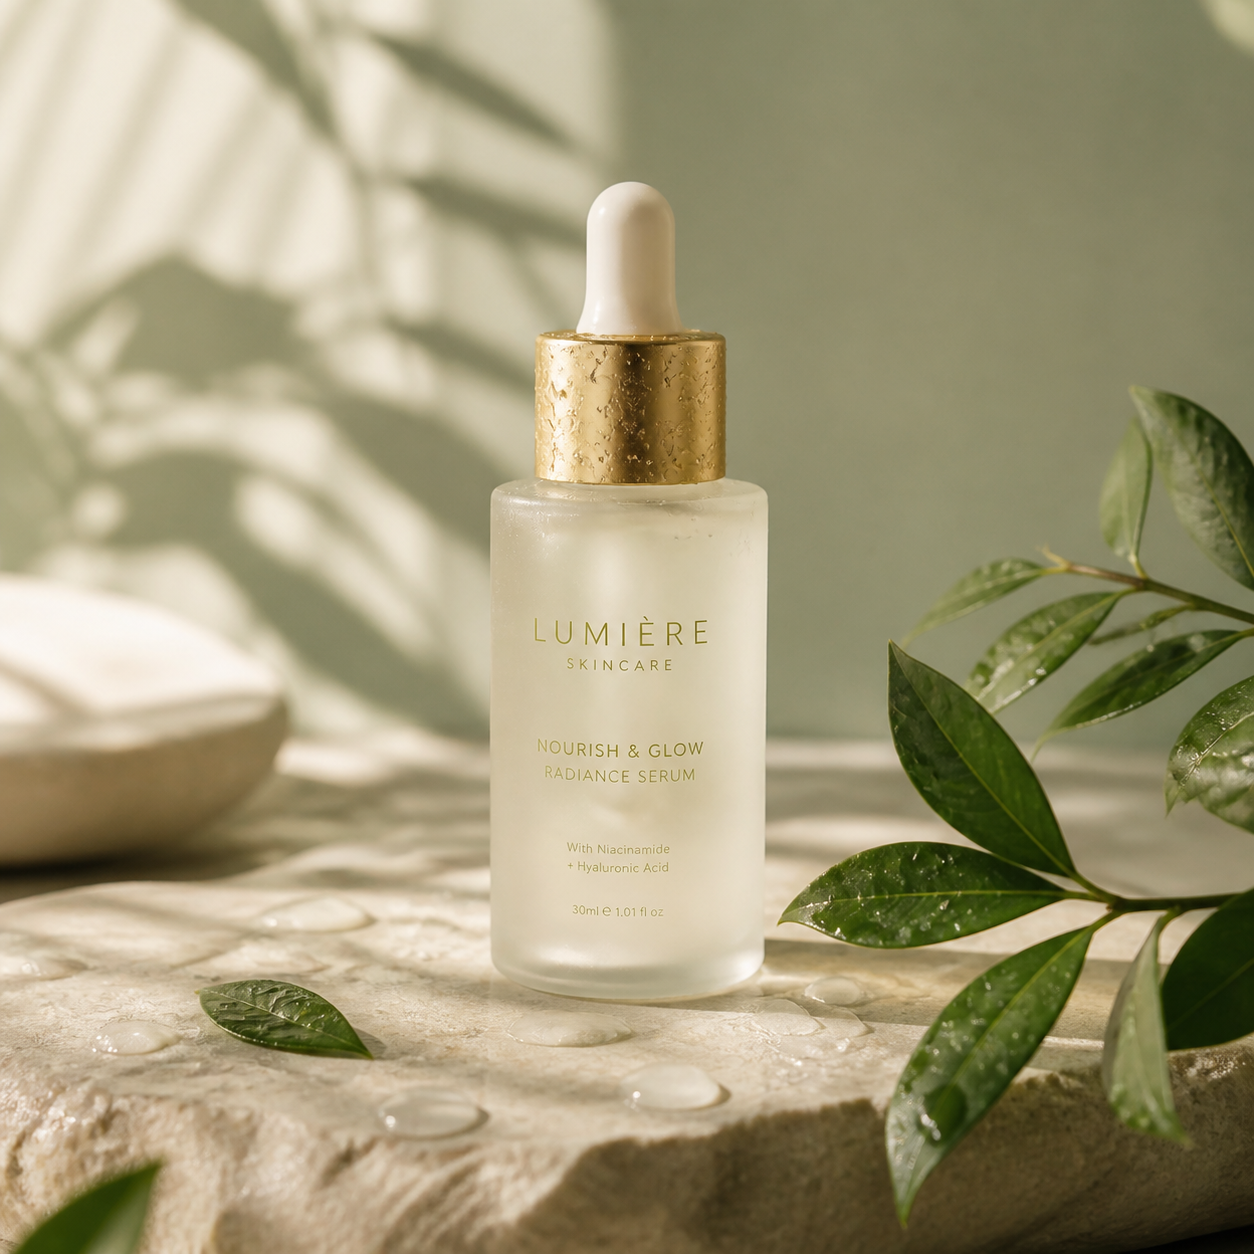
Example prompts
Soft stone skincare study
Use my uploaded product photograph as the reference. Create a square studio product photograph on a pale limestone surface with a warm ivory background. Retain the visible bottle silhouette, cap design, label placement, and packaging color as closely as possible. Use a large soft light from the upper left, a gentle contact shadow, and restrained reflections. Keep the front of the product unobstructed. Do not invent extra bottles, ingredients, claims, or accessories.
Quiet campaign composition
Using the uploaded product image, create a square editorial product scene with the item slightly right of center and open space on the left for typography added later. Use a muted sage background, matte stone support, and soft side lighting. Keep the packaging readable and the product fully inside the frame. Add no text or logos beyond details already visible in the reference. Avoid dramatic splashes, altered proportions, and decorations covering the label.
User reviews
EveryGen AI video creator feedback.
EveryGen AI creator reviews

I made a full character PV for my game with MiniMax H3 in one afternoon. The menu UI stayed readable in every frame and the character never went off-model. That used to cost me a contractor and three weeks.

We tested every AI video generator on the market for stylized work. H3 is the only one that held our anime style across cuts. We now use it for pitch reels and animatics on every project.

I uploaded four product photos and got a listing video with music and a voiceover the same day. My click-through rate on the new listings is up 38%. H3 even got the label text on my packaging right.

I ship five vertical videos a week for three brands. MiniMax H3 gets me from brief to draft in under an hour, with sound already synced. My old workflow needed a videographer and two review rounds.

The editing side is what sold me. A client wanted the background of an interview changed — I typed one sentence into MiniMax H3 and the lighting on the subject matched the new scene automatically.

I previsualized my entire short film in MiniMax H3 before we shot a single frame. Rack focus, match cuts, even the title cards — it understands director language, not just keywords.
EveryGen AI · MiniMax H3 Max Pricing and Credit Plans
Cancel anytime
Lite
50% off0.025 / credit
Billed $ yearly179· Save $179.8
Video Models


Image Models



- Includes MiniMax H3 and all premium models
- Up to 1 batch generation task
- Standard generation speed
- Standard generation success rate
- Standard customer support
- Commercial Use License
Standard
50% off0.017 / credit
Billed $ yearly299· Save $299.8
Video Models
Image Models
- Includes MiniMax H3 and all premium models
- Up to 4 batch generation tasks
- Priority processing speed
- High generation success rate
- Priority customer support
- Commercial Use License
Pro
50% off0.014 / credit
Billed $ yearly599· Save $599.8
Video Models
Image Models
- Includes MiniMax H3 and all premium models
- Up to 10 batch generation tasks
- Fastest generation speed
- High generation success rate
- Dedicated account manager
- Commercial Use License
Max
50% off0.012 / credit
Billed $ yearly1,199· Save $1,199.8
Video Models
Image Models
- Includes MiniMax H3 and all premium models
- Up to 10 batch generation tasks
- Fastest generation speed
- High generation success rate
- Dedicated account manager
- Commercial Use License
Pay safely and securely with





















FAQ
Frequently asked questions
Does the AI product image generator need a real product photo?
Yes, this workflow is designed around your product reference. Upload a clear photograph before using the AI product image generator. Text can describe a new setting, but it should not replace evidence of the item you intend to show. Use a source image you are authorized to provide.
Can the AI product image generator keep packaging exactly unchanged?
No exact preservation is guaranteed. The AI product image generator may alter proportions, labels, colors, or small details even when you request consistency. Compare each candidate with the original. When precise packaging reproduction is essential, keep the verified product photograph available and reject inaccurate alternatives.
Which AI product image generator settings should I use first?
Begin with GPT Image 2 in reference image mode at 1:1 and 1K. The AI product image generator also supports other ratios, 2K or 4K, and one to four outputs. Confirm your chosen configuration and the displayed credit amount before submitting rather than assuming a fixed cost.
Can I create backgrounds for several products?
You can describe a coordinated visual direction and apply it to separate product tasks. The AI product image generator does not guarantee matching results across requests. Record the lighting, camera angle, background, and spacing you prefer, then inspect each product individually instead of treating the collection as automatically consistent.
Can I use the images in a commercial campaign?
Evaluate the applicable terms, source-image permissions, trademarks, and your intended use before publishing. The AI product image generator does not provide blanket commercial clearance. Also check that the picture accurately represents the goods and does not introduce unsupported ingredients, accessories, certifications, or performance claims.
CTA
Give the AI product image generator a clear brief
Bring your actual product reference, choose a simple setting, and review the displayed configuration. Use the AI product image generator to explore the next photograph, then decide which details need another pass before publication.
Start with your product photo