 EveryGen AI
EveryGen AI · AI photo editor for clear, specific changes to your pictures
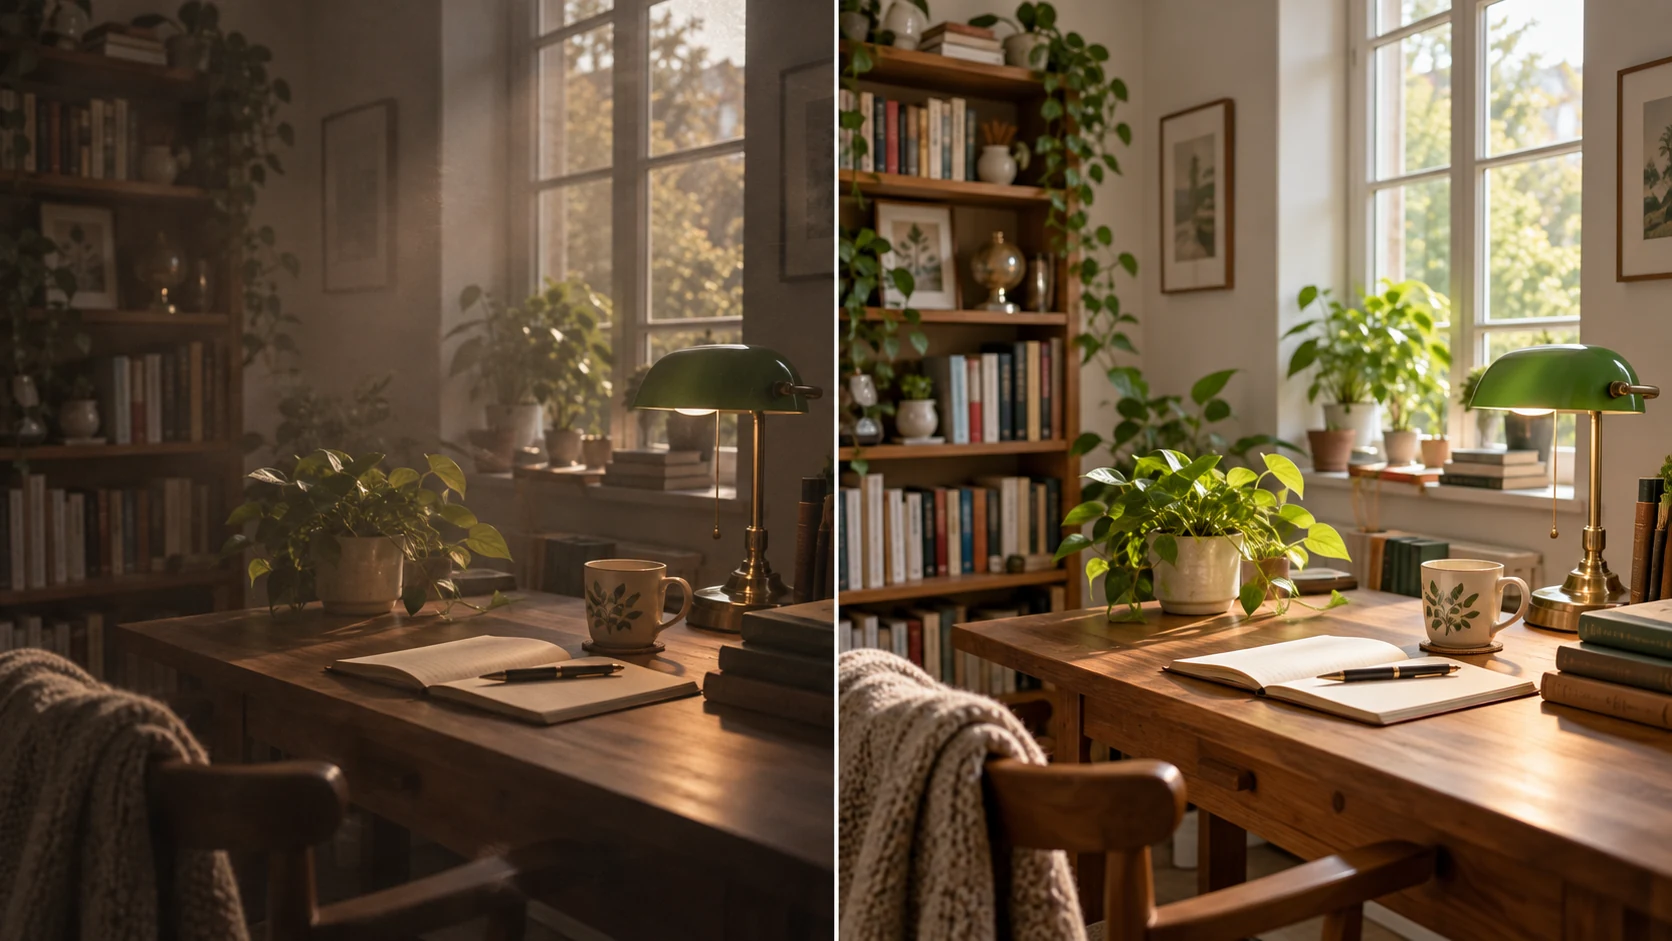
Describe a specific change to your photograph. The EveryGen AI AI photo editor uses GPT Image 2 reference editing for light, color, objects, and backgrounds. Begin with your uploaded photo, Auto ratio, and 1K. Give the AI photo editor a clear instruction, then compare the revision with the original.
Image workspace
Sample Image
 12 / 17
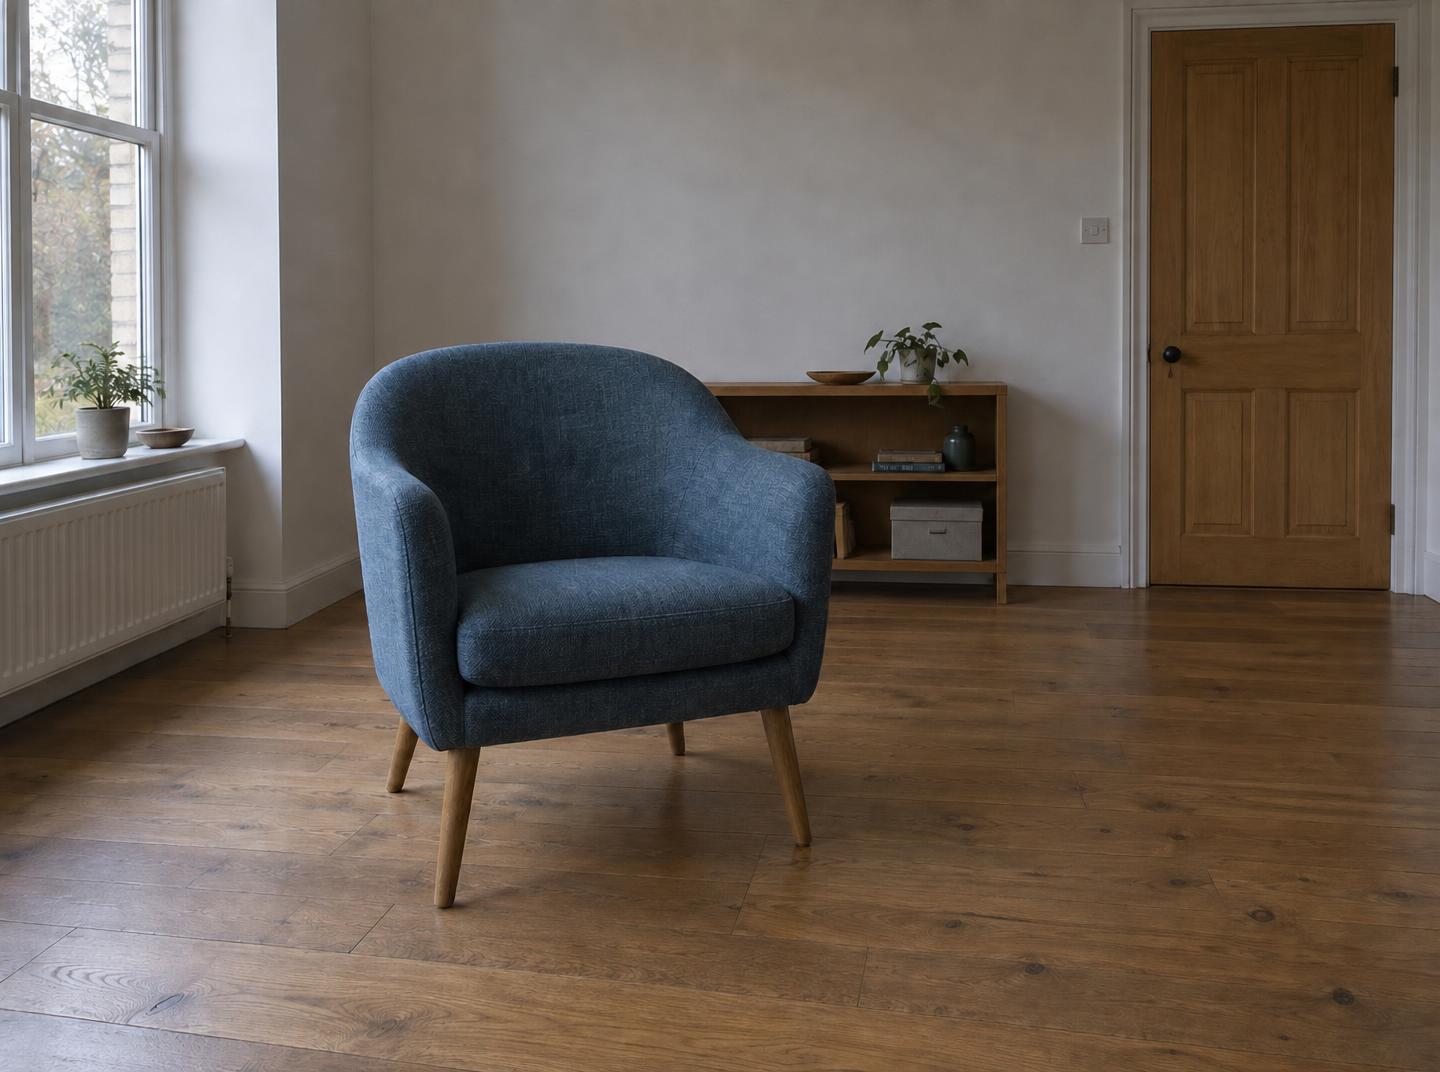
AI editing concept illustration; not an EveryGen AI test.
Introduction
Tell the AI photo editor exactly where the change belongs
A localized request begins with a location the reader can understand. Describe the region in the AI photo editor prompt using objects, positions, and boundaries rather than vague words such as this or there.
Name an object and its position
Write remove the folded umbrella beside the chair on the lower right, not remove the distraction. The AI photo editor receives a clearer instruction when the object and location agree. Distinguish similar objects by color, size, or their relationship to something unmistakable.
- Locate the object using ordinary descriptions of the photograph.
- The AI photo editor uses written instructions, not a brush or mask interface.
State the replacement as well as the removal
When removing the umbrella, ask for a continuation of the visible wooden floor. This tells the AI photo editor what should occupy the space. Keep the surrounding perspective and plank direction in the instruction so the replacement has a visual reference to follow.
Define what must not become the subject
A small edit should not turn into a new camera angle or a redesigned room. Tell the AI photo editor to retain the overall composition and main subject as closely as possible. Then review the whole photograph, since a written boundary is not a pixel-locked selection.
How to use
How to use the AI photo editor
- Input
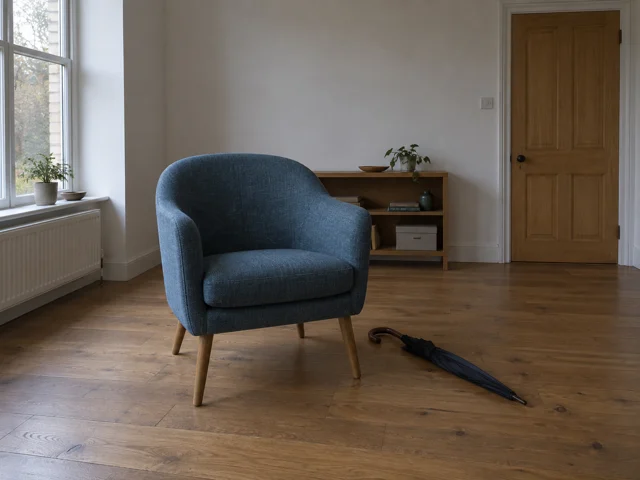 Reference image 1STEP 1
Add the source
Upload your photograph to the AI photo editor and choose GPT Image 2 reference editing to work from the existing scene.
- ModelGPT Image 21KPromptOutputSTEP 2
Locate the change
Describe the object and its position in the AI photo editor, then specify a replacement, lighting adjustment, or color correction.
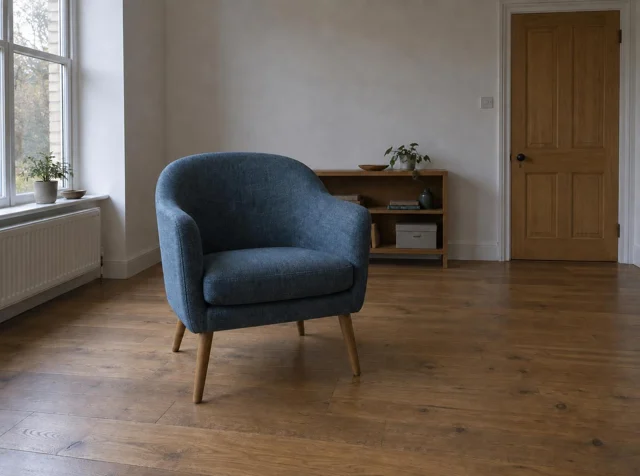 BeforeAfterSTEP 3
Run the edit
Choose 1K and suitable framing in the AI photo editor, check the displayed credits, and submit your written editing instruction.
- STEP 4
Review nearby details
Compare AI photo editor output with the original, checking the changed area first and surrounding objects second before saving your choice.
Features
Give the AI photo editor a useful lighting instruction
Decide whether the problem is a dark subject, uneven illumination, or a distracting highlight. A specific lighting request helps the AI photo editor aim at the issue without making every part equally bright.
Lift the subject, not the entire scene
For a portrait beside a window, request gentle improvement to the shadowed cheek while retaining the window's bright direction. Ask the AI photo editor for readable features and natural depth. Raising everything together can wash out the atmosphere that made the photograph appealing.
- Explain which dark area should become more readable.
- Keep the AI photo editor brief clear about the existing light direction.
Reduce distracting highlights carefully
A bright reflection on a glass vase may obscure its shape. Describe a softer highlight rather than removing every reflection. The AI photo editor can reinterpret that area, so compare the vase edge and visible contents afterwards instead of judging only the reduced brightness.
Preserve a believable shadow pattern
A room with sunny windows should not acquire shadows pointing in several directions. Ask the AI photo editor for consistent shadow softness and direction across the frame. Check the floor beneath furniture and the edges of nearby walls, where conflicting lighting is easier to notice.
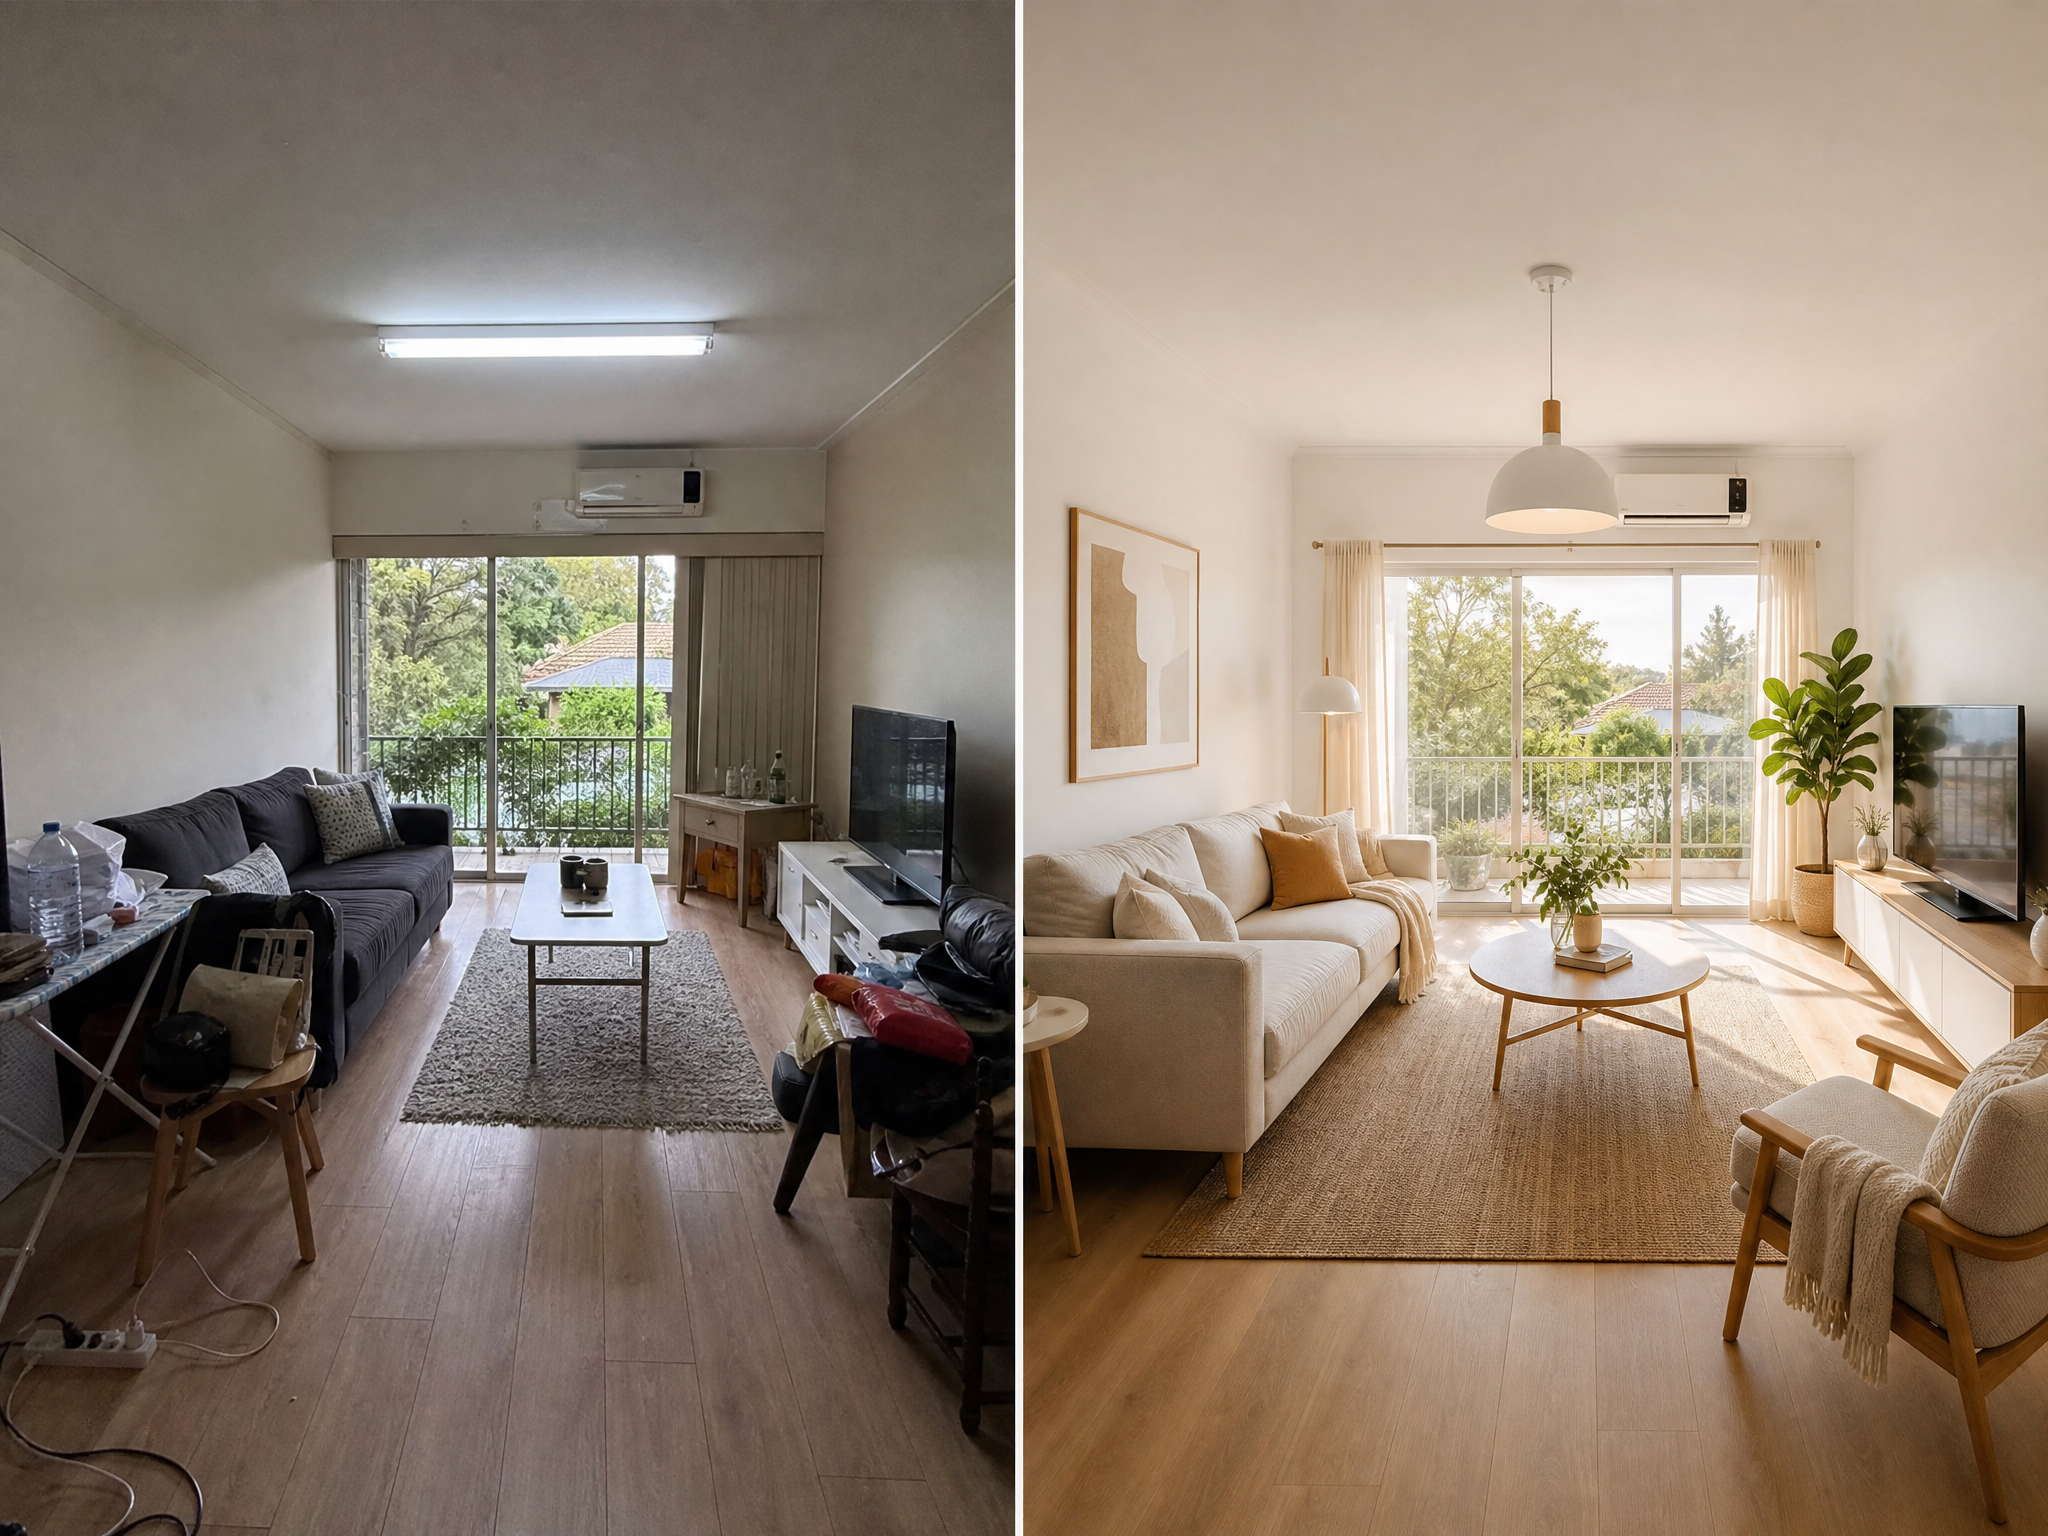
Use reference points for AI photo editor color changes
Name the color problem and an object that helps define the correction. This gives the AI photo editor a more useful target than a broad request to make the photograph look better.
Separate an overall cast from an object color
A blue cast across a room differs from a blue cushion that should stay blue. Ask the AI photo editor to neutralize the lighting while retaining the cushion's color. Compare neutral surfaces and the subject separately so a global change does not silently repaint important details.
- Name a neutral wall or cloth only when it should genuinely look neutral.
- Check skin and product colors after an AI photo editor color revision.
Change one surface deliberately
To explore a warmer wall, identify the wall behind the sofa and request muted terracotta while retaining its texture. Give the AI photo editor an explicit surface rather than a general warm palette. Inspect nearby furniture for color changes you did not request.
Keep the grade appropriate to the scene
A gentle evening tone may suit a travel photograph; a product image may need restrained color. Describe the mood to the AI photo editor without stacking unrelated filters. Compare the grade at normal viewing size before asking for stronger contrast.
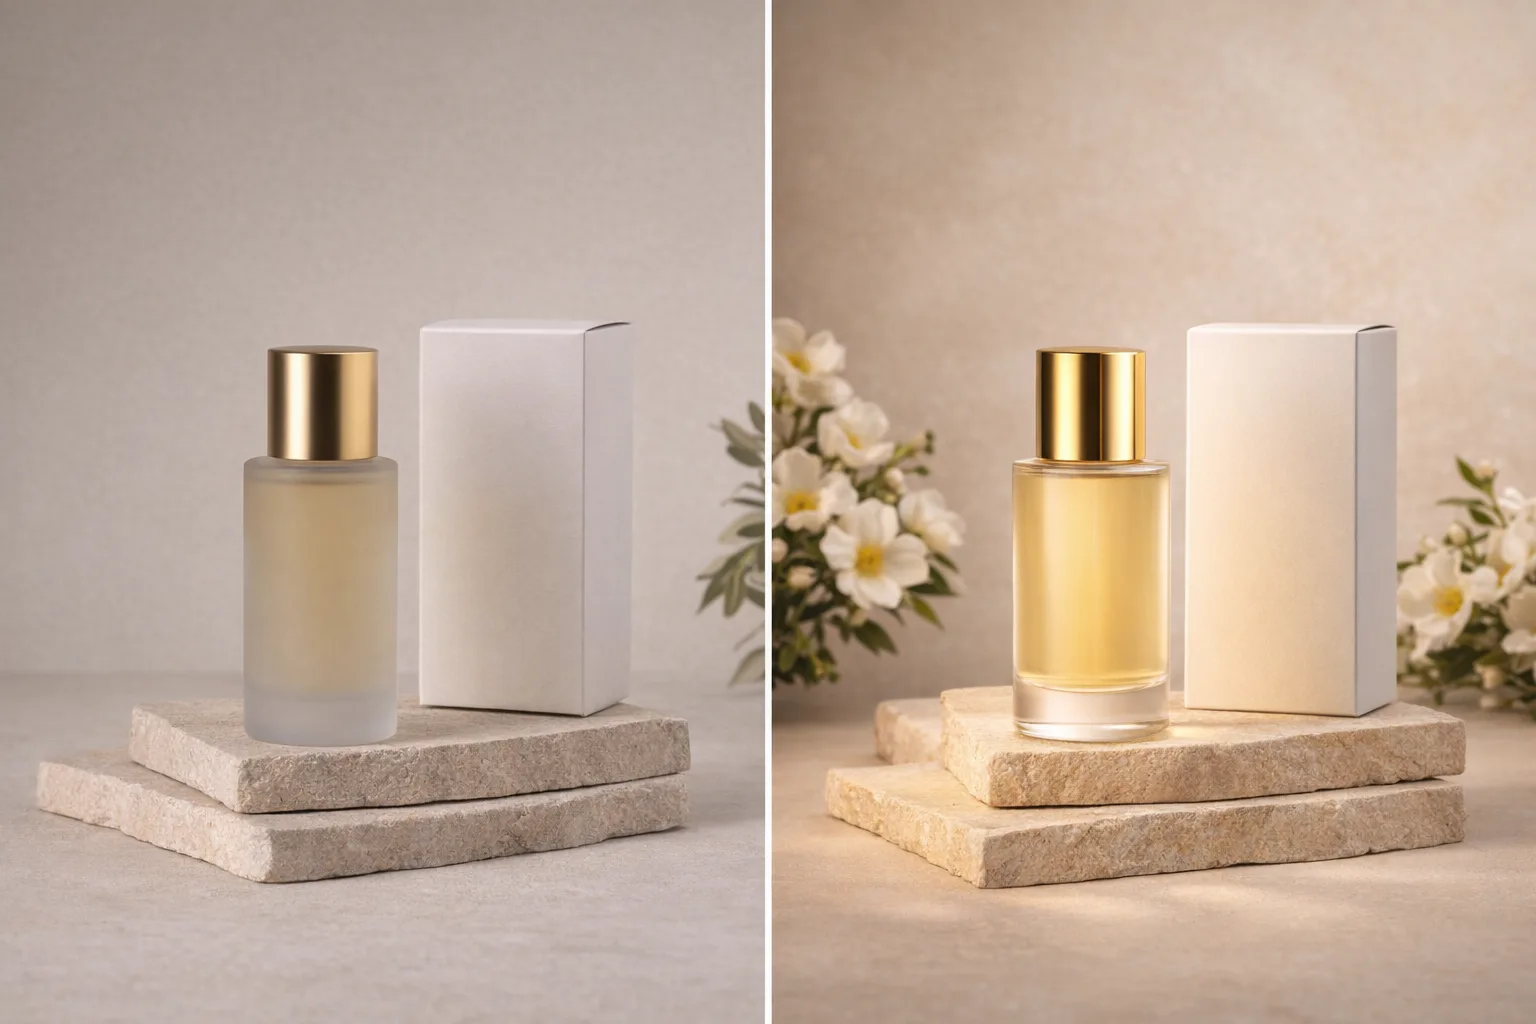
Edit objects and backgrounds with the AI photo editor
Decide whether you are removing clutter, substituting an object, or rebuilding the setting. Each task needs different instructions, and the AI photo editor should receive the simplest version that answers your goal.
Remove one distraction first
Start with the stray bag beside a bench rather than asking to clean up everything. The AI photo editor may need to invent the area the bag covered. Inspect the reconstructed surface for repeated patterns, broken edges, and details that no longer match their surroundings.
- Choose distractions that can be described without ambiguity.
- Review AI photo editor replacements where they meet the untouched-looking area.
Specify scale when replacing an object
Replacing a floor lamp with a plant needs more than the word plant. Describe a similar height, a contained silhouette, and a pot resting on the same floor. This gives the AI photo editor useful placement constraints without requiring a completely different furniture arrangement.
Make background changes serve the subject
For a musician's photograph, a quieter rehearsal room might work better than an elaborate invented stage. Brief the AI photo editor on the background's role and light. Check instrument shapes, fingers, and hair even when the requested change concerns only the surroundings.
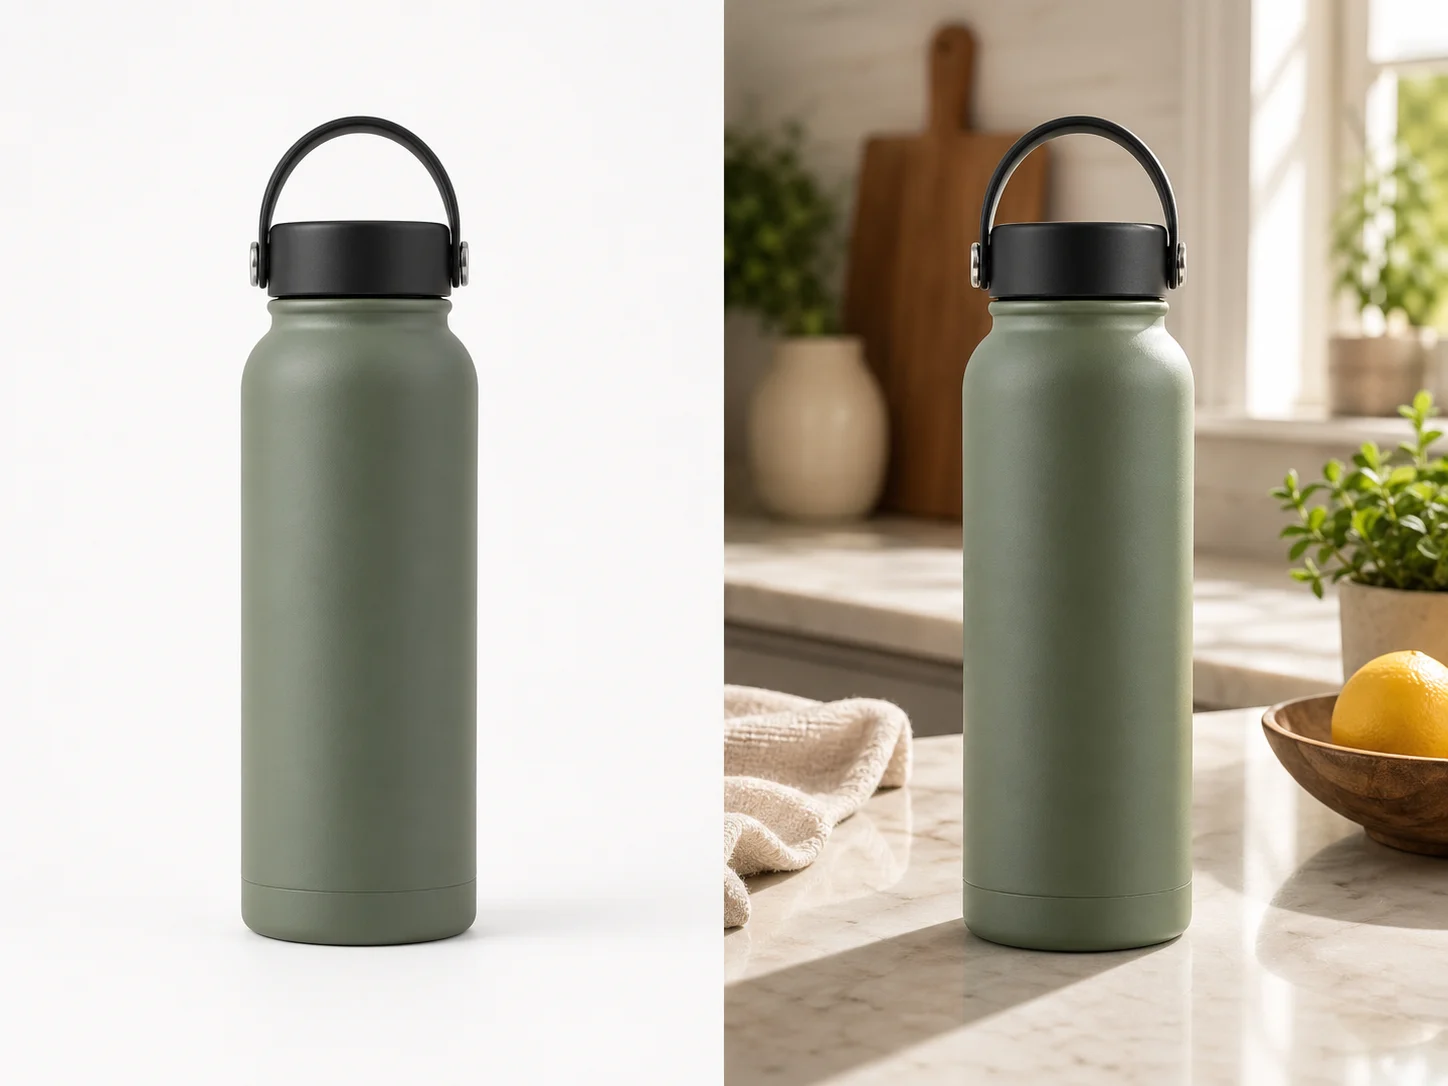
Work through a focused AI photo editor request
Keep your source, instruction, and result together. An organized AI photo editor session makes it easier to spot useful changes and avoid losing the version that already solved most of the problem.
Upload and describe the revision
Give the source one primary edit and identify the important feature to retain. Check the selected photograph before submission.
Set references and outputs intentionally
Use only helpful references, up to sixteen. Choose one to four outputs and confirm resolution, framing, and displayed credits.
Keep the strongest revision
Compare candidates against the same instruction instead of choosing whichever looks most dramatic. Make the next AI photo editor request about the remaining mismatch. Return to the original when successive edits drift away from its subject, texture, or overall composition.
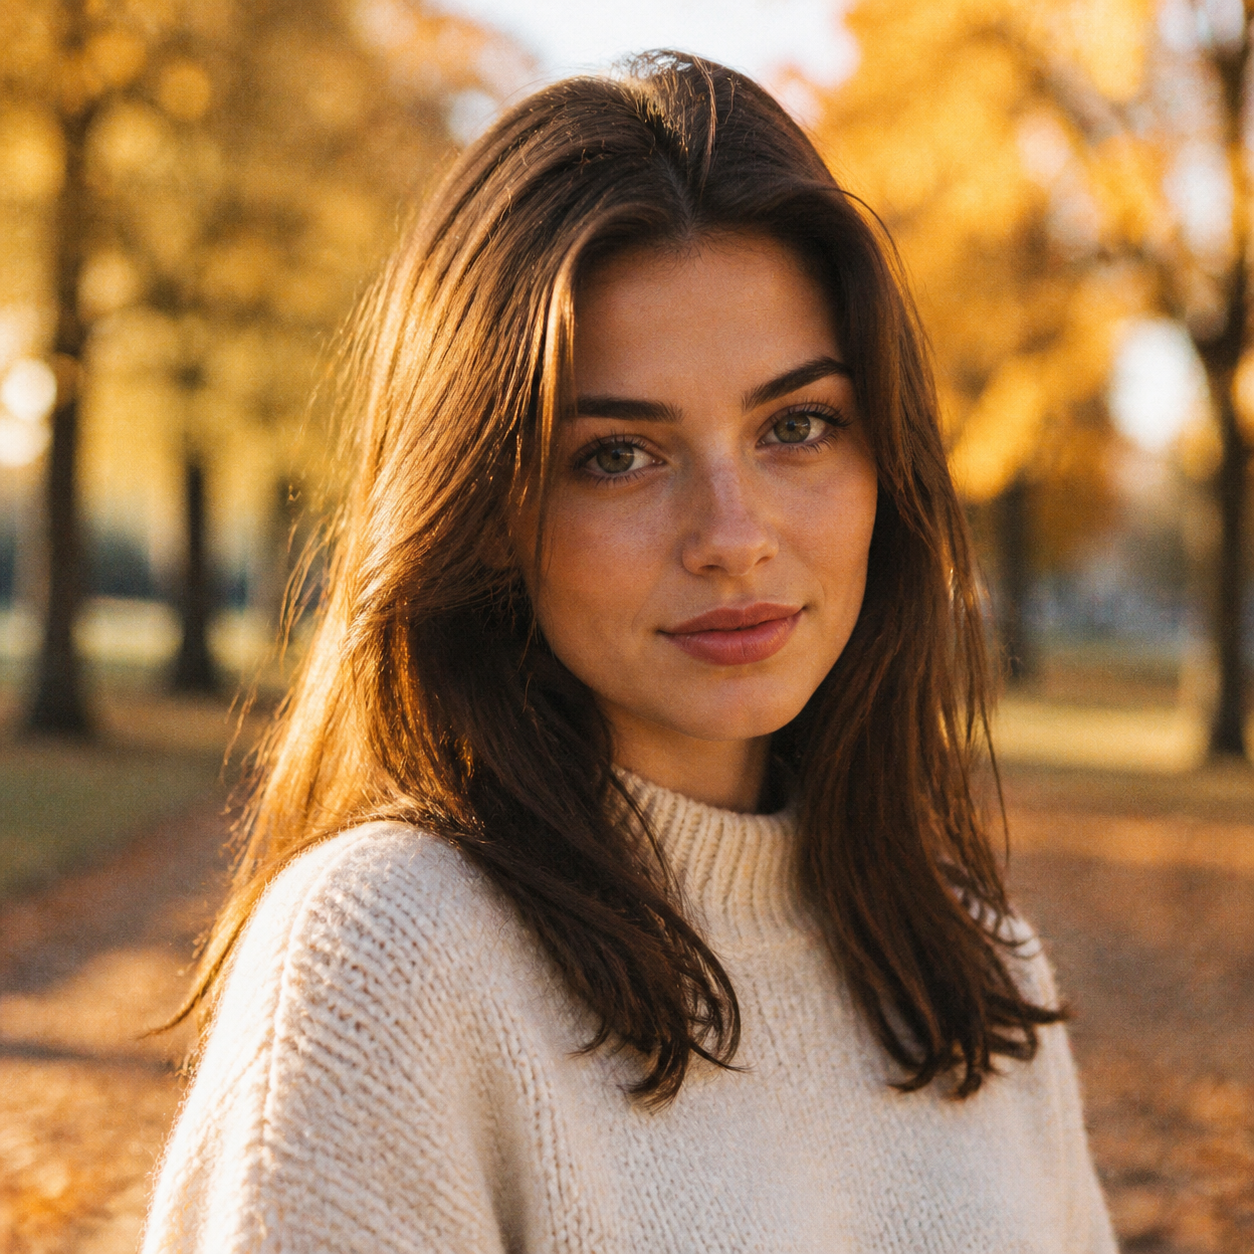
Review the AI photo editor result in two passes
First check the edit you requested, then inspect the rest of the picture. The AI photo editor can change more than the named region, so both passes matter before you choose a final version.
Check whether the original problem was solved
Is the distraction gone, the face more readable, or the wall the intended color? Compare those points directly. A successful AI photo editor revision should answer the request, not merely add contrast or background detail that makes the picture feel newly generated.
Look for changes around boundaries
Examine hair against the background, chair legs against the floor, and reflective objects near an edited surface. The AI photo editor may introduce mismatched edges or duplicate details. Inspect both the altered area and its immediate neighbors before moving to finer texture.
Judge the photograph at its destination size
A small profile card and a large print reveal different issues. Review the AI photo editor result where it will actually appear, then inspect important details enlarged. Keep the source if the revision looks smoother but less accurate or less expressive than the original.
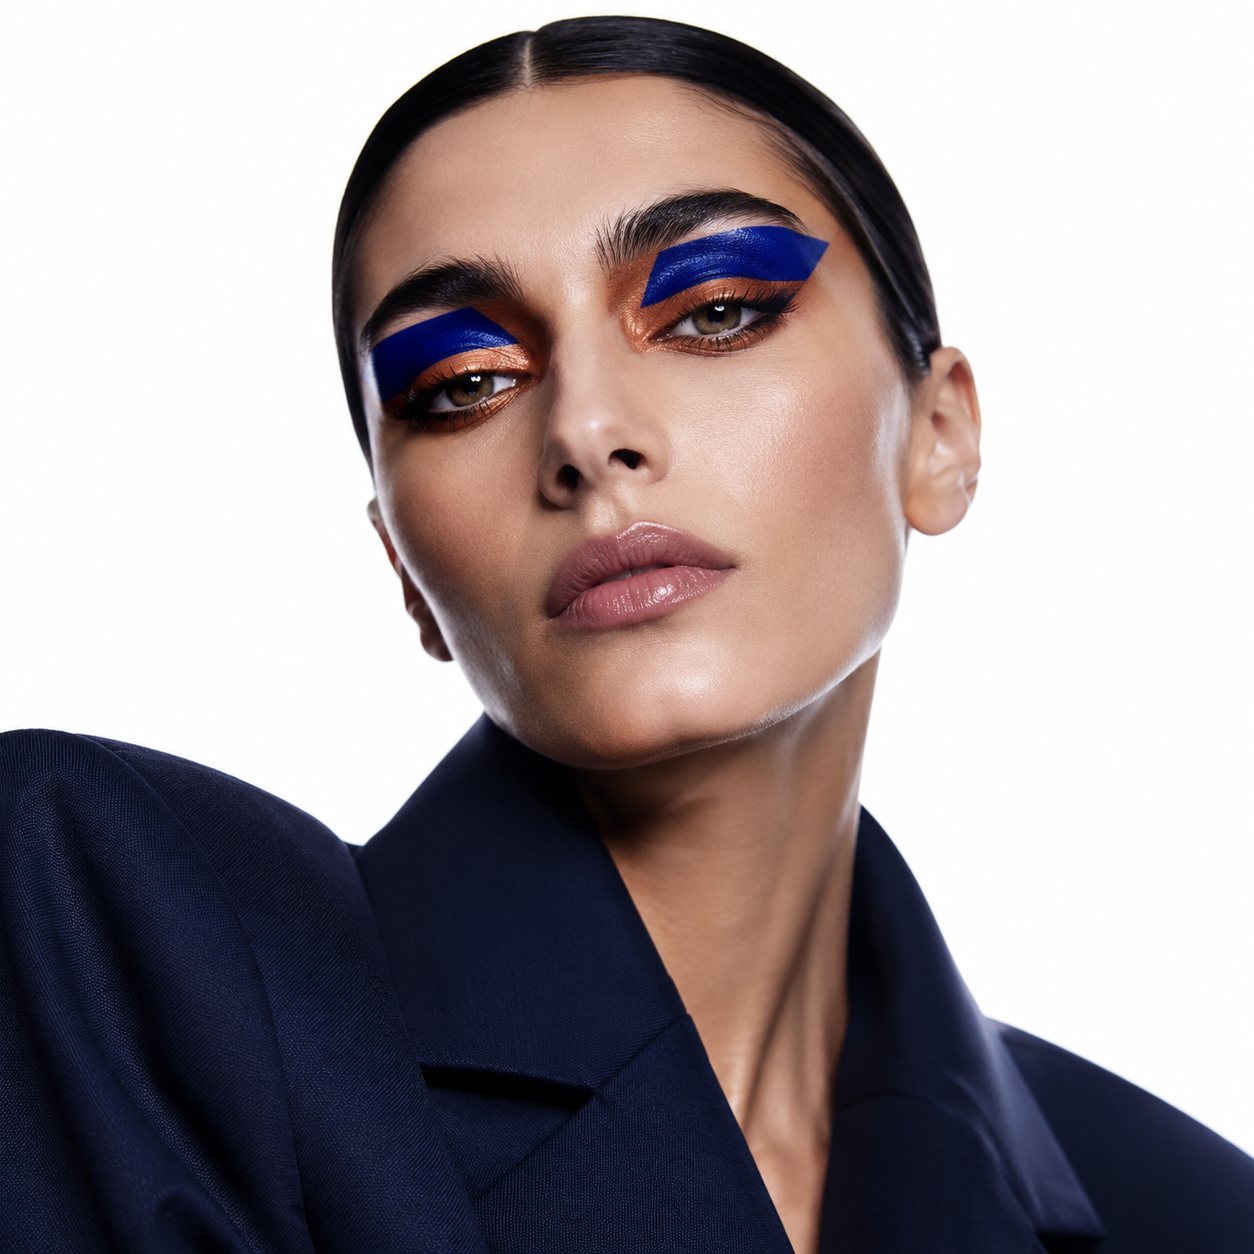
Example prompts
Remove a single floor-level distraction
Use my uploaded room photograph. Remove only the folded dark umbrella beside the chair at the lower right, and fill its former position with a plausible continuation of the visible wooden floor. Follow the surrounding plank direction, perspective, and lighting. Retain the chair, other furniture, camera viewpoint, and overall color treatment as closely as possible. Do not add objects or redesign the room.
Improve a naturally lit portrait
Edit the uploaded portrait with a restrained lighting correction. Make the shadowed side of the face a little more readable while keeping the soft window light from the left and natural facial depth. Reduce the cool overall cast without changing the person's recognizable features, clothing color, or background arrangement. Retain believable skin texture. Avoid glossy smoothing, new accessories, or a different pose.
User reviews
EveryGen AI video creator feedback.
EveryGen AI creator reviews
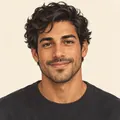
I made a full character PV for my game with MiniMax H3 in one afternoon. The menu UI stayed readable in every frame and the character never went off-model. That used to cost me a contractor and three weeks.

We tested every AI video generator on the market for stylized work. H3 is the only one that held our anime style across cuts. We now use it for pitch reels and animatics on every project.

I uploaded four product photos and got a listing video with music and a voiceover the same day. My click-through rate on the new listings is up 38%. H3 even got the label text on my packaging right.

I ship five vertical videos a week for three brands. MiniMax H3 gets me from brief to draft in under an hour, with sound already synced. My old workflow needed a videographer and two review rounds.

The editing side is what sold me. A client wanted the background of an interview changed — I typed one sentence into MiniMax H3 and the lighting on the subject matched the new scene automatically.

I previsualized my entire short film in MiniMax H3 before we shot a single frame. Rack focus, match cuts, even the title cards — it understands director language, not just keywords.
EveryGen AI · MiniMax H3 Max Pricing and Credit Plans
Cancel anytime
Lite
50% off0.025 / credit
Billed $ yearly179· Save $179.8
Video Models


Image Models



- Includes MiniMax H3 and all premium models
- Up to 1 batch generation task
- Standard generation speed
- Standard generation success rate
- Standard customer support
- Commercial Use License
Standard
50% off0.017 / credit
Billed $ yearly299· Save $299.8
Video Models
Image Models
- Includes MiniMax H3 and all premium models
- Up to 4 batch generation tasks
- Priority processing speed
- High generation success rate
- Priority customer support
- Commercial Use License
Pro
50% off0.014 / credit
Billed $ yearly599· Save $599.8
Video Models
Image Models
- Includes MiniMax H3 and all premium models
- Up to 10 batch generation tasks
- Fastest generation speed
- High generation success rate
- Dedicated account manager
- Commercial Use License
Max
50% off0.012 / credit
Billed $ yearly1,199· Save $1,199.8
Video Models
Image Models
- Includes MiniMax H3 and all premium models
- Up to 10 batch generation tasks
- Fastest generation speed
- High generation success rate
- Dedicated account manager
- Commercial Use License
Pay safely and securely with




















FAQ
Frequently asked questions
Does the AI photo editor include a brush or masking tool?
No brush or mask interface is provided. Describe the region in the AI photo editor prompt using its position and neighboring objects. Review the whole result rather than assuming a hard selection boundary.
Can the AI photo editor make a small local change?
You can request a localized change, such as removing a cup on the table's left edge. The AI photo editor interprets it generatively, without guaranteeing untouched pixels elsewhere. Compare nearby surfaces and the main subject before approving.
Can the AI photo editor correct light and color together?
Yes, but separate them when evaluation is difficult. Ask the AI photo editor to improve lighting first, then decide whether color still needs adjustment. This helps identify which change improved the picture or introduced a problem.
Why does the AI photo editor change the wrong object?
Identify the object by position, appearance, and a stable neighbor. Instead of change the lamp, tell the AI photo editor to change the tall floor lamp behind the sofa on the right. Remove competing instructions and start again from the original photograph.
Is object removal the same as revealing what was behind it?
No. The AI photo editor can create a plausible continuation using visible context, but it cannot verify hidden content from the photograph alone. Treat reconstructed details as generated, especially when the obscured area contains meaningful text, architecture, faces, or product features.
CTA
Give the AI photo editor one useful change
Choose the photograph, locate the problem in words, and explain the result you want. Use the AI photo editor to test that change, then keep the version that improves the picture without losing what matters.
Upload a photo to edit