 EveryGen AI
EveryGen AI · AI Video Upscaler for a more useful viewing size
Prepare a short clip for a larger display without confusing a bigger file with a better source. The EveryGen AI AI Video Upscaler uses ByteDance Video Upscaler to process your uploaded footage at 1080p, 2K, or 4K. Give the AI Video Upscaler your strongest available version, then compare meaningful details in motion before choosing the result.
Video workspace
Upload one MP4/MOV video under 30 seconds. Credits depend on source duration and target resolution.
Prepare the moving clownfish source
9/18View prompt
Prepare the clearest available clownfish video, keeping it shorter than thirty seconds and preserving its existing composition. Load the file into Video Input and choose 1080p, 2K, or 4K for the intended destination. Compare the processed 30fps clip with the source, inspecting fin edges, scale texture, water detail, and consistency as the fish turns.
Introduction
Use the AI Video Upscaler for a defined viewing task
Start with the destination rather than the largest setting. An AI Video Upscaler task should make an existing clip more useful at its intended viewing size.
Choose the reason to enlarge
A small aquarium clip may look acceptable in a thumbnail but distracting on a presentation screen. Use the AI Video Upscaler to prepare a candidate for that larger placement. Evaluate the fish, water, and background at the actual size viewers will encounter them.
Understand this processing workflow
This page uses ByteDance Video Upscaler with one video shorter than thirty seconds. The AI Video Upscaler has no text prompt field: the uploaded source and available resolution choice define the task. You do not need to describe a replacement scene or write enhancement instructions.
Keep the purpose separate from restoration
The AI Video Upscaler produces a higher-resolution interpretation, not verified recovery of absent information. Assess a newly distinct scale pattern or face as processed imagery rather than proof that every visible feature existed in the recording.
How to use
How to use the AI Video Upscaler
- InputReference video 1STEP 1
Choose the source
Upload one video shorter than thirty seconds to the AI Video Upscaler, selecting the clearest available copy of your footage.
- Example settingsByteDance Video Upscaler1080p5s
 OutputSTEP 2
Choose a resolution
Set the AI Video Upscaler to 1080p, 2K, or 4K according to your destination; no written prompt is required.
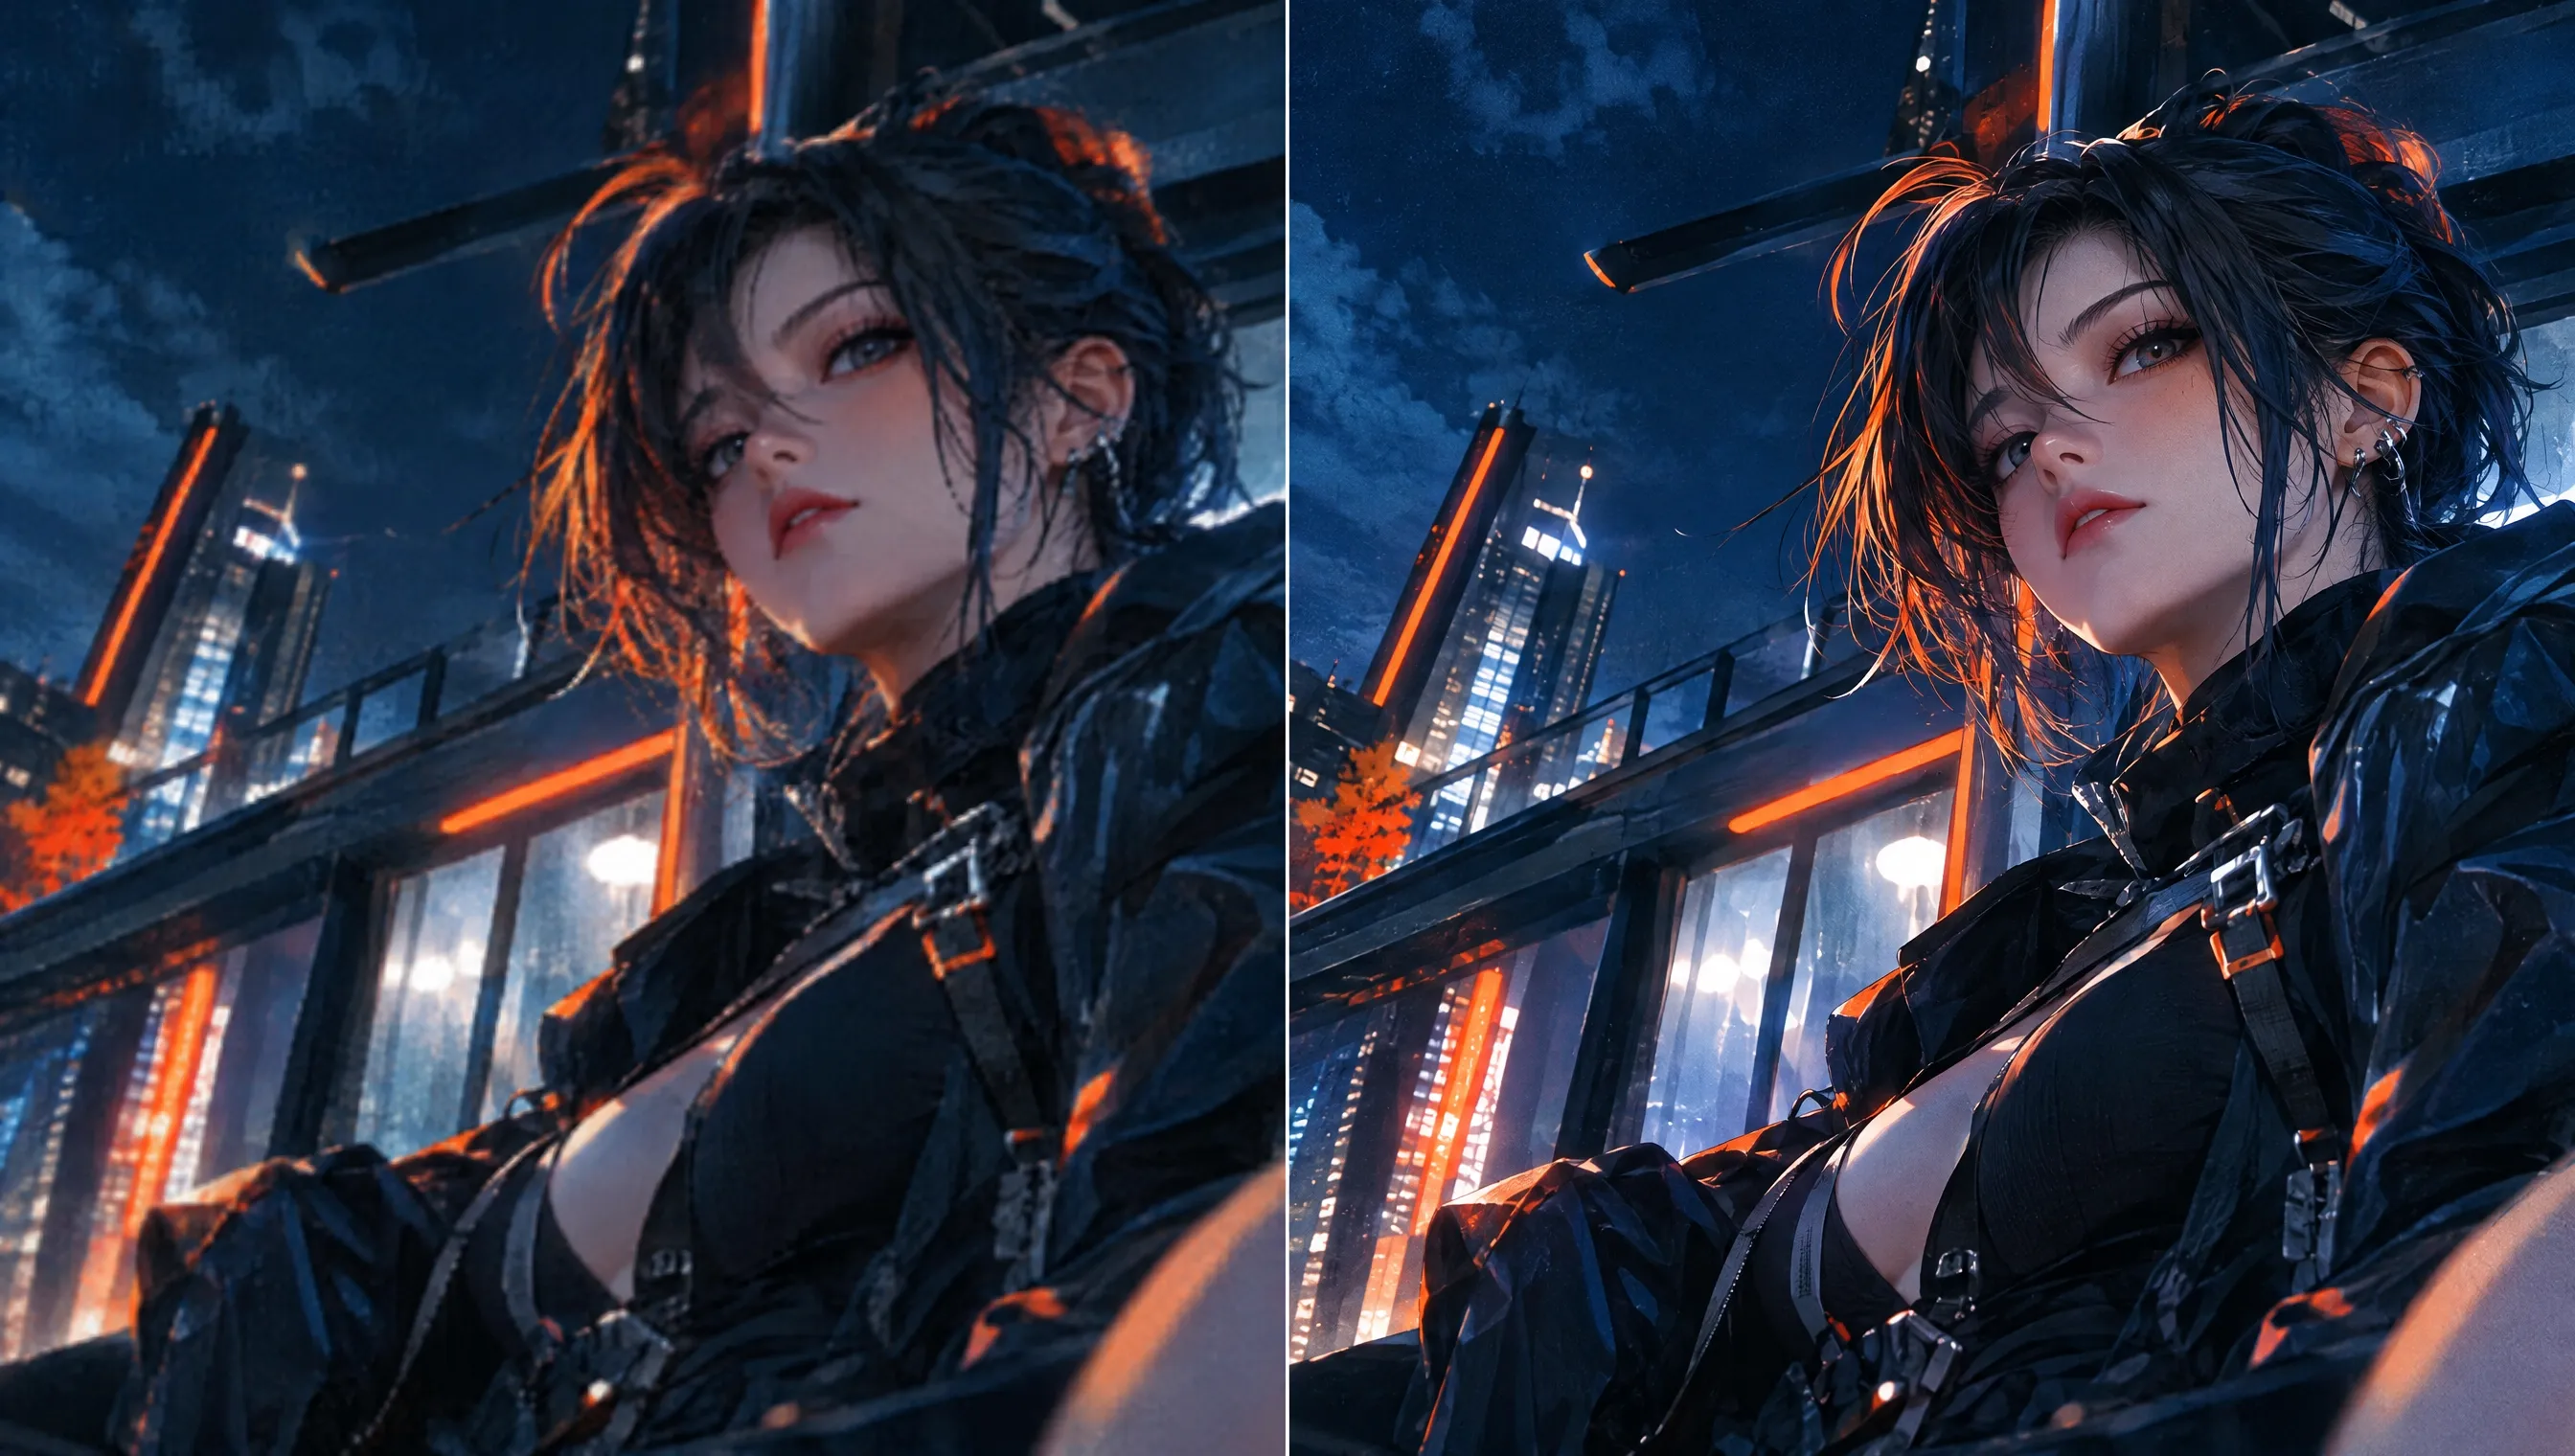
- Illustrative preview
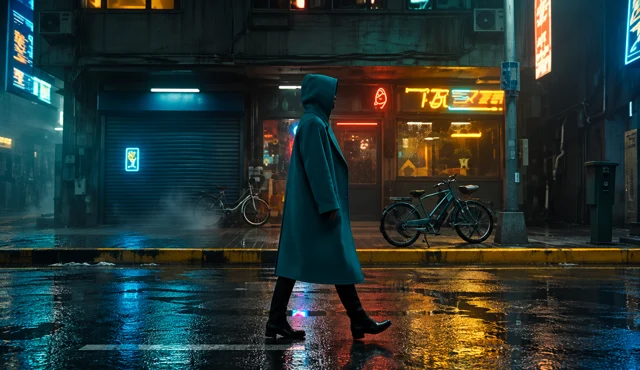 BeforeAfter
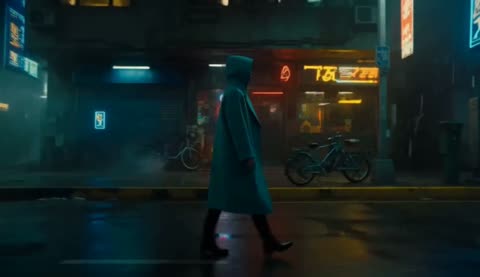
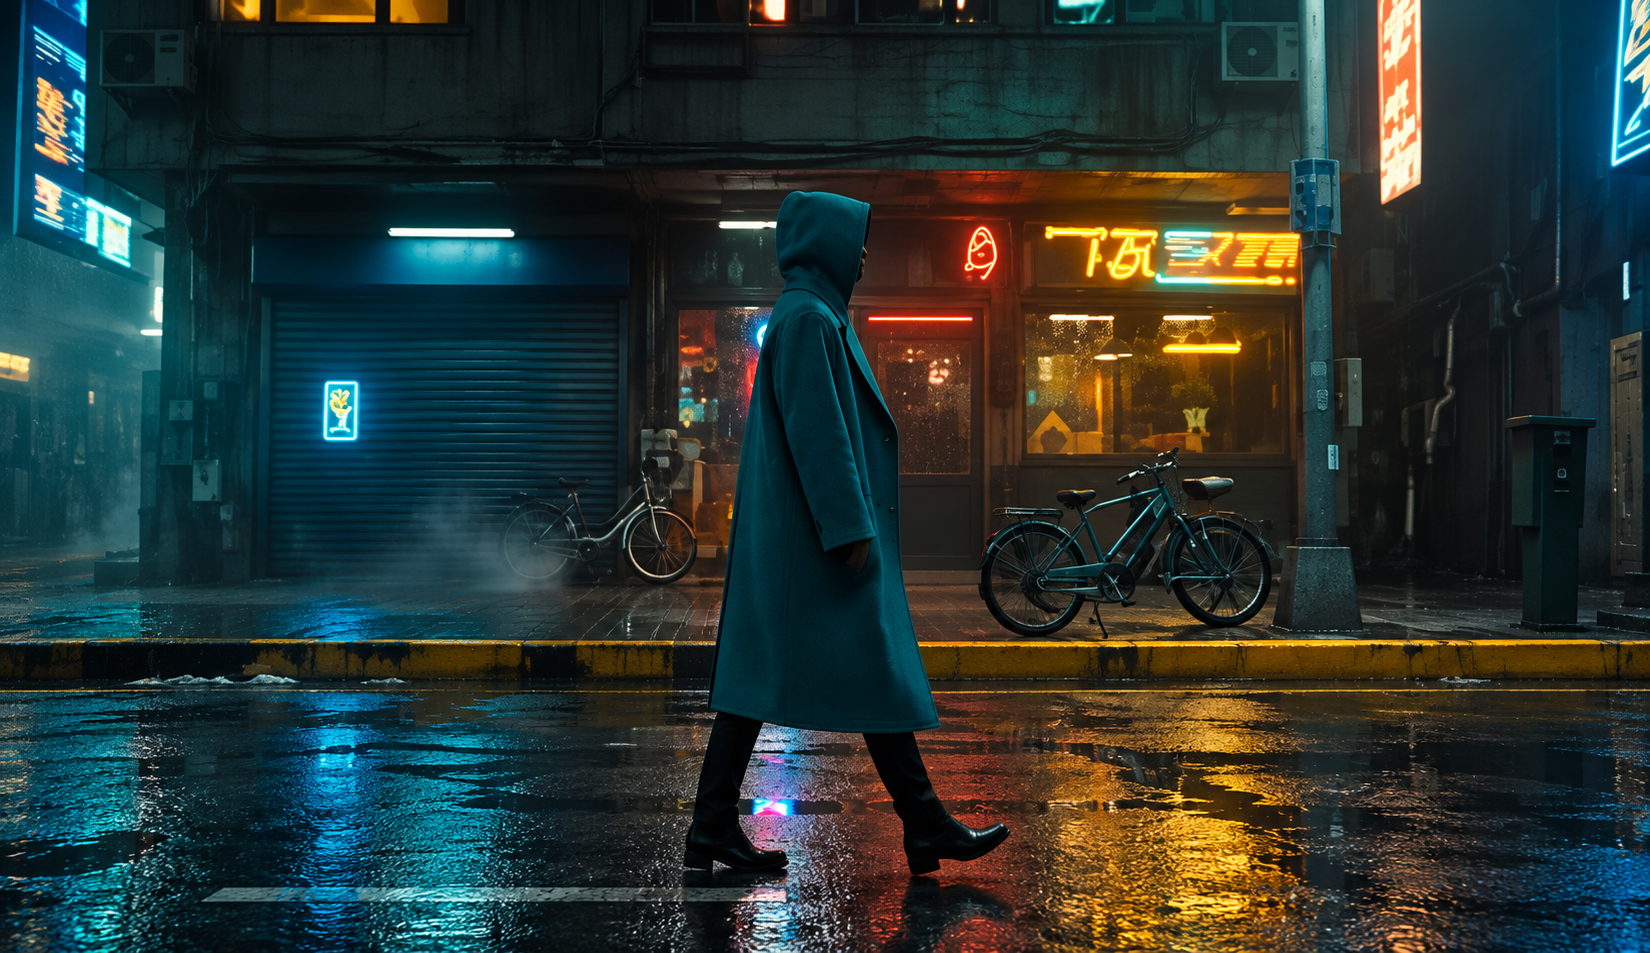
Compare the coat and shoe edges at the same point in the source clip. This still illustrates the intended change.
STEP 3Review and process
Check the Create quote for the AI Video Upscaler after loading your clip and settings, then start processing the selected video.
- STEP 4
Compare and download
Watch AI Video Upscaler texture, edges, and motion at matched viewing sizes, then download the processed version suitable for your project.
Features
Give the AI Video Upscaler the strongest source available
Source selection affects what you can meaningfully judge. Feed the AI Video Upscaler a clear version of the clip rather than an avoidably degraded copy.
Avoid unnecessary generations of compression
Choose the earliest good file rather than a screen recording of a compressed repost. Give the AI Video Upscaler the version with readable edges and useful texture, avoiding damage introduced by unnecessary copies.
- Compare candidate source files before deciding which one to upload.
- Keep the original beside your AI Video Upscaler output for review.
Select a representative short segment
The input must be shorter than thirty seconds. Choose a segment containing the movement and detail that matter for your project. An AI Video Upscaler evaluation based only on a still opening may miss what happens when a fish turns or textured objects cross the frame.
Notice existing weaknesses first
Identify noise, blocky compression, softness, and ringing before processing. These are different problems, even when they all make the image look rough. Recording what you notice gives the AI Video Upscaler review a useful checklist instead of relying on a general impression of extra sharpness.
Choose an AI Video Upscaler resolution deliberately
The output choices are 1080p, 2K, and 4K. Use the AI Video Upscaler setting that suits your delivery rather than assuming the largest option is always necessary.
Begin with the default
The AI Video Upscaler starts at 1080p. For a modest screen placement, that can be a sensible first result to inspect. Compare the processed clip in its intended layout before choosing a larger version simply because another resolution appears in the menu.
- Check your destination requirements before creating a larger file.
- Evaluate AI Video Upscaler detail at the actual presentation size.
Judge 2K and 4K by their usefulness
Select a higher output when your display or later workflow has a reason for it. The AI Video Upscaler resolution describes the delivered image size, not a promise of authentic new detail. Examine fine structures and moving subjects before deciding whether the larger result helps.
Distinguish enlargement from reframing
Use your chosen source composition as the basis for the task. The AI Video Upscaler is not a prompt-driven camera or background editor. When a clip needs a different crop or layout, plan that change separately instead of expecting a resolution selection to redesign the scene.

Know the AI Video Upscaler output characteristics
This AI Video Upscaler workflow uses a fixed processing setup. Review those output characteristics before relying on the clip in a project with specific delivery needs.
Plan around 30fps output
The delivered video is 30fps; the AI Video Upscaler does not offer a 60fps selector or promise to retain the source frame rate. Review motion at normal speed, particularly when the original has a different cadence or includes fast movement across the frame.
- Check motion in the output rather than only comparing still frames.
- Plan AI Video Upscaler delivery around its actual 30fps output.
Use the fixed processing profile
The workflow uses standard processing for general footage with a high-fidelity setting. These are configured processing choices, not instructions to type. The AI Video Upscaler does not expose a prompt that changes material, facial features, or the surrounding environment while performing this task.
Account for the 8-bit result
The output uses 8-bit processing rather than an adjustable bit-depth control. Include the AI Video Upscaler result in your normal visual review for skies, gradients, and smooth backgrounds. Check the actual transitions instead of assuming a larger resolution automatically changes the tonal characteristics.
Compare AI Video Upscaler results in motion
Sharpness is only one part of useful quality. Watch the AI Video Upscaler output for stable surfaces, readable edges, and details that stay coherent as objects move.
Inspect fine texture cautiously
Fish scales, hair, cloth, and leaves can look more detailed while also acquiring unnatural patterns. Compare AI Video Upscaler texture with the source and ask whether the surface still looks plausible. Avoid selecting a result solely because it appears busier or more heavily sharpened.
Check edges against their backgrounds
Follow the outline of the subject through bright and dark areas. Look for halos, brittle contours, or distracting changes around fins and thin objects. AI Video Upscaler review should include the relationship between the subject and its surroundings, not just an enlarged central crop.
Watch for changes between frames
A texture may look convincing when paused but shimmer as the subject turns. Play the AI Video Upscaler result normally, then revisit weak moments. Compare the whole action so improvements in one frame do not hide distracting fluctuations elsewhere in the same short clip.
Choose an AI Video Upscaler result for delivery
Keep the result connected to a real use. An AI Video Upscaler review is complete when you have checked the destination, not merely the preview thumbnail.
Compare at matched viewing sizes
View the source and processed output at comparable display sizes. Otherwise a tiny original beside a large AI Video Upscaler preview can make the comparison misleading. Look at the same moments and judge the qualities that matter to your audience: contours, motion, and natural texture.
Read the current Create quote
Processing cost depends on the actual input duration and selected configuration. Review the Create quote before starting the AI Video Upscaler instead of assuming a fixed credit amount. Keep test segments focused so each attempt answers a practical question about the footage.
Keep an identifiable approved version
Name the original and processed clips clearly, including the output setting in your records. Check the AI Video Upscaler download in its destination application. Retain the original for later comparisons instead of replacing it with processed footage.
Example prompts
Source preparation: moving clownfish
Prepare one video shorter than thirty seconds showing the clownfish clearly as it swims through the existing aquarium. Use the best available source file, with visible fins and stable water detail. Load that video in Video Input and select the required output resolution. Compare fine edges during movement before choosing the processed file.
Source preparation: detailed moving subject
Choose a short original clip with visible subject edges and fine surface texture during movement. Avoid a screen recording when the original file is available. Keep the source for comparison, load one video, and choose 1080p, 2K, or 4K. Assess the resulting 30fps footage at the intended viewing size.
User reviews
EveryGen AI video creator feedback.
EveryGen AI creator reviews

I made a full character PV for my game with MiniMax H3 in one afternoon. The menu UI stayed readable in every frame and the character never went off-model. That used to cost me a contractor and three weeks.

We tested every AI video generator on the market for stylized work. H3 is the only one that held our anime style across cuts. We now use it for pitch reels and animatics on every project.

I uploaded four product photos and got a listing video with music and a voiceover the same day. My click-through rate on the new listings is up 38%. H3 even got the label text on my packaging right.

I ship five vertical videos a week for three brands. MiniMax H3 gets me from brief to draft in under an hour, with sound already synced. My old workflow needed a videographer and two review rounds.

The editing side is what sold me. A client wanted the background of an interview changed — I typed one sentence into MiniMax H3 and the lighting on the subject matched the new scene automatically.

I previsualized my entire short film in MiniMax H3 before we shot a single frame. Rack focus, match cuts, even the title cards — it understands director language, not just keywords.
EveryGen AI · MiniMax H3 Max Pricing and Credit Plans
Cancel anytime
Lite
50% off0.025 / credit
Billed $ yearly179· Save $179.8
Video Models


Image Models



- Includes MiniMax H3 and all premium models
- Up to 1 batch generation task
- Standard generation speed
- Standard generation success rate
- Standard customer support
- Commercial Use License
Standard
50% off0.017 / credit
Billed $ yearly299· Save $299.8
Video Models
Image Models
- Includes MiniMax H3 and all premium models
- Up to 4 batch generation tasks
- Priority processing speed
- High generation success rate
- Priority customer support
- Commercial Use License
Pro
50% off0.014 / credit
Billed $ yearly599· Save $599.8
Video Models
Image Models
- Includes MiniMax H3 and all premium models
- Up to 10 batch generation tasks
- Fastest generation speed
- High generation success rate
- Dedicated account manager
- Commercial Use License
Max
50% off0.012 / credit
Billed $ yearly1,199· Save $1,199.8
Video Models
Image Models
- Includes MiniMax H3 and all premium models
- Up to 10 batch generation tasks
- Fastest generation speed
- High generation success rate
- Dedicated account manager
- Commercial Use License
Pay safely and securely with























FAQ
Frequently asked questions
Does the AI Video Upscaler require a prompt?
No. Upload your video and choose an available resolution. The processing configuration is already set. Example cards on this page describe suitable source materials; their text is not an instruction sent to the model.
Which resolutions can the AI Video Upscaler produce?
The default is 1080p, with 2K and 4K also available. Choose the output for the intended placement, then review the actual detail and motion. A larger resolution alone does not prove higher factual accuracy.
Does the AI Video Upscaler keep the original frame rate?
No such preservation is promised. This workflow outputs 30fps and does not provide a 60fps setting. Check motion in the delivered file before using it in a sequence with specific cadence requirements.
How long can an AI Video Upscaler input be?
Provide one video shorter than thirty seconds. Prepare a relevant segment before uploading if your recording is longer. The Create quote reflects the actual source duration and settings rather than a single fixed price for all clips.
Can the AI Video Upscaler recover unreadable details?
Do not treat generated clarity as verified recovery. Fine lettering, faces, and textures may look more distinct without becoming faithful evidence of the original scene. Keep an unprocessed source when accurate documentation matters.
CTA
Prepare your next clip with the AI Video Upscaler
Choose a useful source, set the output for its destination, and review the current Create quote. Compare detail and motion before saving the version that fits your project.
Upscale your short video