 EveryGen AI
GPT-Image-2 in Practice: Virtual Staging and Interior Redesign from One Prompt (Listing Photos / Room Makeovers / Floor Plans)
Virtually stage an empty living room while checking that windows, doorways, proportions, and furniture counts stay consistent.
Before judging the sofa color, check that you are still looking at the same room. A furnished image is not a useful staging concept if the window has widened, the doorway has disappeared, or an extra chair blocks the route through the space.
This walkthrough uses one room photograph and a five-item furnishing brief. You will prepare the reference, create a candidate in EveryGen AI, inspect the architecture before the furniture, and revise specific problems without losing track of the original.
The two illustrations show a fictional room generated by Codex for teaching. They are not real property photographs or EveryGen AI test outputs. For your own project, start with a real room photograph that you have permission to use.
1. Prepare the room photograph and identify what must stay
Choose a clear photograph that shows the floor, the relevant windows, and the doorway. Avoid cropping out the very features you need to check later. Keep an untouched copy, and use the same source whenever you need to restart.
The teaching room has off-white walls, light oak flooring, one window with two side-by-side sections on the left wall, and an open doorway on the right side of the back wall.
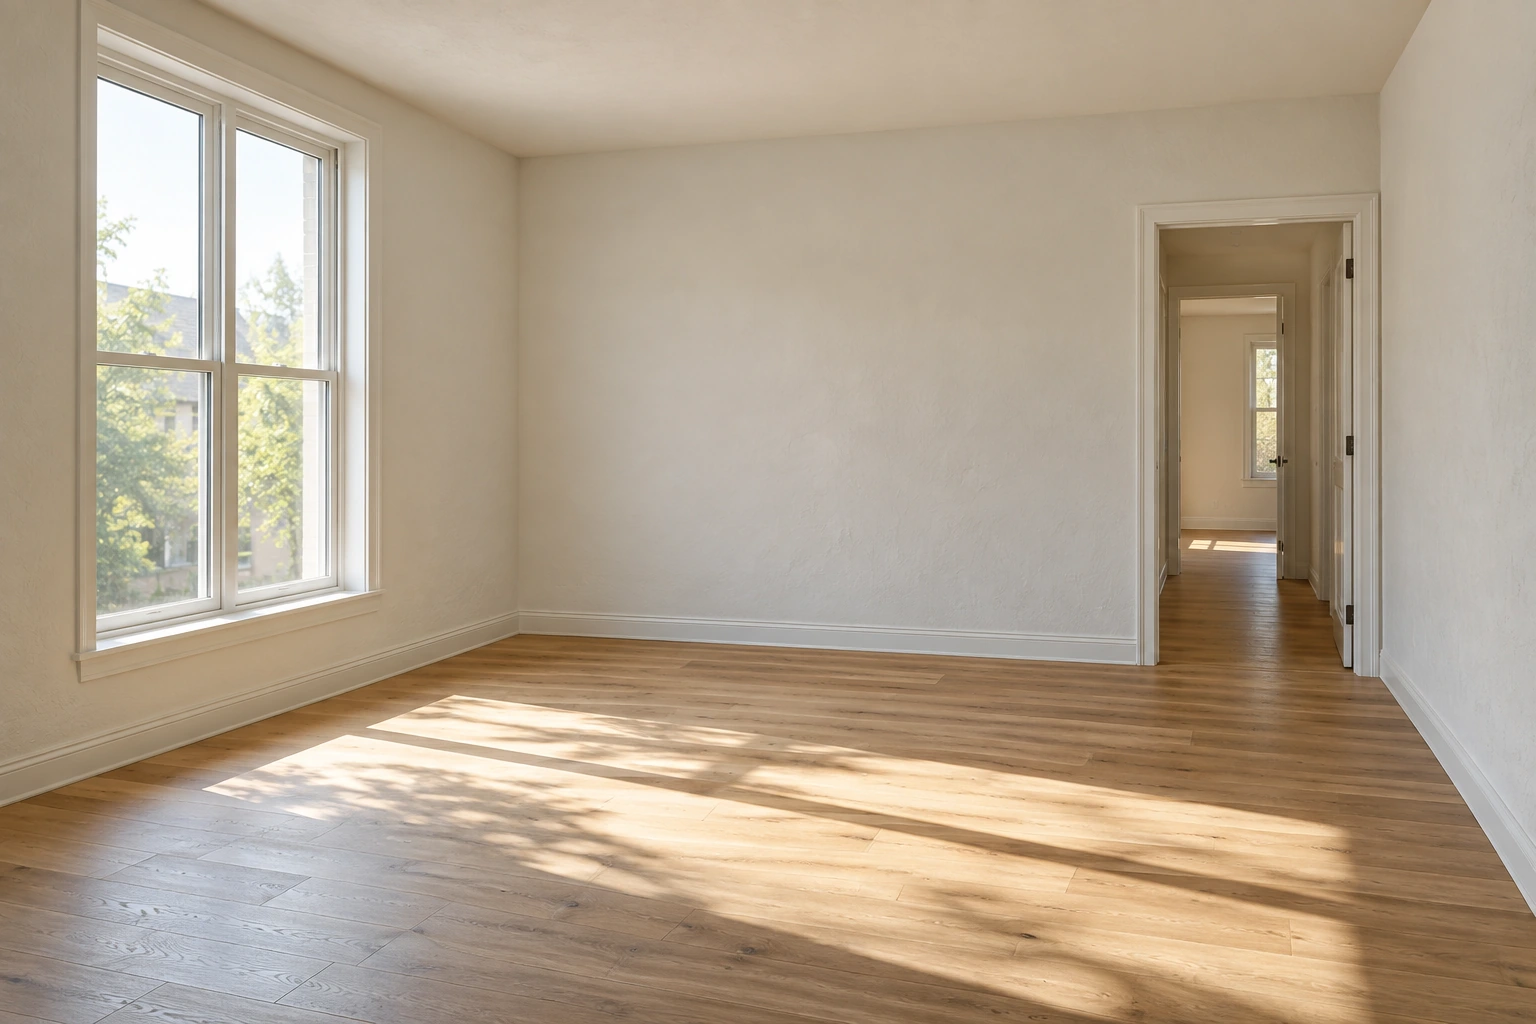
Codex-generated teaching illustration of a fictional empty room. This is not a real property photograph or a EveryGen AI output.
Before adding anything, make a short record of the room’s fixed features. In this example, those are the window opening and frame, the open doorway, the wall corners, the floor, and the visible wall-to-floor boundaries. The camera position and framing also belong to the reference.
This is virtual furnishing, not a renovation proposal. The task does not include repainting the walls, replacing the floor, moving a doorway, or changing the view through a window.
For a broader ideation example, Adobe’s room-concept workflow organizes reference images and sketches before generating and refining visual directions. Here, keep the exercise narrower: one source photograph and one defined furniture arrangement.
2. Specify exactly five additions
Decide what belongs in the room before describing its atmosphere. “Make it cozy” leaves the furniture inventory and placement open to interpretation.
For this example, use the following brief. Left and right refer to the viewer’s position in the photograph.
| Addition | Appearance | Intended position |
|---|---|---|
| One two-seat sofa | Oatmeal upholstery | Against the back wall, entirely to the left of the doorway |
| One armchair | Rust-colored upholstery | In the left foreground, facing toward the seating area |
| One coffee table | Round, oak | In the center of the seating area |
| One rug | Muted beige | Centered beneath the coffee table |
| One floor lamp | Black | Beside the viewer-left end of the sofa |
The right-hand route to and through the doorway should remain visibly open. No furniture should occupy that route.
Do not add vases, plants, side tables, extra chairs, or tabletop decorations. Keeping the inventory small makes it easier to distinguish a requested addition from an unwanted one.
3. Upload the reference and change the aspect ratio
Open EveryGen AI to plan a furnished version of your room.
Use Image to Image with GPT Image 2 selected. Under Reference images, choose Click to upload and add your room photograph. Use one reference for this walkthrough so the source of the room layout is unambiguous.
The page defaults to 16:9. For the supplied 3:2 example, open the settings and deliberately change the aspect ratio to 3:2.
| Setting | Choice for this example |
|---|---|
| Mode | Image to Image |
| Model | GPT Image 2 |
| Reference | One empty-room image |
| Aspect ratio | 3:2, changed from the 16:9 default |
| Resolution preset | 1K |
| Output format | JPEG |
| Output count | x1 |
Start by checking composition and content at 1K. The available 2K and 4K presets are not substitutes for correcting a changed window or a missing chair.
For a different source photograph, choose an appropriate available ratio rather than stretching the room to match this example. Whatever ratio you use, include framing in your review.
The settings described here reflect the interface checked on September 30, 2026. Review the credit amount displayed on Create after choosing your settings; do not assume a fixed cost.
4. Paste a complete furnishing prompt
Planner 5D’s advice on writing room prompts emphasizes details such as furniture, materials, lighting, and camera perspective. Use those categories to make the additions specific, but take the existing architecture from your photograph rather than inventing dimensions or new structural features.
The following prompt describes the teaching room. When using your own photograph, update the architectural description and furniture positions to match it.
Virtually furnish the uploaded empty living-room photograph.

Use the uploaded image as the reference for the existing room. Add furniture only; do not redesign the architecture or create a different room.

Existing room to preserve:
- Off-white walls.
- Light oak flooring.
- One window with two side-by-side sections on the left wall.
- One open doorway on the right side of the back wall.
- The visible wall corners, window frame, doorway edges, and wall-to-floor boundaries.
- The original camera viewpoint, perspective, framing, and natural-light direction.

Add these five main furnishings:

1. One oatmeal-colored two-seat sofa.
Place it against the back wall, entirely to the viewer's left of the open doorway.

2. One rust-colored upholstered armchair.
Place it in the left foreground, angled toward the center of the seating area.

3. One round oak coffee table.
Place it in the center of the seating area.

4. One muted beige rug.
Center it beneath the coffee table and keep it within the seating area.

5. One black floor lamp.
Place it beside the viewer-left end of the sofa.

Keep the right-hand route to and through the open doorway visibly clear. Do not place furniture across the doorway or in that route.

Match the furniture lighting to the source photograph. Add plausible contact shadows where the new items meet the floor or rug, without changing the room's overall lighting.

Restrained cushions on the sofa and one closed art book on the coffee table are allowed. Do not add plants, vases, trays, ornaments, extra tables, extra chairs, wall art, curtains, or additional light fixtures.

Do not move, resize, replace, or close the window or doorway. Do not repaint the walls, replace the floor, enlarge the room, remove existing fixed features, or change the view through the window.

Keep all five requested items identifiable within the frame.
Use a 3:2 landscape composition matching the reference.
Do not add text, labels, or a before-and-after collage.
The preservation instructions are requirements to check, not a guarantee that the output will obey them exactly.
Paste the prompt into Prompt, confirm the reference and settings, review the displayed credit amount, and submit when ready. Save the candidate you want to inspect alongside the prompt and settings used.
5. Check the room before checking the styling
The furnished illustration below shows the intended arrangement: sofa against the back wall, lamp to its left, armchair in the left foreground, table and rug centered, and an open route toward the doorway on the right.
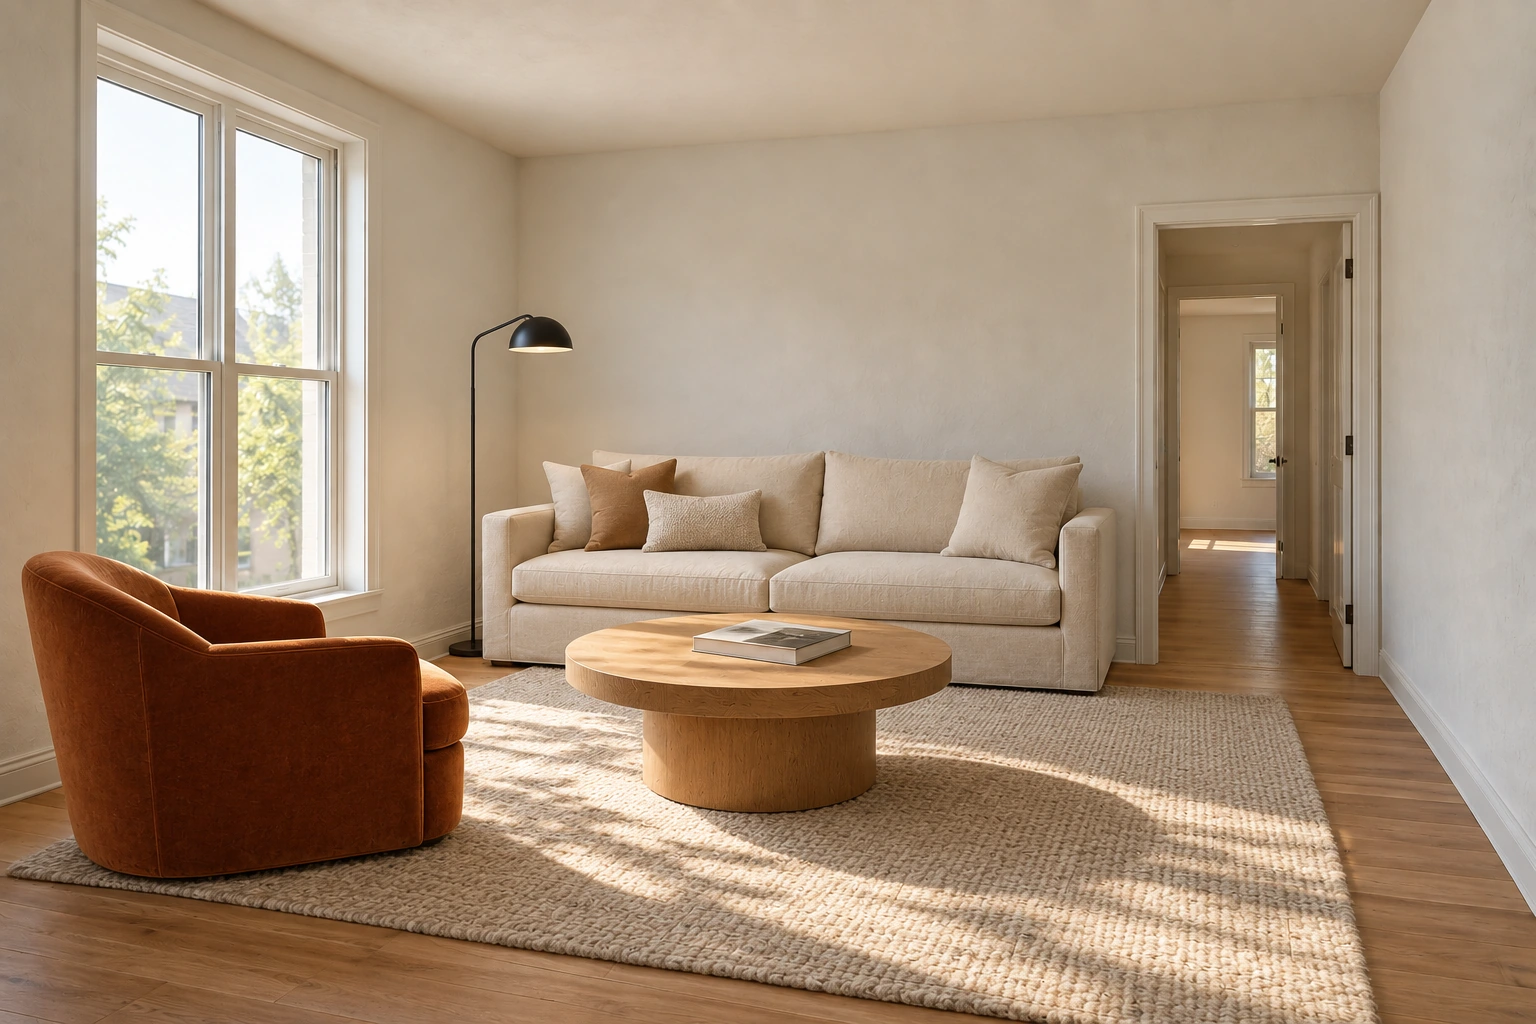
Codex-generated teaching concept for the same fictional room. It illustrates the intended furniture placement; it is not a EveryGen AI generation result or evidence of exact structural preservation.
Inspect your own downloaded candidate against its actual source photograph. Do not use the teaching illustration as proof that a particular prompt or setting will produce the same result.
First: fixed architecture
Open the original and candidate side by side at the same displayed size, without stretching either image. Compare the window’s outer boundaries, center division, sill, and position within the wall. Then compare both doorway edges, the top of the opening, and the visible passage beyond it.
Follow the wall corners and wall-to-floor boundaries. Look for a shortened wall, a new recess, changed floorboards, or a doorway that has become narrower or partly filled.
Matching the aspect ratio does not prove the camera viewpoint was preserved. Check whether the floor and wall lines still follow the same perspective.
When a furniture item hides a feature, mark that area as unverified rather than assuming it is unchanged. If it matters to the room’s use or representation, choose a placement that leaves it visible.
A side-by-side check can reveal visible differences. It cannot certify exact dimensions or recover measurements from the image.
Second: the five-item inventory
Count one sofa, one armchair, one table, one rug, and one floor lamp. Check that each matches the brief and that nothing extra has appeared.
A small plant on the table or a second chair may look attractive, but it still changes this task. Remove the addition rather than silently expanding the approved inventory.
Check that the sofa is a two-seat design and that the coffee table remains round. Look for duplicated lamp stems, merged furniture, or objects that are only partly formed.
Third: the route to the doorway
Follow the visible floor route along the right side of the room toward the doorway. Inspect the actual edges of the chair, sofa, table, and lamp base—not just their approximate centers.
The image should show an unobstructed route. That is a visual check, not a measurement of usable clearance. Before purchasing furniture or arranging a real room, compare actual product dimensions with measurements of the space.
Fourth: light and contact
Look where furniture legs, the lamp base, and the rug meet the floor. Check for floating objects, legs passing through the rug, or shadows that conflict with the source photograph.
The left-wall window is a useful reference for reviewing the light direction. Do not accept a new opening or a dramatically altered room merely because it makes the lighting more appealing.
6. Correct the identified problem—not the whole room
Keep the original empty-room photograph and each candidate separate.
For a furniture-only problem in an otherwise acceptable candidate, use that candidate as the reference for a focused revision. Stay in the main page’s Image to Image mode, or continue from the same room reference through the separate editing entry.
If the architecture has changed, return to the original empty-room photograph instead. Using the altered candidate as the new source risks carrying its structural mistakes into the next version.
| Symptom | Reference to use | Focused correction |
|---|---|---|
| The window is wider, has a different division, or has moved. | Original empty room | “Use this original room as the architectural reference. Keep the left-wall window opening, frame, and central division as shown. Apply the same five-item furnishing brief without redesigning the window.” |
| Furniture blocks the doorway or right-hand route. | Candidate, only if the doorway itself is unchanged | “Move only the obstructing furniture item into the seating area. Leave the open doorway and the visible right-hand floor route unobstructed. Keep the other four requested items.” |
| A plant, vase, side table, or second chair appears. | Otherwise acceptable candidate | “Remove the unrequested object. Restore the surface behind it and retain exactly the five items in the furnishing brief. Do not introduce a replacement decoration.” |
| One requested item is missing. | Otherwise acceptable candidate | “Add one black floor lamp beside the viewer-left end of the sofa. Keep one sofa, one armchair, one table, and one rug. Do not add any other object.” |
| The floor material or wall color changes. | Original empty room | “Retain the original light oak floor and off-white walls. Make furniture additions only; do not restyle the room’s finishes.” |
| A chair floats or its legs intersect the rug unnaturally. | Otherwise acceptable candidate | “Correct the armchair’s contact with the floor and its contact shadows. Preserve its design and position, and do not change the other furniture or room features.” |
Replace the named object in a correction with the one actually causing the problem. Do not submit a missing-lamp instruction when your candidate already has one.
A request to change “only” one item does not lock the rest of the image. After every revision, repeat the architecture, inventory, route, and lighting checks.
When structural changes persist, stop treating repeated generation as the only option. Work from the original in an external editor where the room and added furnishings can be handled more deliberately, or ask an editor to complete the composition. Do not crop out a changed doorway to make the result appear acceptable.
7. Keep comparisons tied to the same source
A useful comparison starts with the real source, not a newly generated empty version of the furnished image.
Save the original, the reviewed candidate, and any accepted revision with distinct filenames. Keep the prompt and selected settings with them. When comparing versions, use the same crop and display proportions so a change in framing does not disguise a change in the room.
If you make a presentation pair for your own property, identify the photographs clearly:
Original room photo
Virtually staged concept — furniture digitally added
The fictional teaching images in this article are not substitutes for those property-specific files.
Download the selected JPEG and reopen it before sharing. Confirm its actual dimensions, framing, and visible details. If you resize, crop, or otherwise edit it for a presentation, inspect that final file again.
Share a concept without implying a renovation has happened
Label the furnished image clearly as virtually staged. For a property listing, check the destination platform’s current rules for permitted modifications, disclosure, and presentation of the original photograph. A label should not be used to excuse a misleading change to the room itself.
This output is a furnishing concept—not a measured floor plan, CAD file, construction drawing, or record of actual furniture products. The pictured sofa and chair are not verified SKUs, and their apparent fit does not establish that a real product will fit.
The concept is ready to share when the visible room features remain consistent with the source, the five requested items are present, the route to the doorway is visibly open, and the recipient can distinguish the existing room from the proposed furnishing.
Keep the original with the concept. The goal is to make the arrangement easier to discuss without making the room’s actual condition harder to understand.
Extend the study to a listing image, redesign, or floor plan
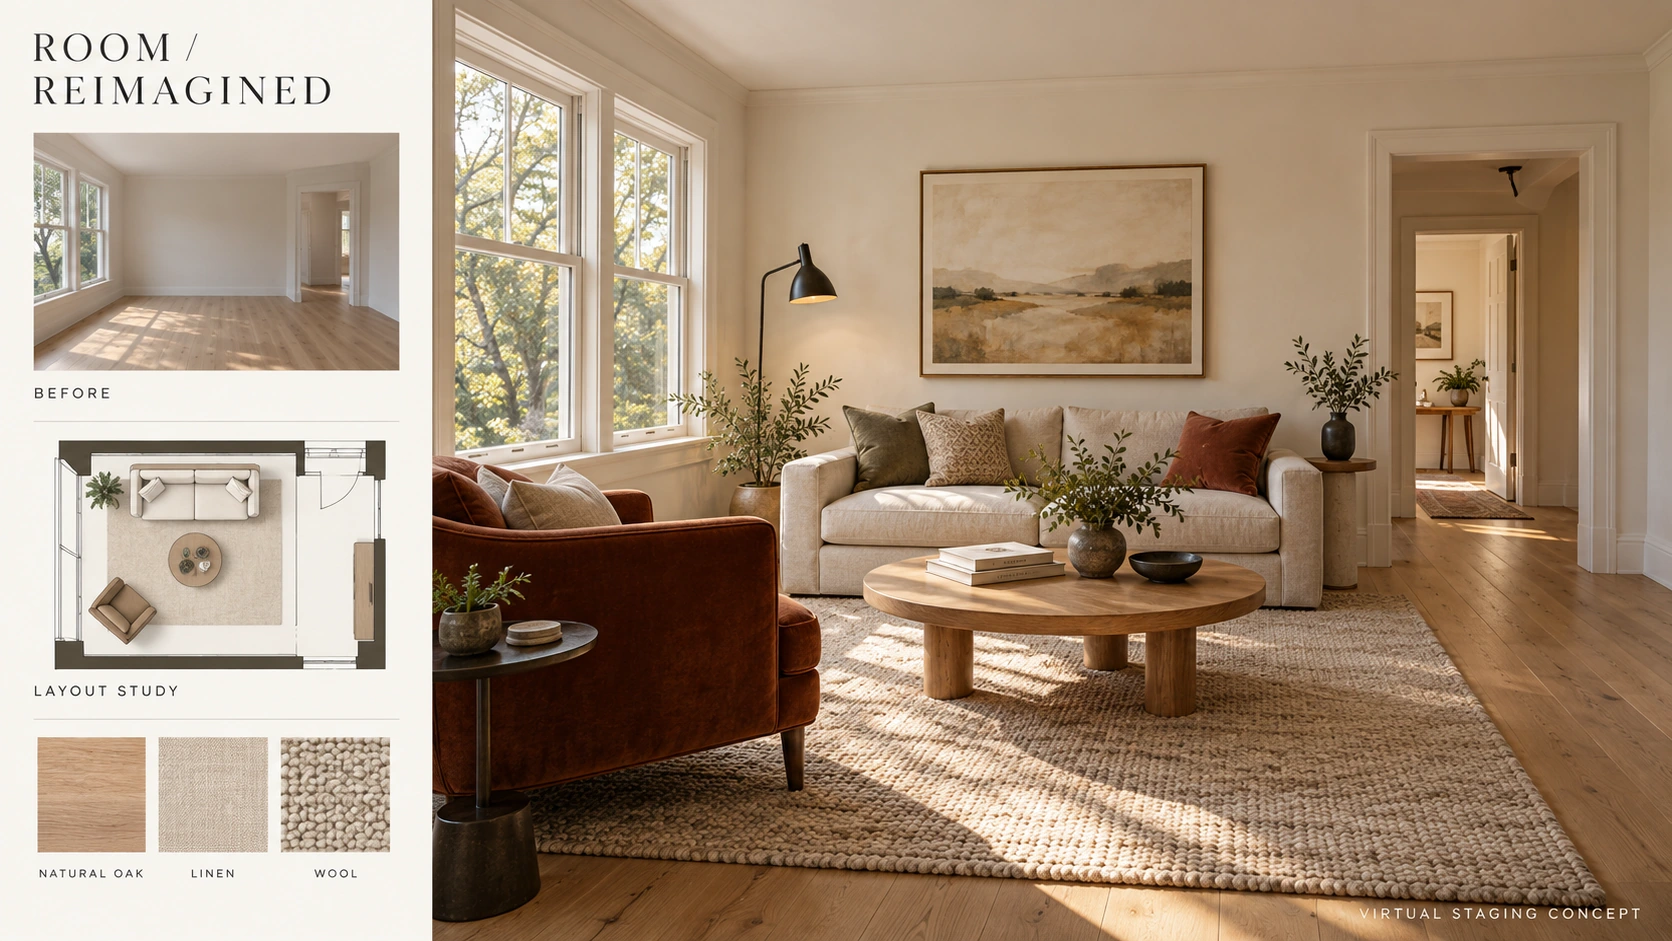
For a listing presentation, label virtual staging clearly and keep the original photograph alongside it. For an interior-redesign concept, explicitly separate permitted finish changes from architectural features that must remain. A wall color change may belong in a redesign brief but would fail this furniture-only exercise.
The cover includes a schematic arrangement and material studies to explain the design direction. It is not a measured floor plan. Build any working floor plan from actual measurements, and confirm door swings, furniture dimensions, and circulation before using it to make purchasing or construction decisions.